


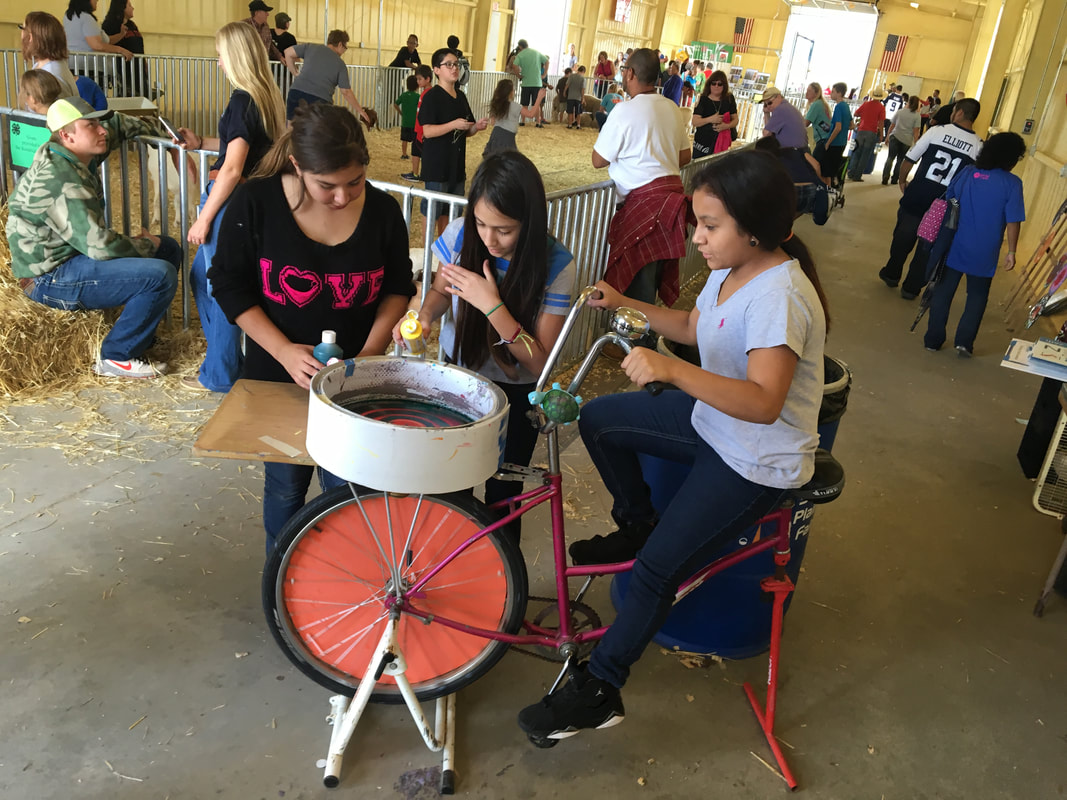
City Bank -Lubbock Region Winners Community Contribution & Leadership
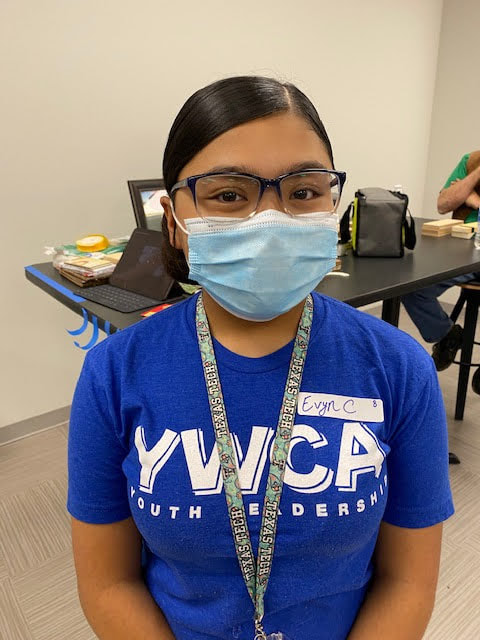
These Grants are to be used for Youth Education
These Grants are to be used for Youth Education
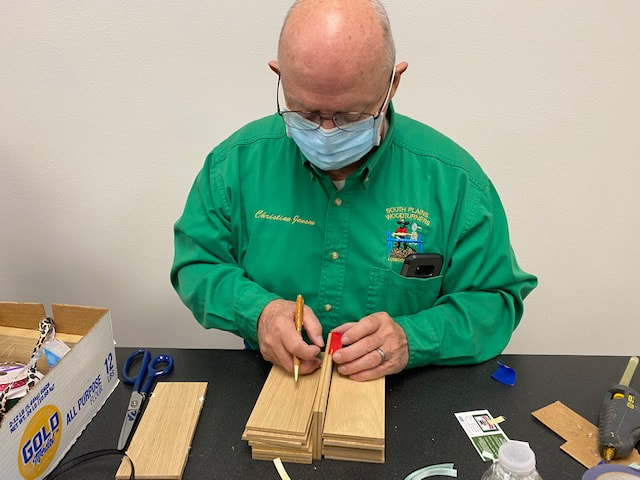
- South Plains Woodturners Inc.
- $1500 2019
- South Plains Woodturners Inc. $4,000 2020
- South Plains Woodturners Inc. $500 2021
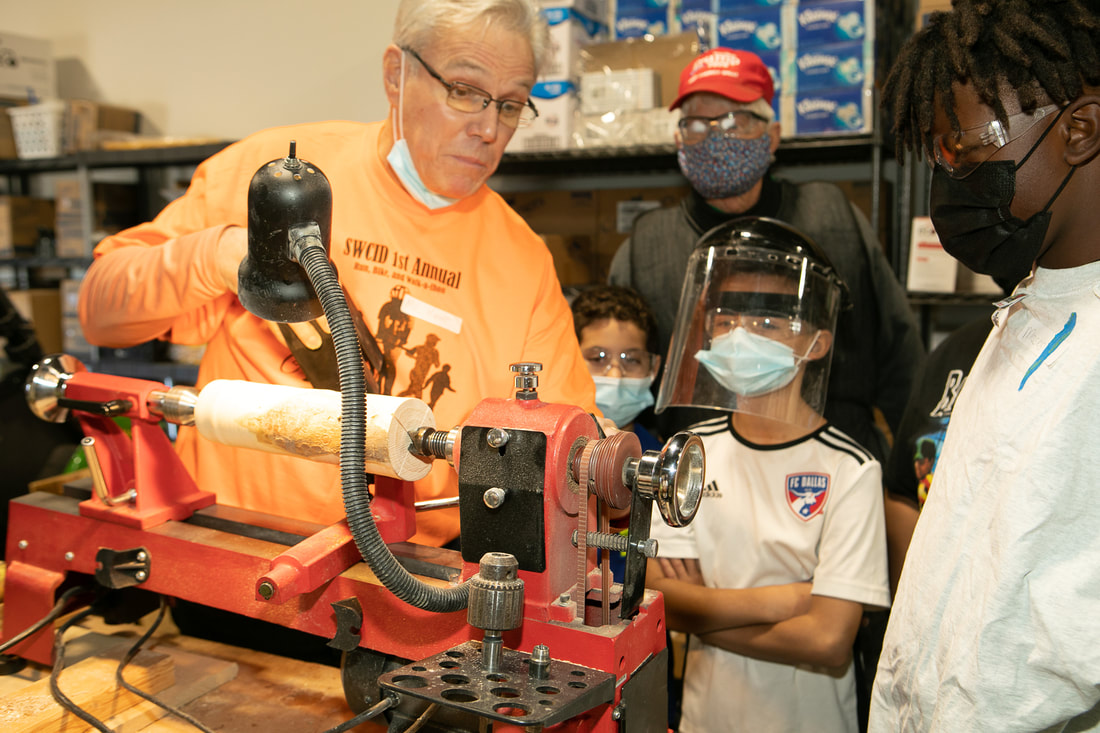
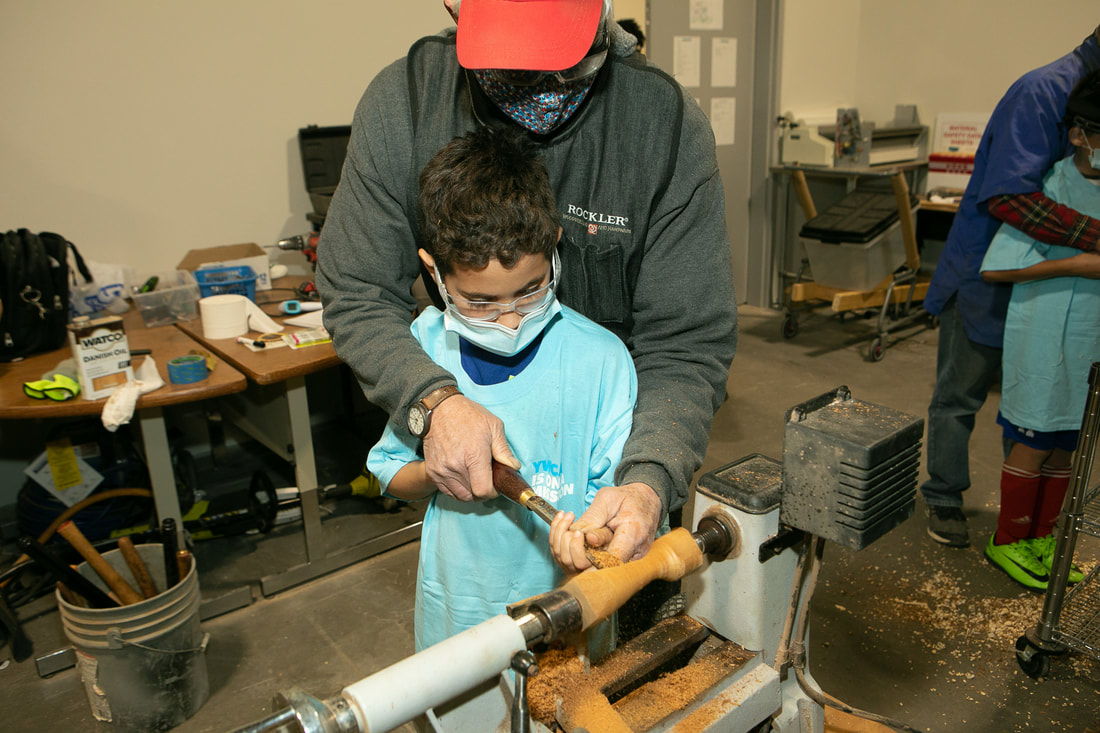
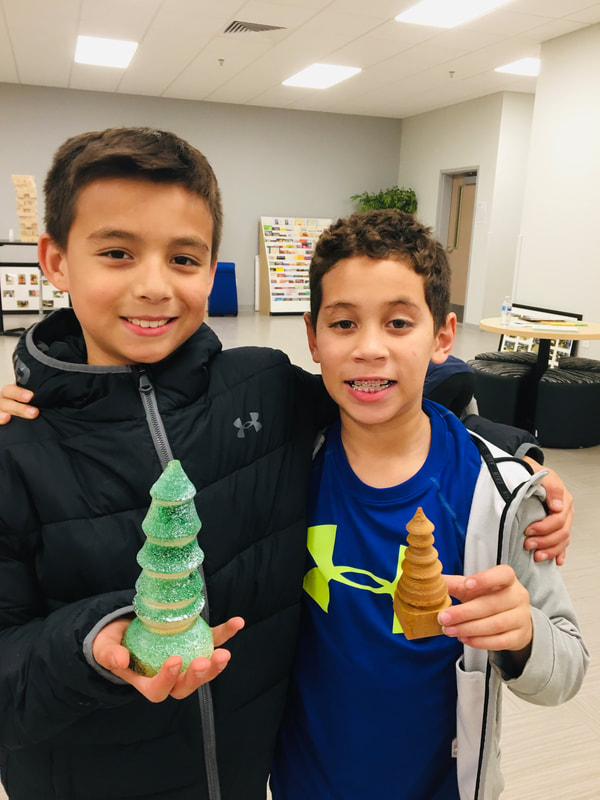
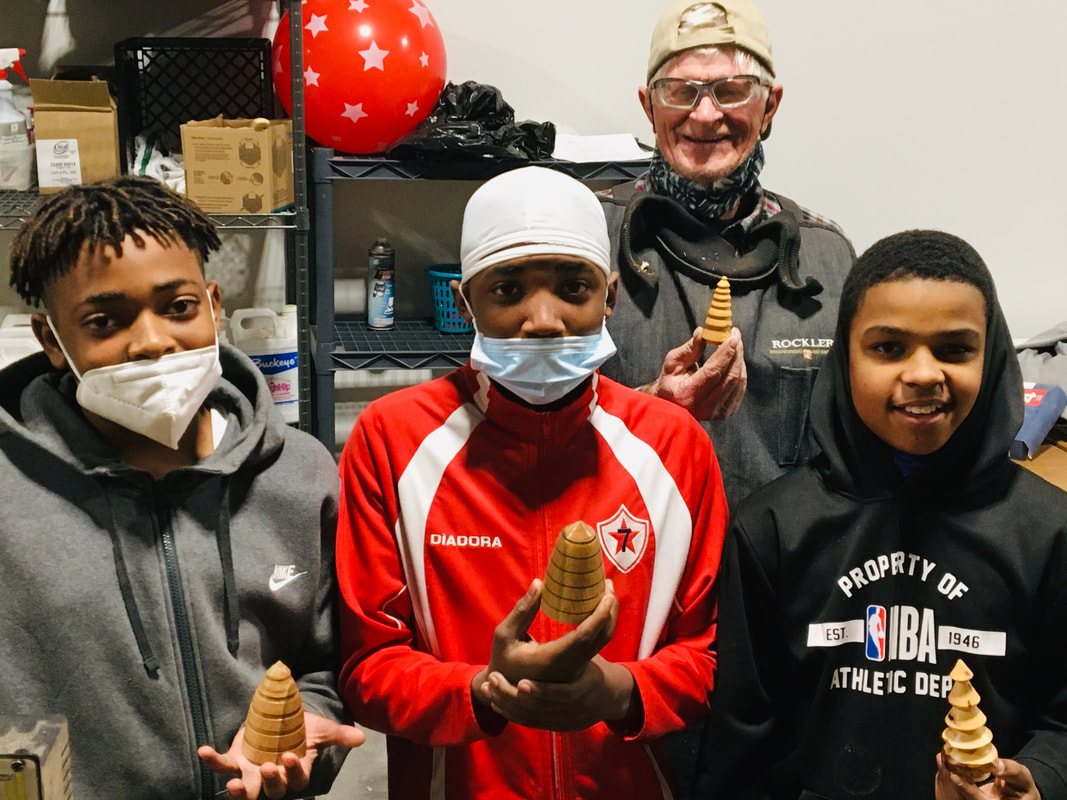
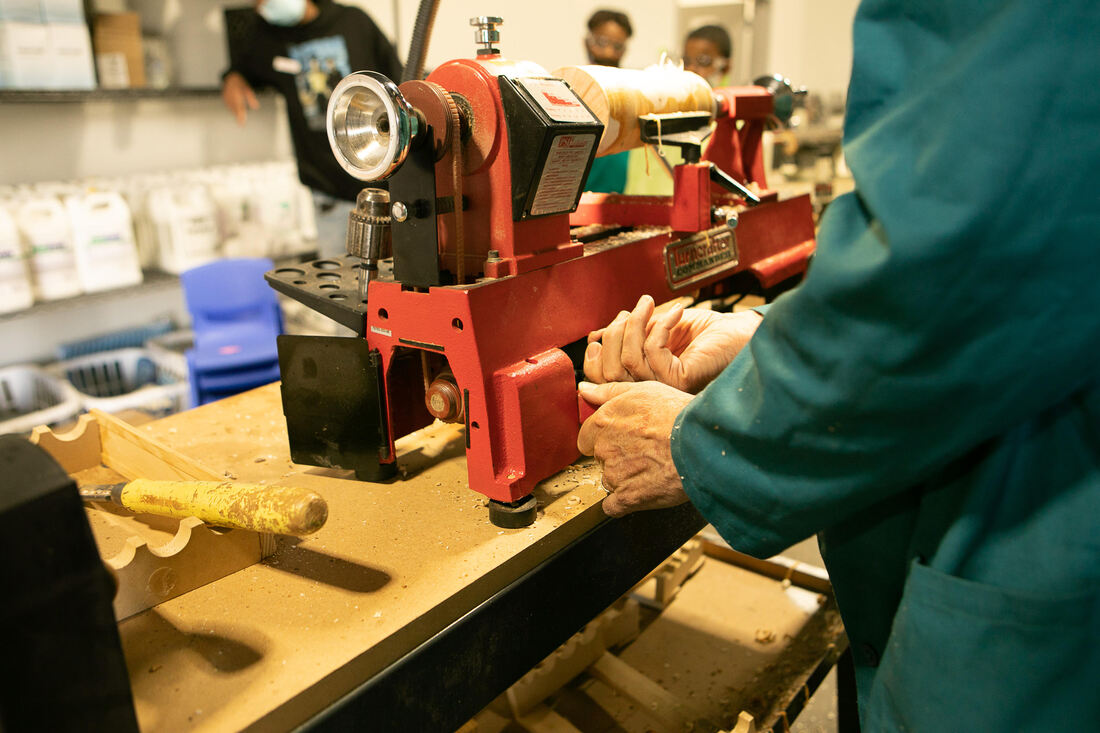
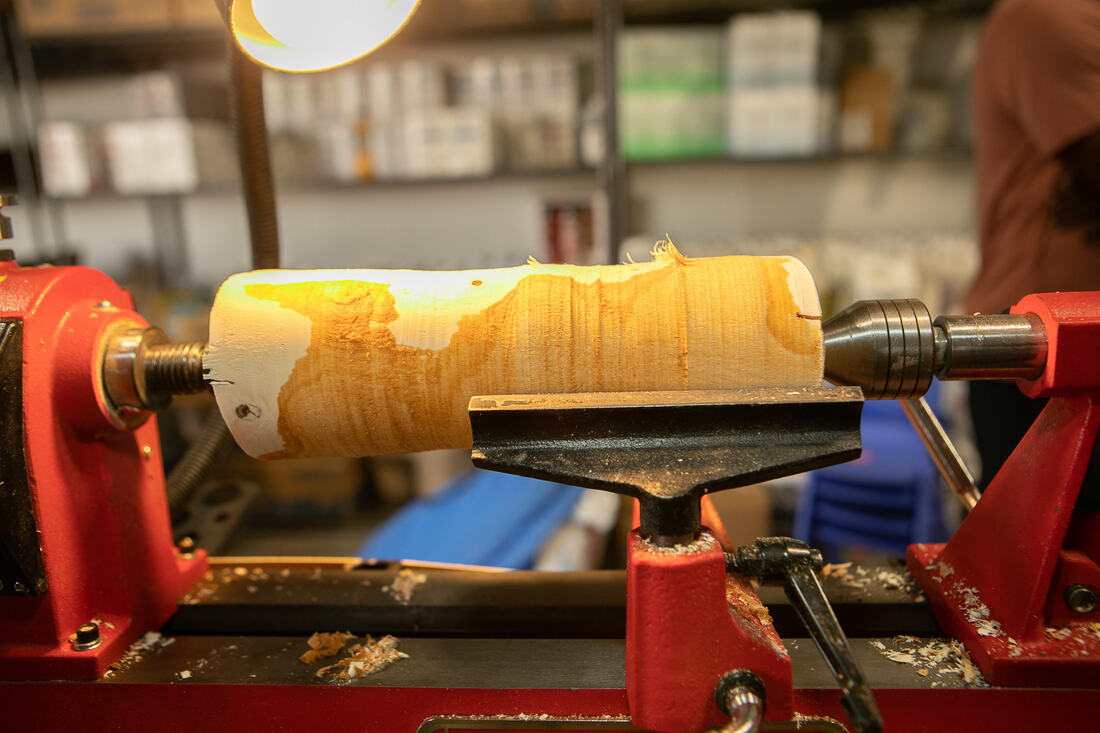
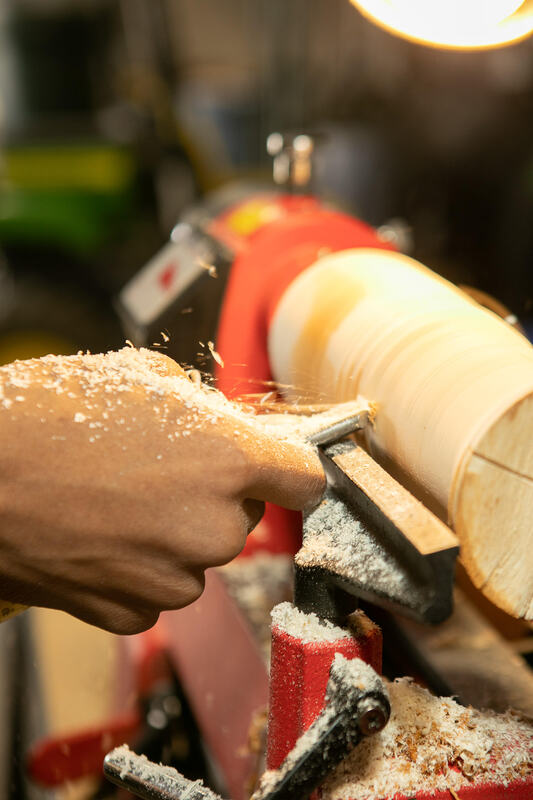
Woodturning Winter-Themed Creations
Learn about woodturning while creating a Christmas tree, or snowman, using a wood lathe in this fun hands-on class. No previous experience is necessary to register; this class is for those who have never done any woodworking, as well as for those who are well acquainted with all the tricks of the trade.
Learn about woodturning while creating a Christmas tree, or snowman, using a wood lathe in this fun hands-on class. No previous experience is necessary to register; this class is for those who have never done any woodworking, as well as for those who are well acquainted with all the tricks of the trade.
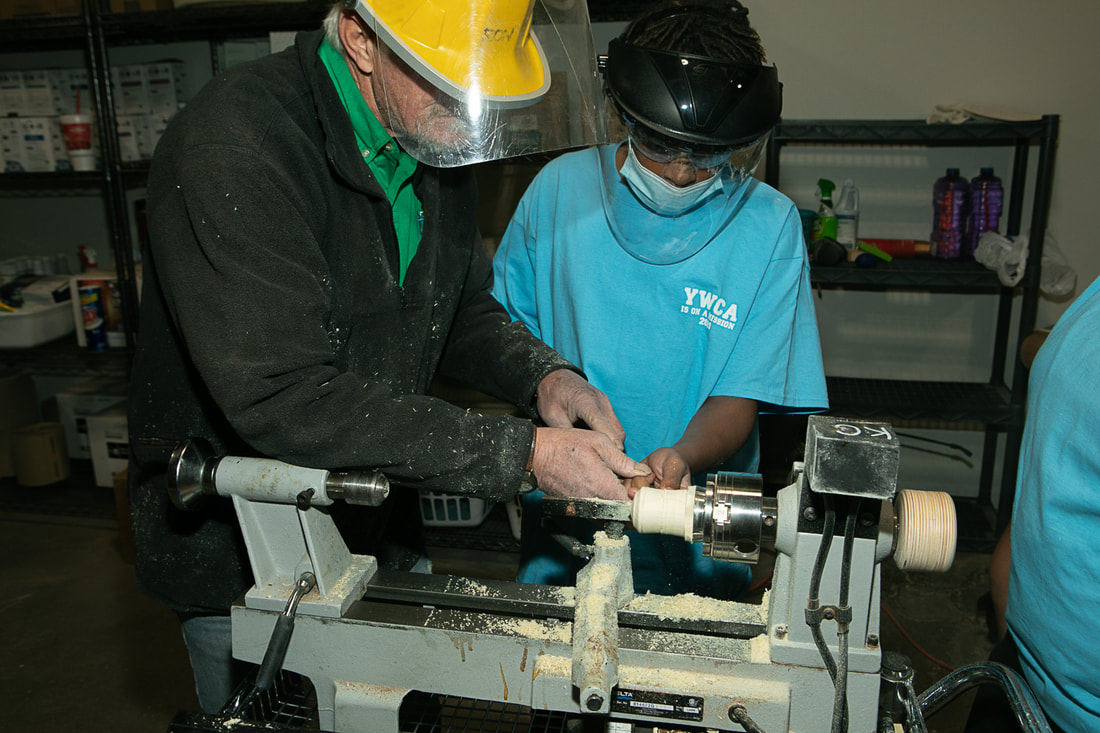
Welcome to the YWCA Youth Education page
Special Thanks to the AAW EOG grant committee for selecting us for a $1500 grant for 2021
AAW GrantsPurpose of the AAW Grants Program
- Provide educational opportunities that expand and enrich the entire woodturning community.
- Provide ways that woodturning skills may be shared with local chapters, the community, schools, and others.
- Create opportunities for woodturners who would otherwise not be financially able.
- Provide outreach to underrepresented populations (women, disabled, minority, etc.) to introduce and encourage them in their pursuit of woodturning.
- Provide opportunities for woodturning professionals to enrich and encourage creative growth, research, or inspiration for new directions in turned wood art.
JET 1221 Variable Speed Wood Lathe- Common Use #1 2:23
Click Here to go to the Jet 1221VS Manuel - 82 pages
Great Resource for all woodturners.
Notes for Feb 13th Get Ready to have some fun!!! Make a wood pen or a wood key ring.
Homework:
1 Please watch How to make a wood pen (on a lathe) - 5 minutes
2 Please read these instructions https://www.woodturnerscatalog.com/docs/apprentice_slimline.pdf
3 Please bring any pen blanks, fire trucks, or basketball games from previous meetings so we can get a photo.
4 Review these lathe accident stories.
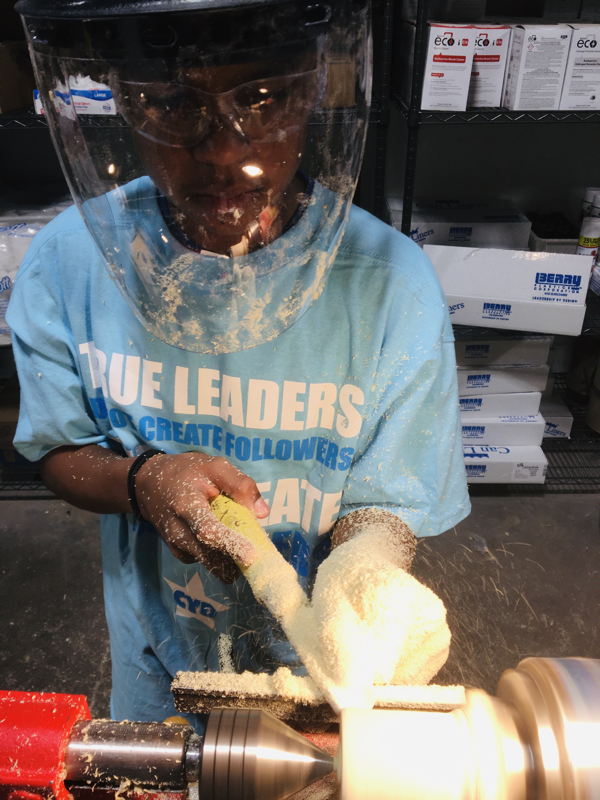
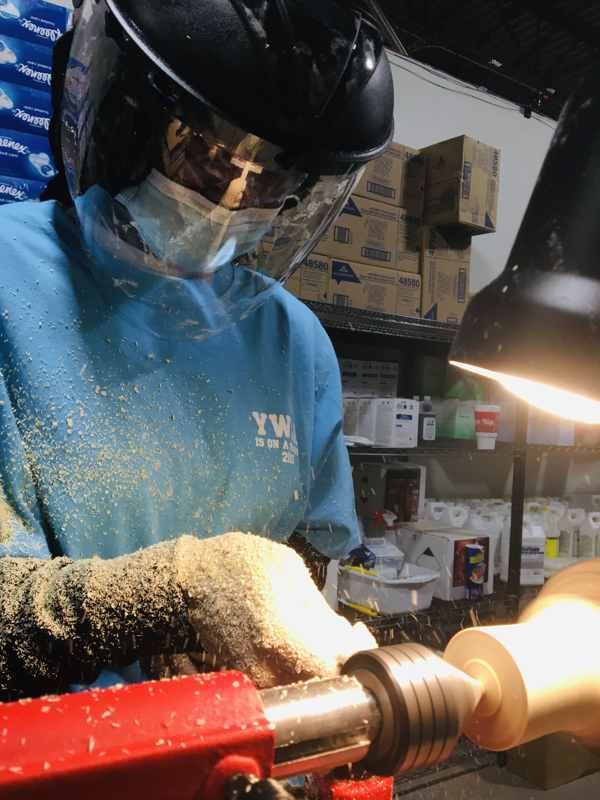
Long pants, Short hair, Remove Hoodies, Remove Jewelry, Safety Glasses, Face Shields, Masks
Thanks for rounding up and cleaning up last time!
Your mentors will have a fast glue as well as a slow glue so we can start making pens. Don't be late.
We need some volunteer MVPs to take one clean, old, unwanted, white cotton t-shirt and cut up into rectangles approximately 2" x 3 1/2" (business card size) and bring in a sandwich baggie. We can use these to apply shellac to our pens for a quick shine. MVPs have the option of going first.
Email Mr. Kent if you plan to bring cotton for finishing or have any questions.
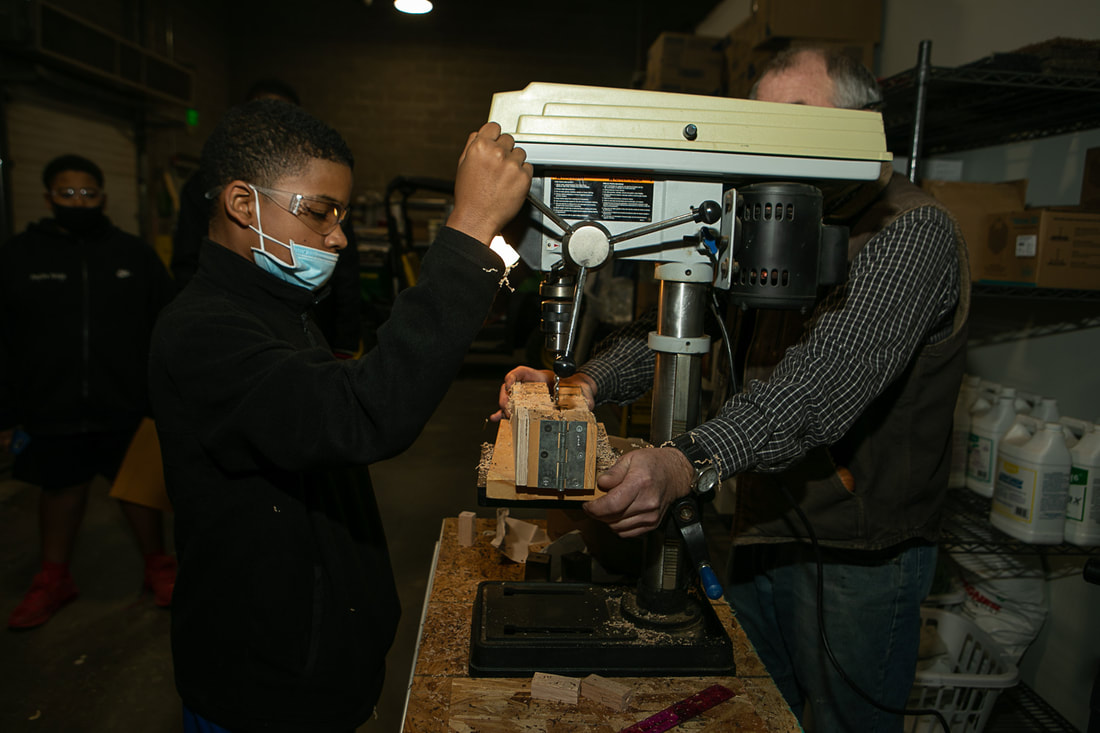
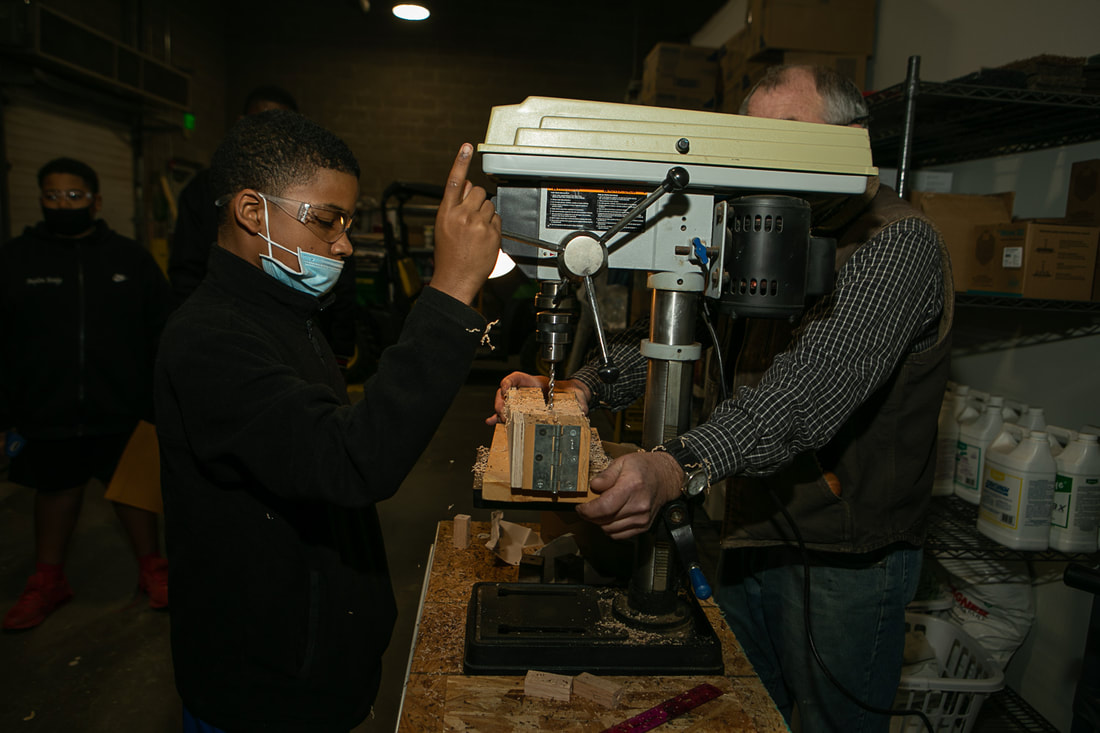
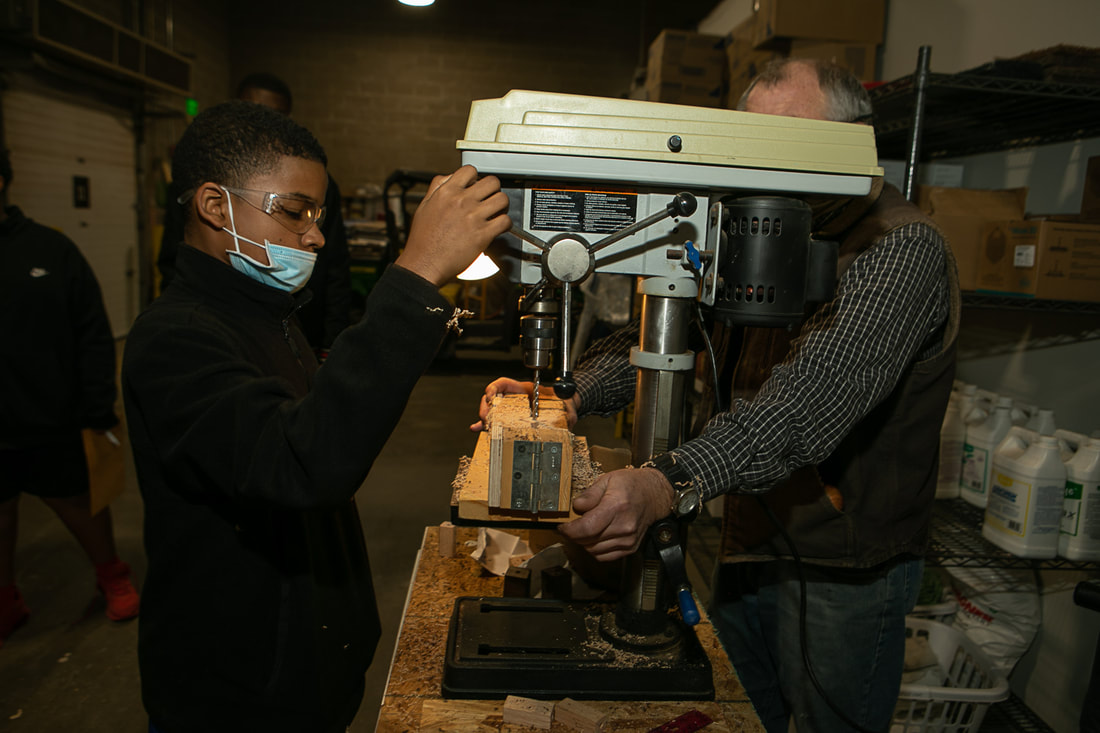
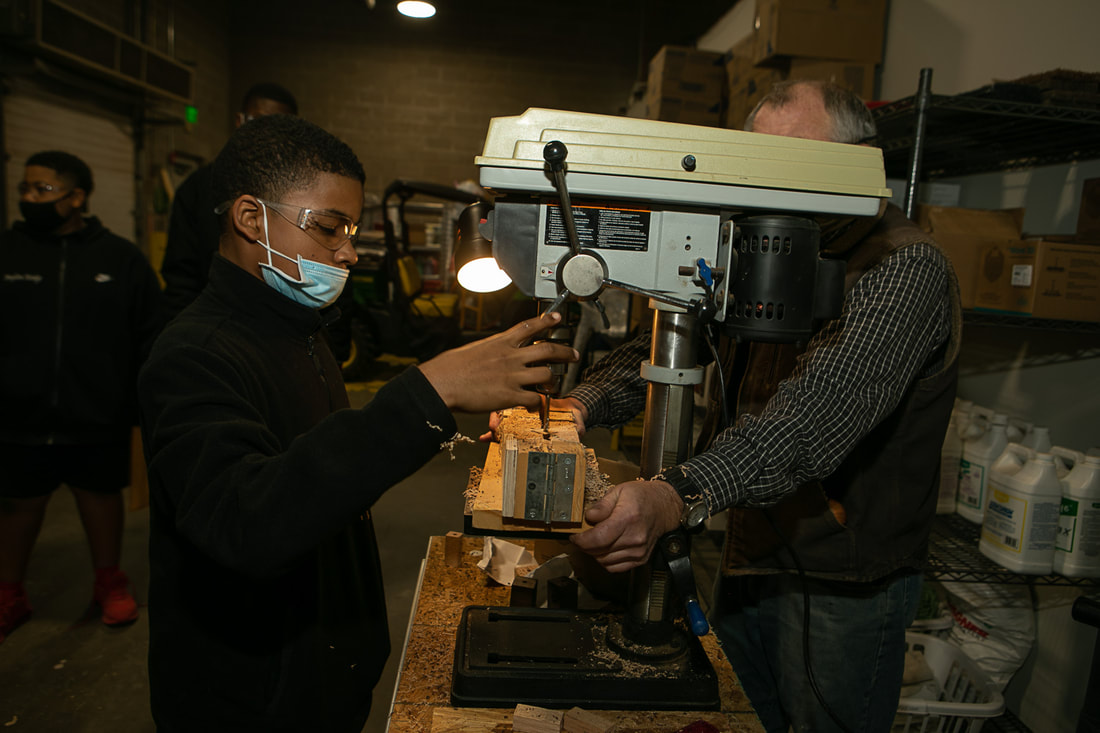

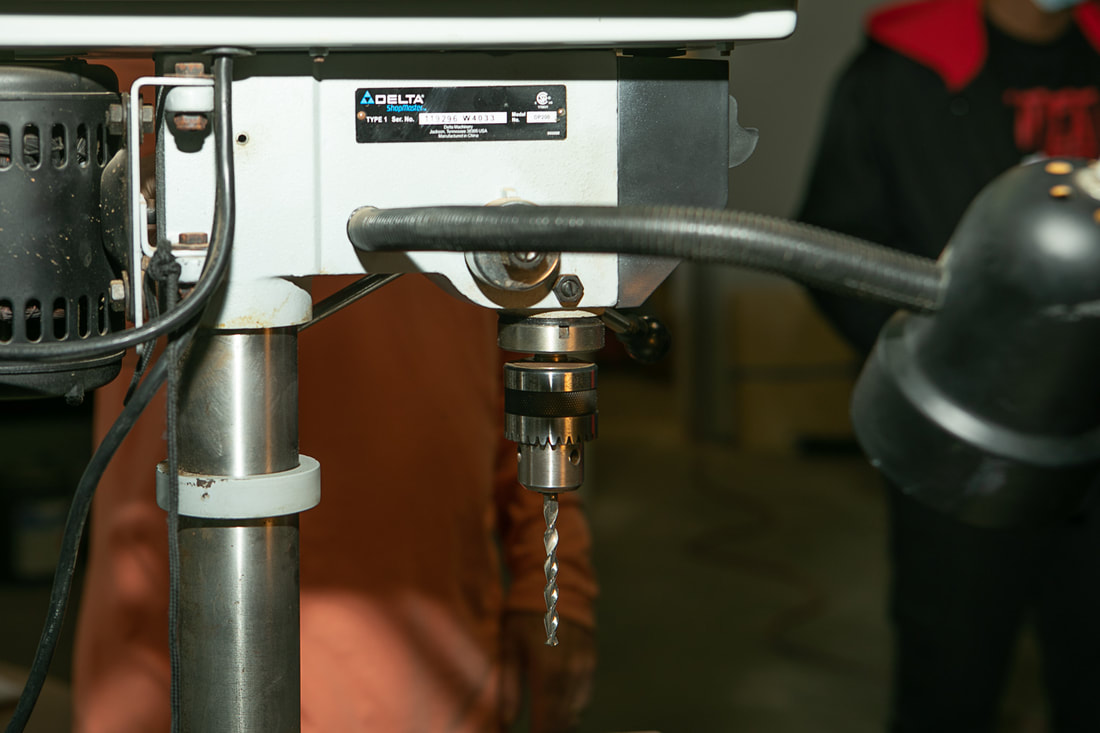
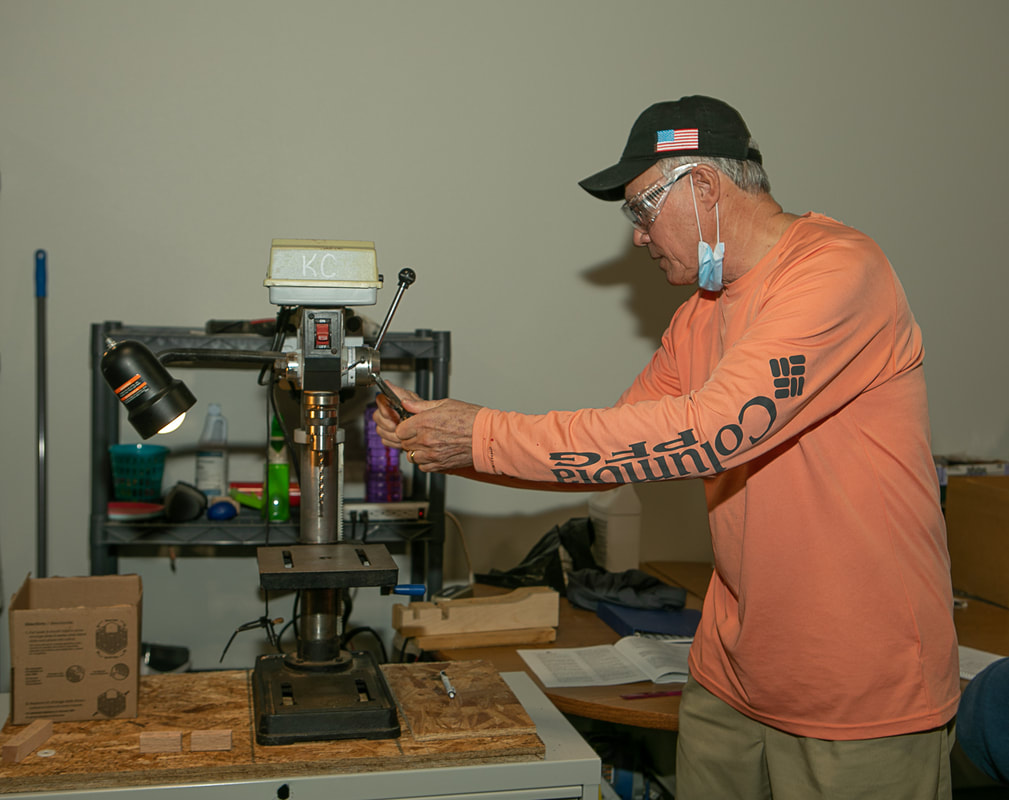
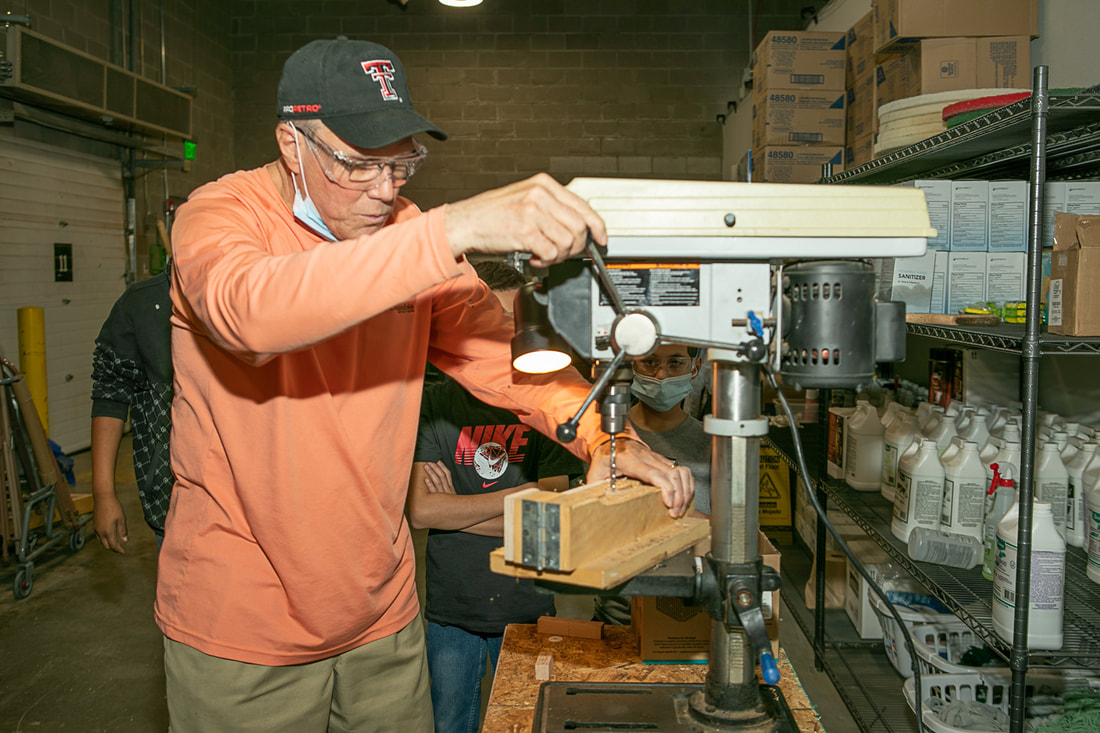
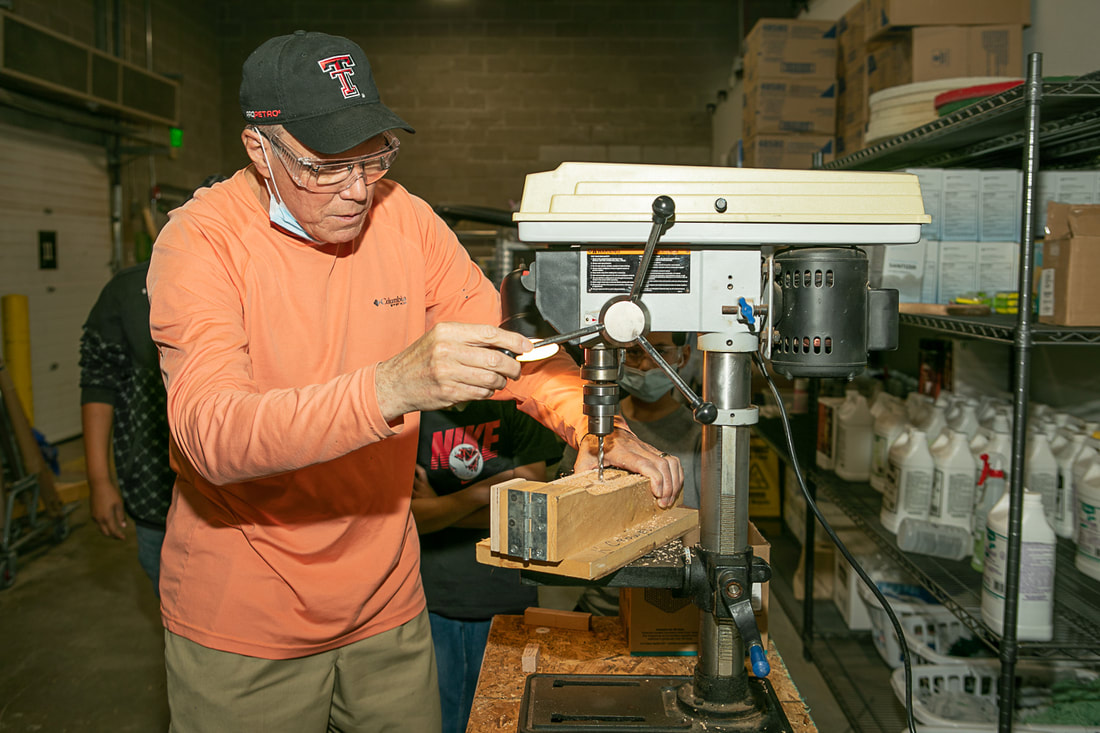
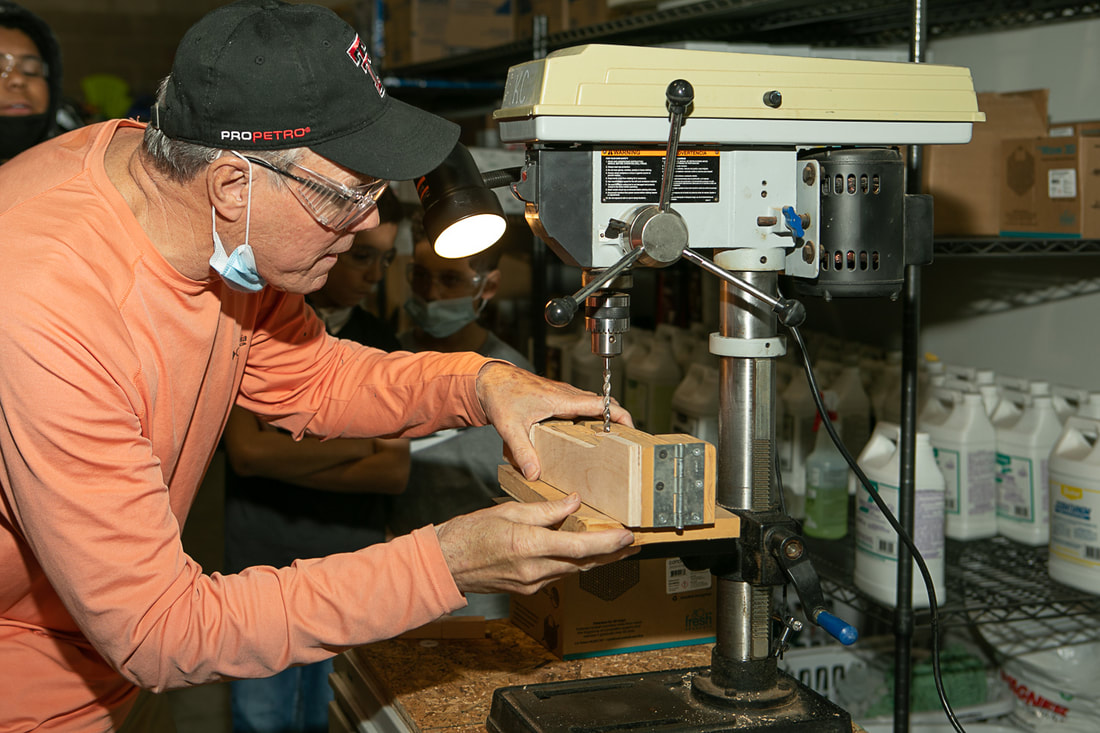

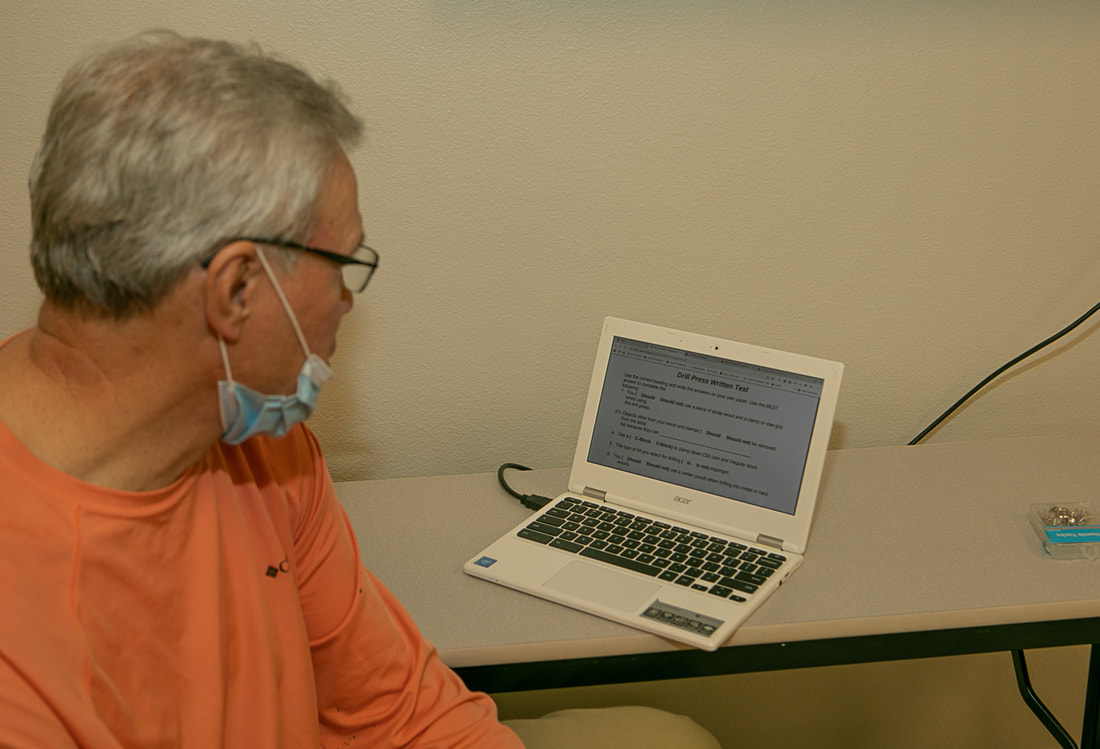
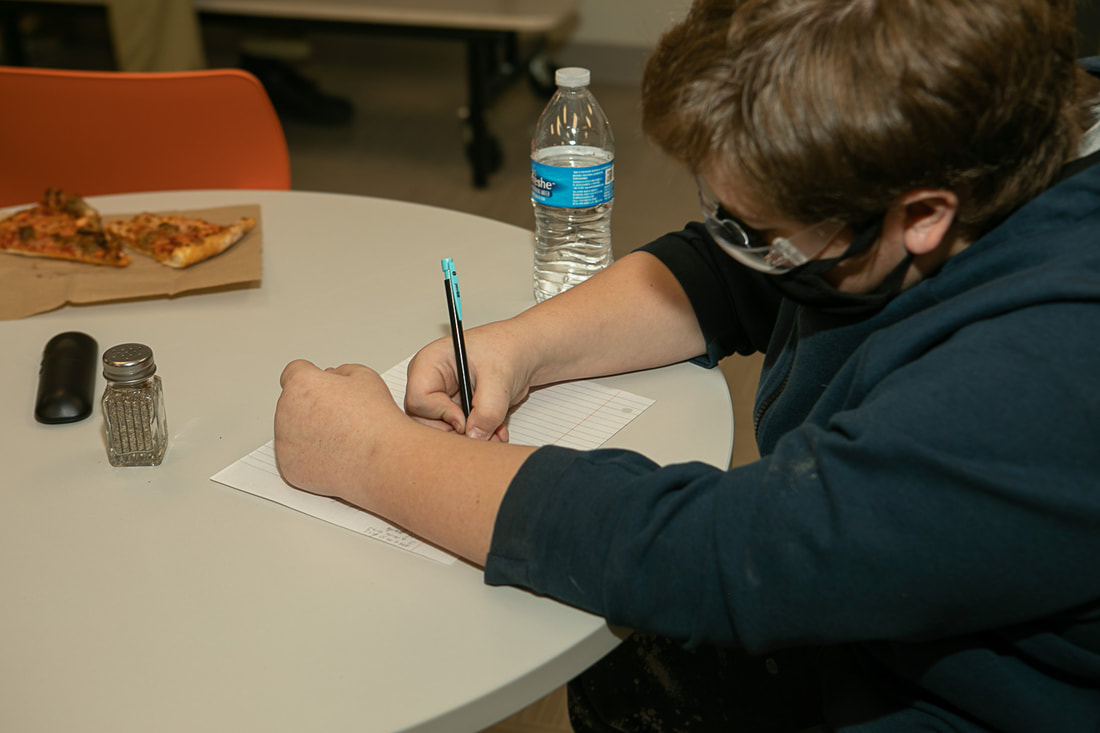

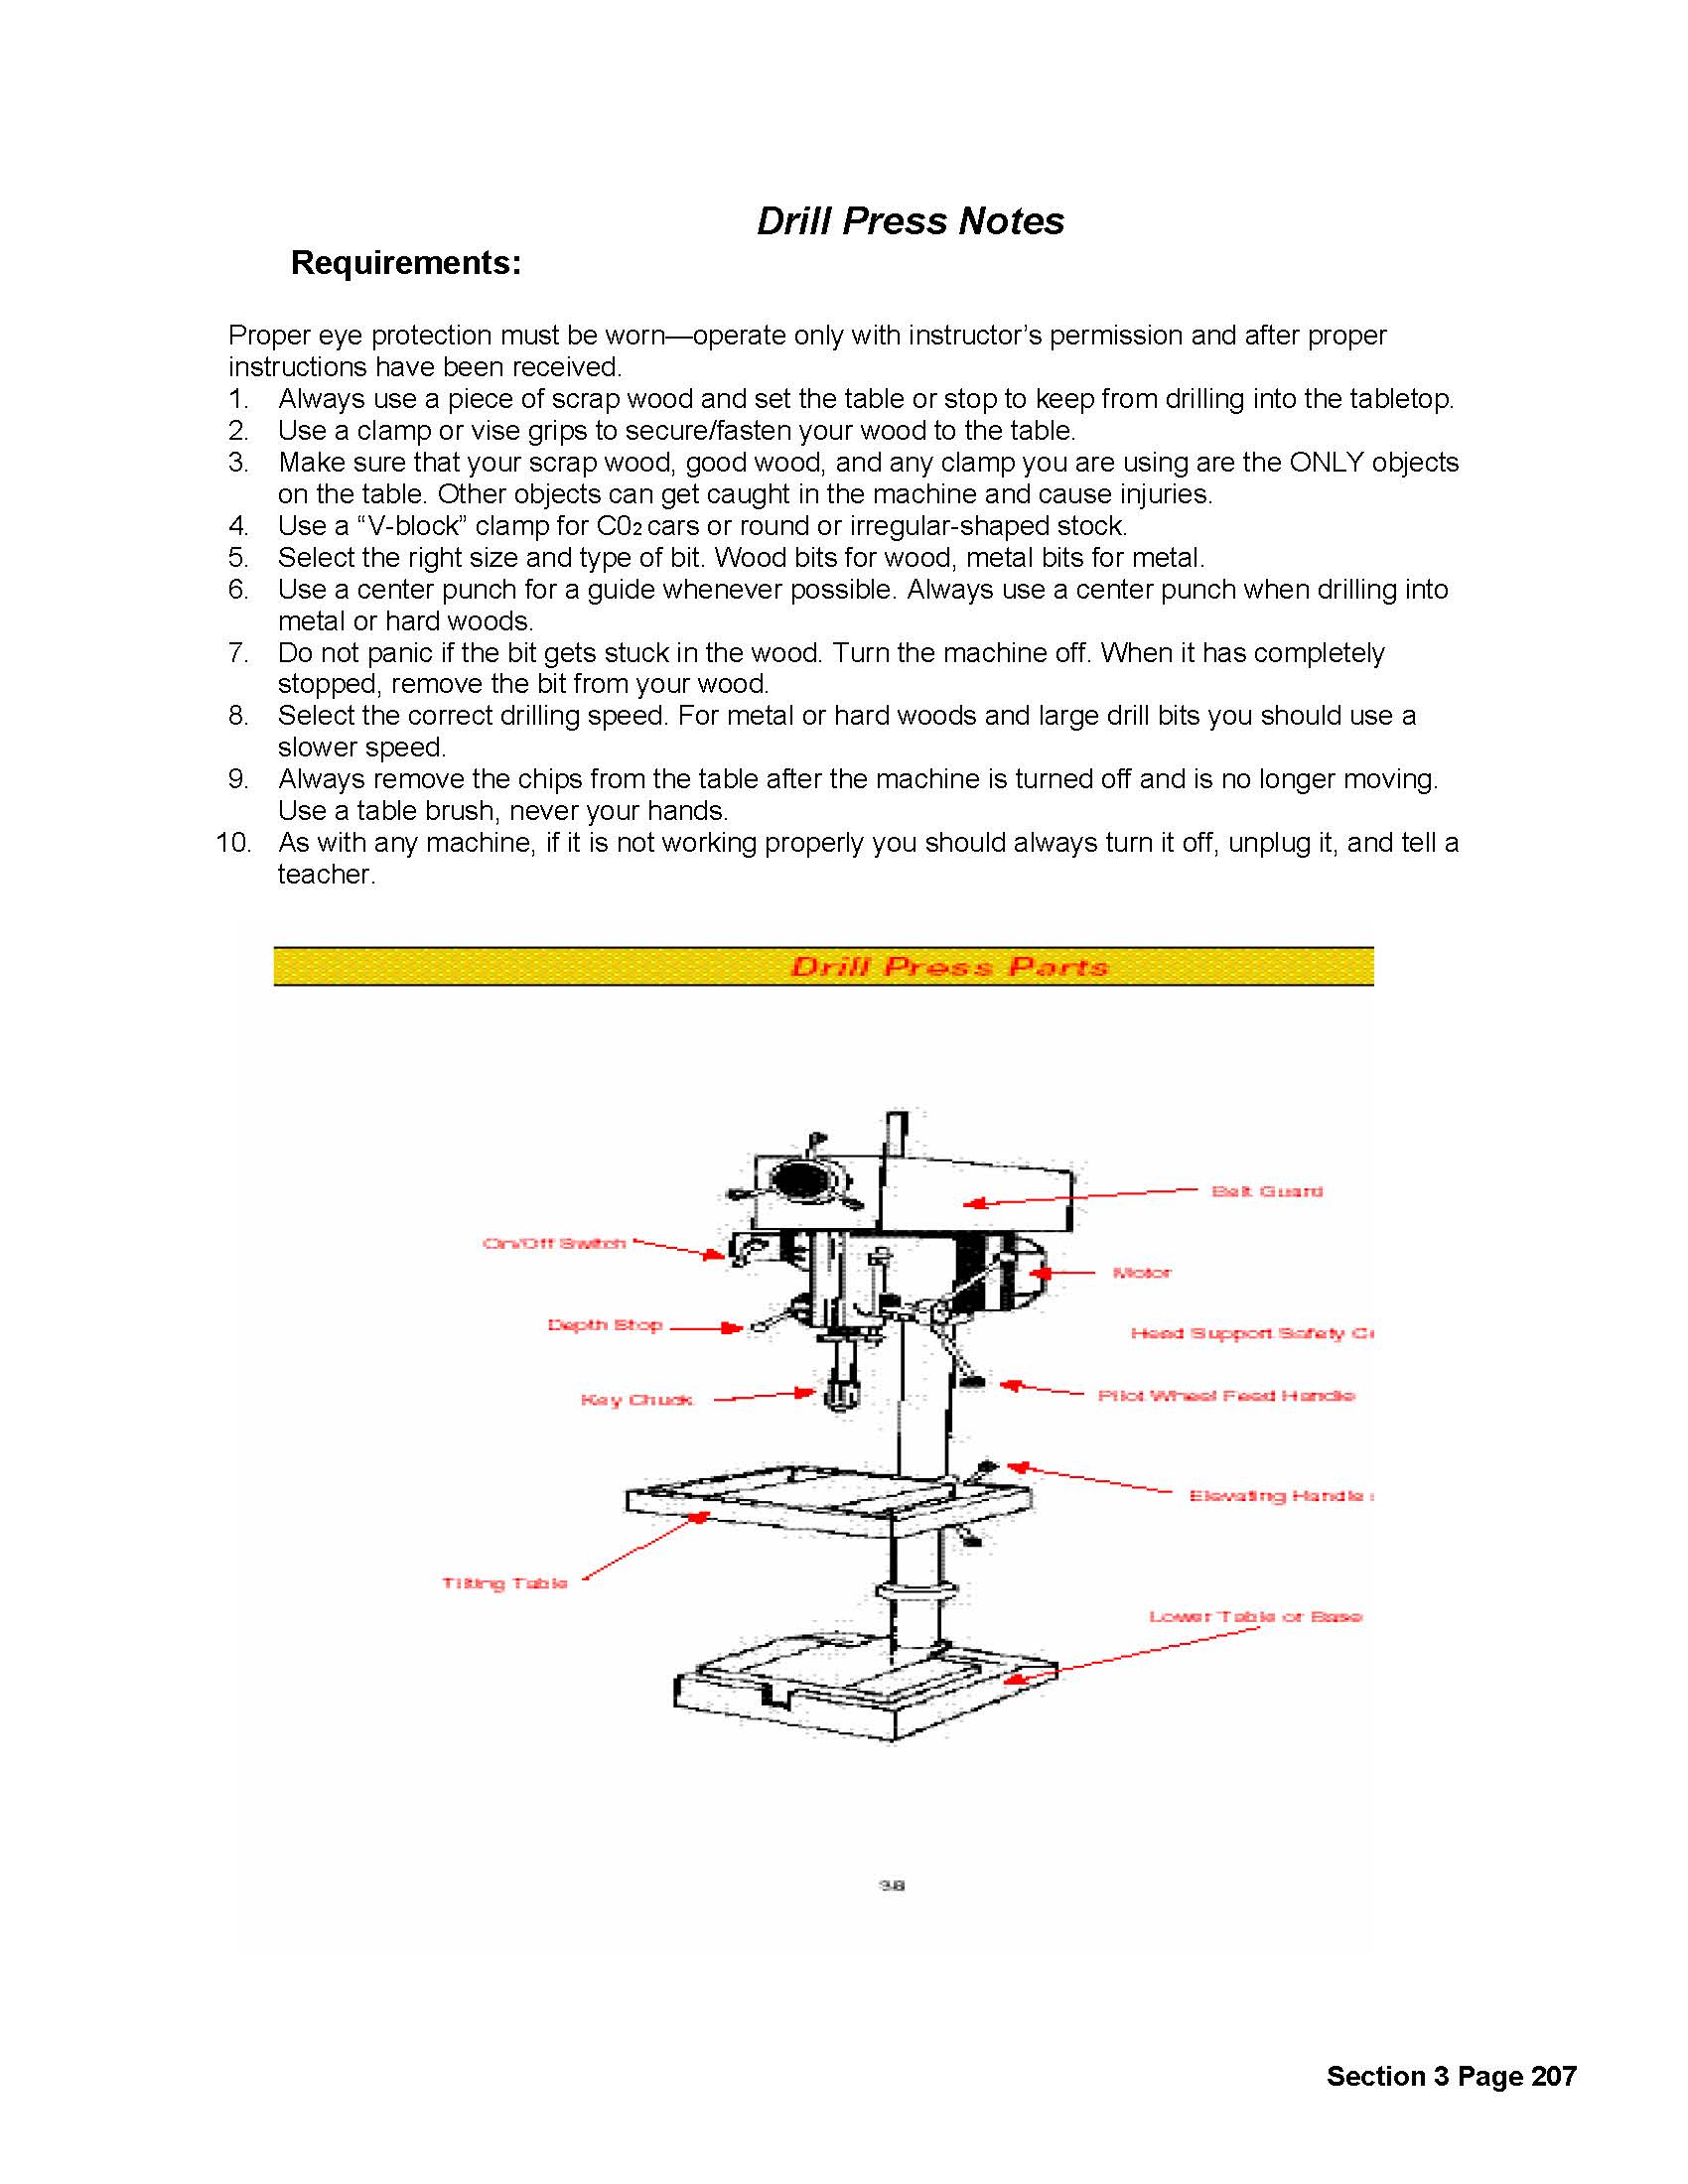
Drill Press Safety Notes 207_page_207.jpg |
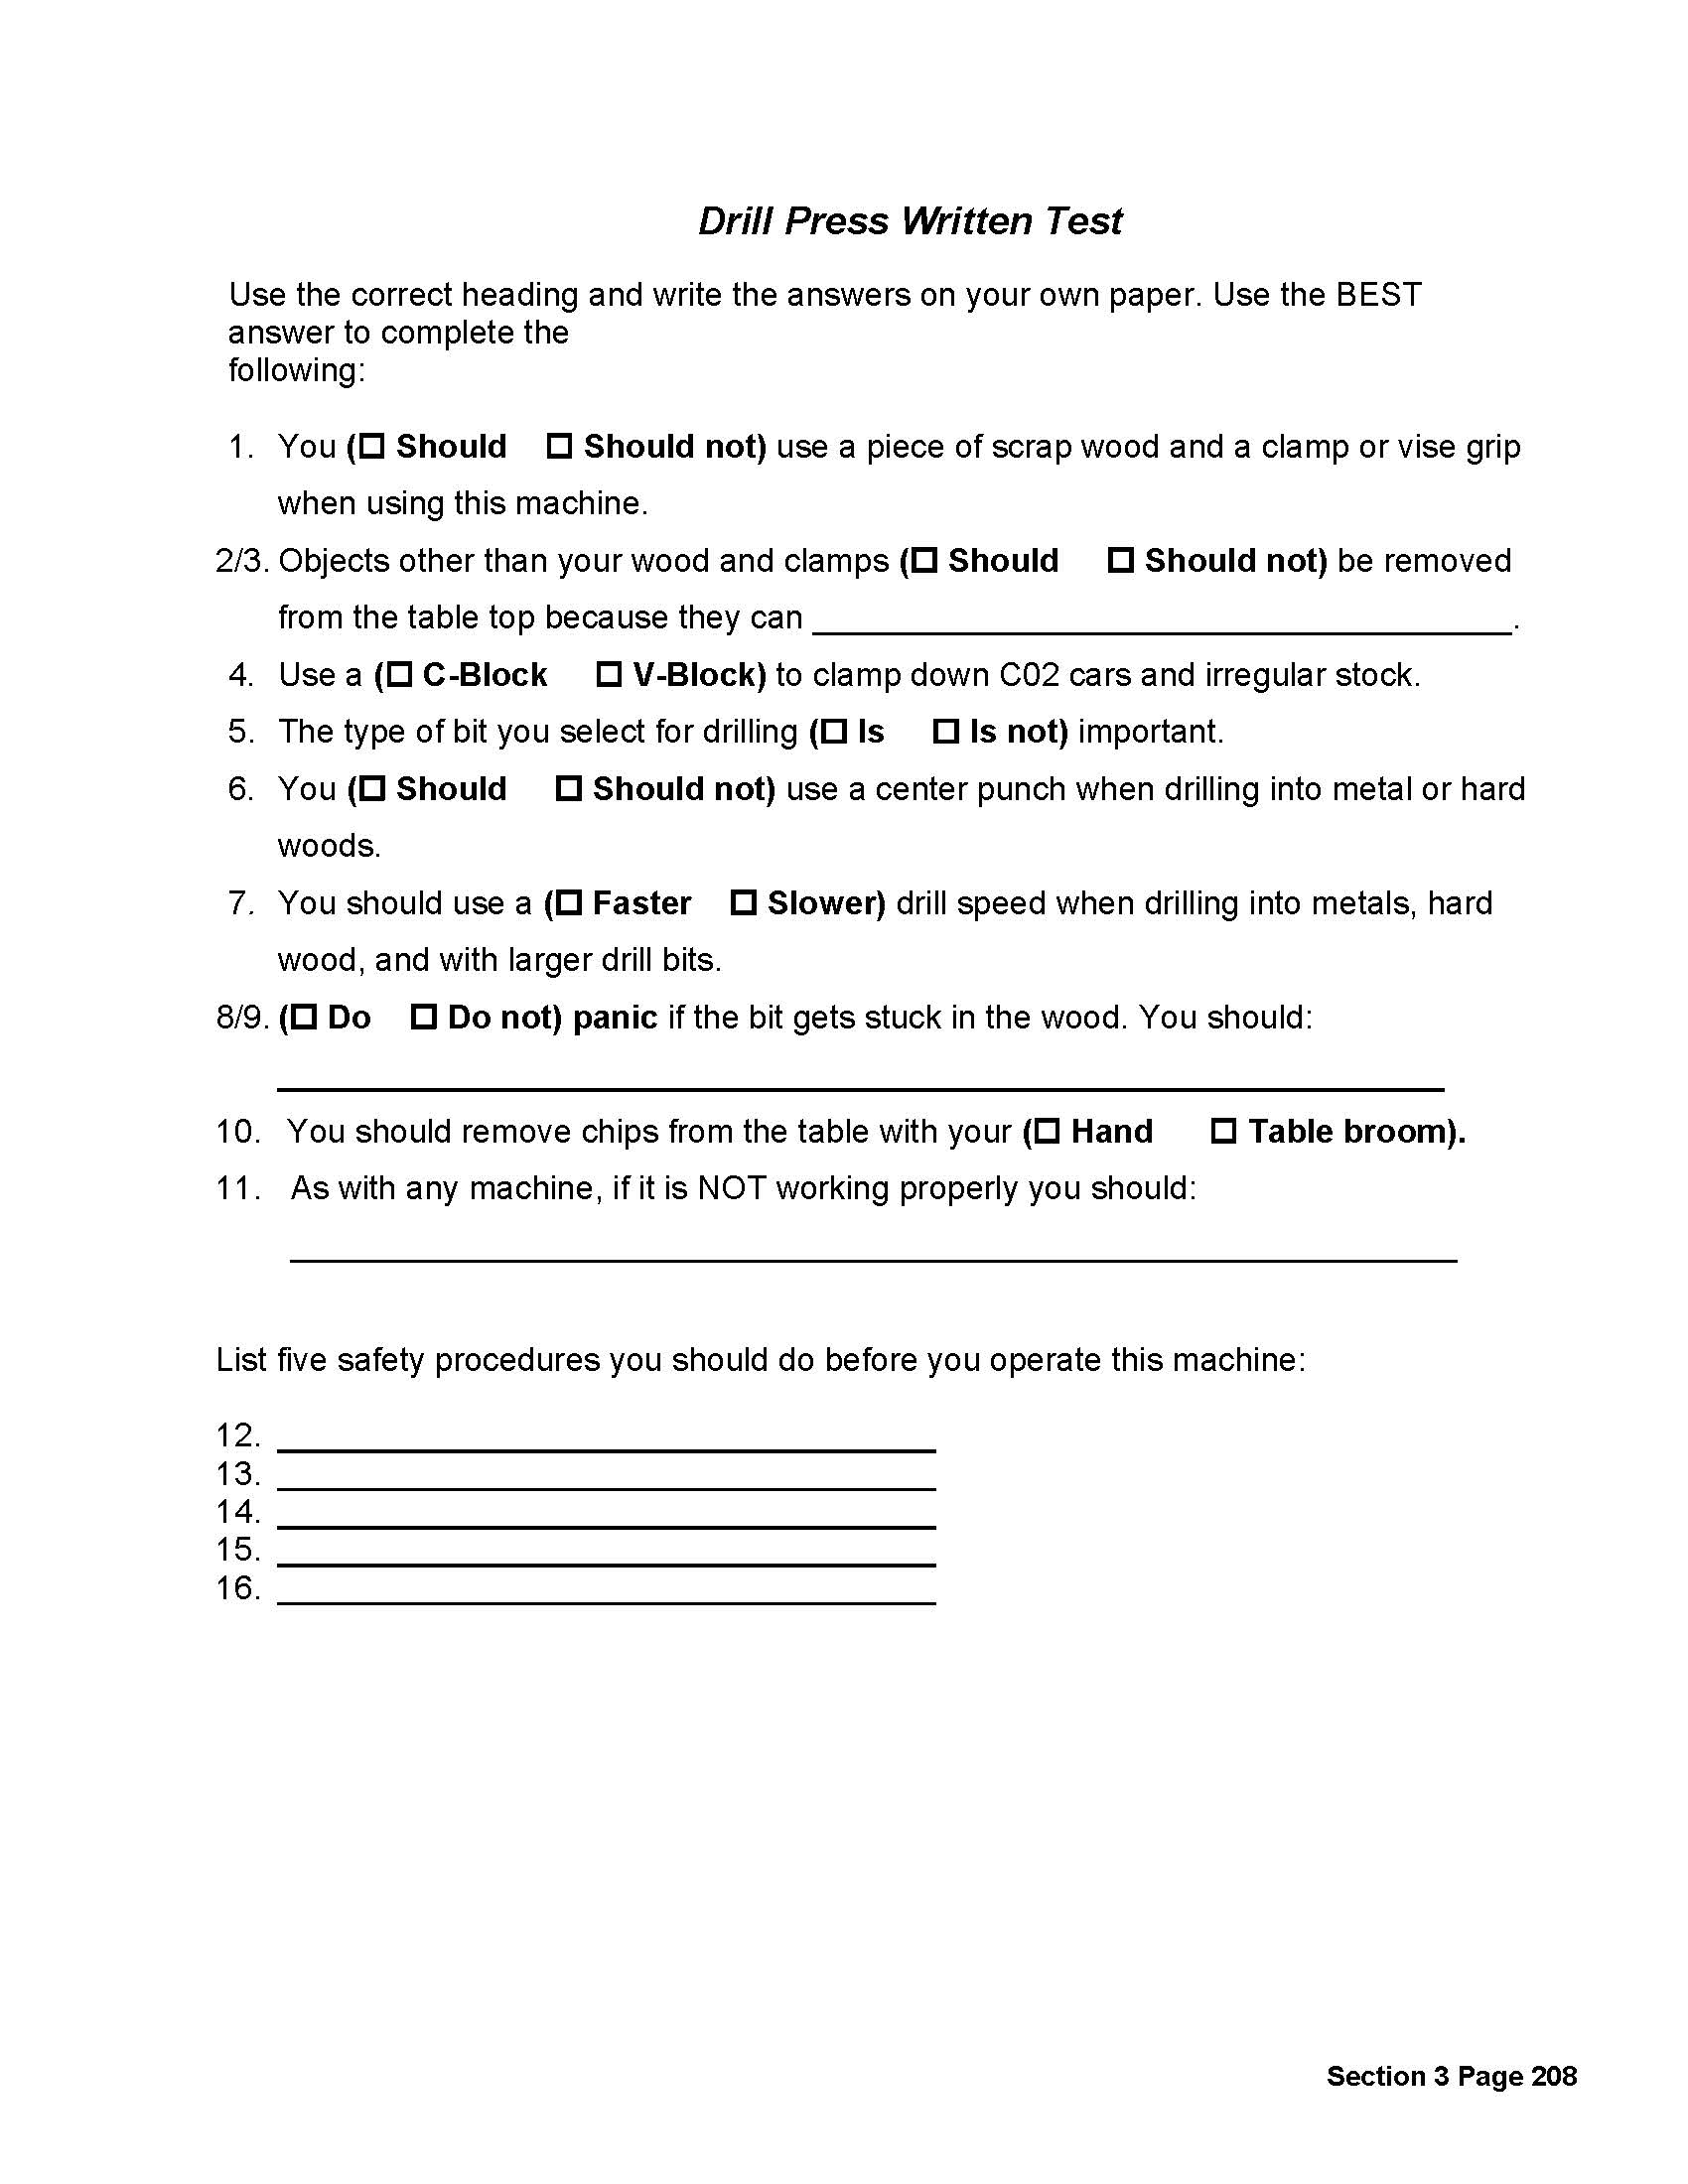
Drill Press Written Safety Test 207_page_208.jpg |
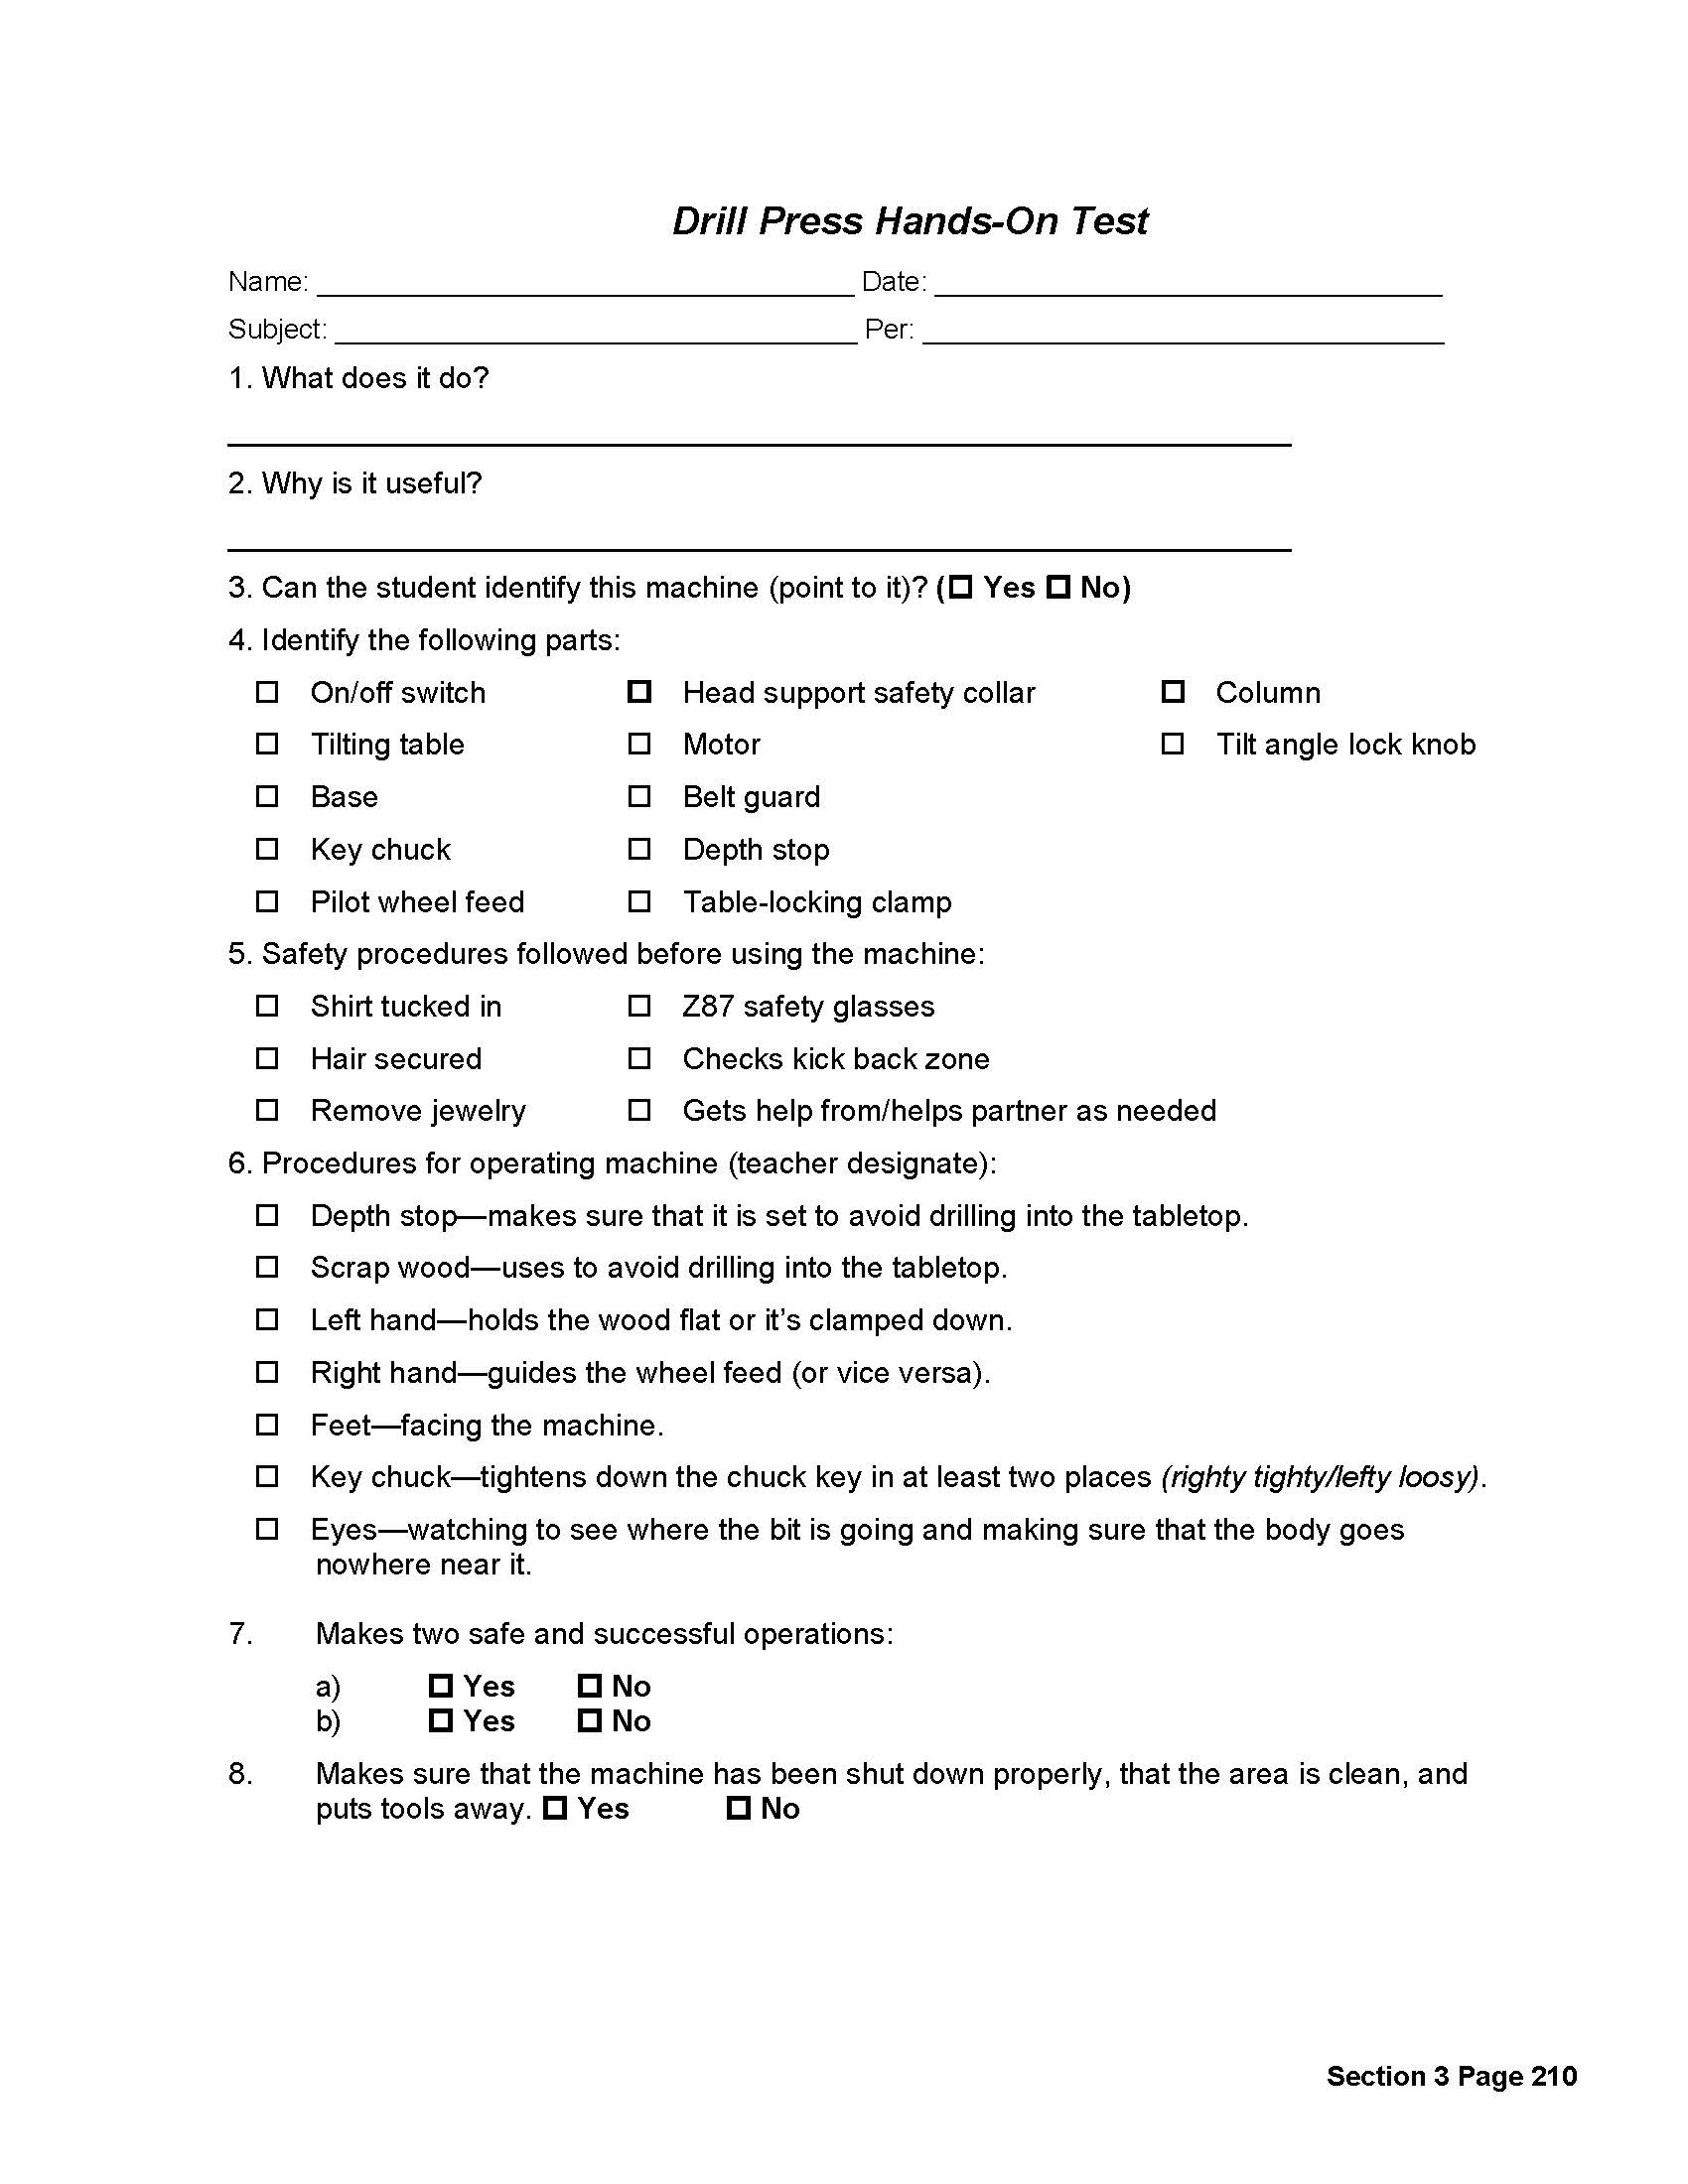
Drill Press Hands On Test 207_page_210.jpg |
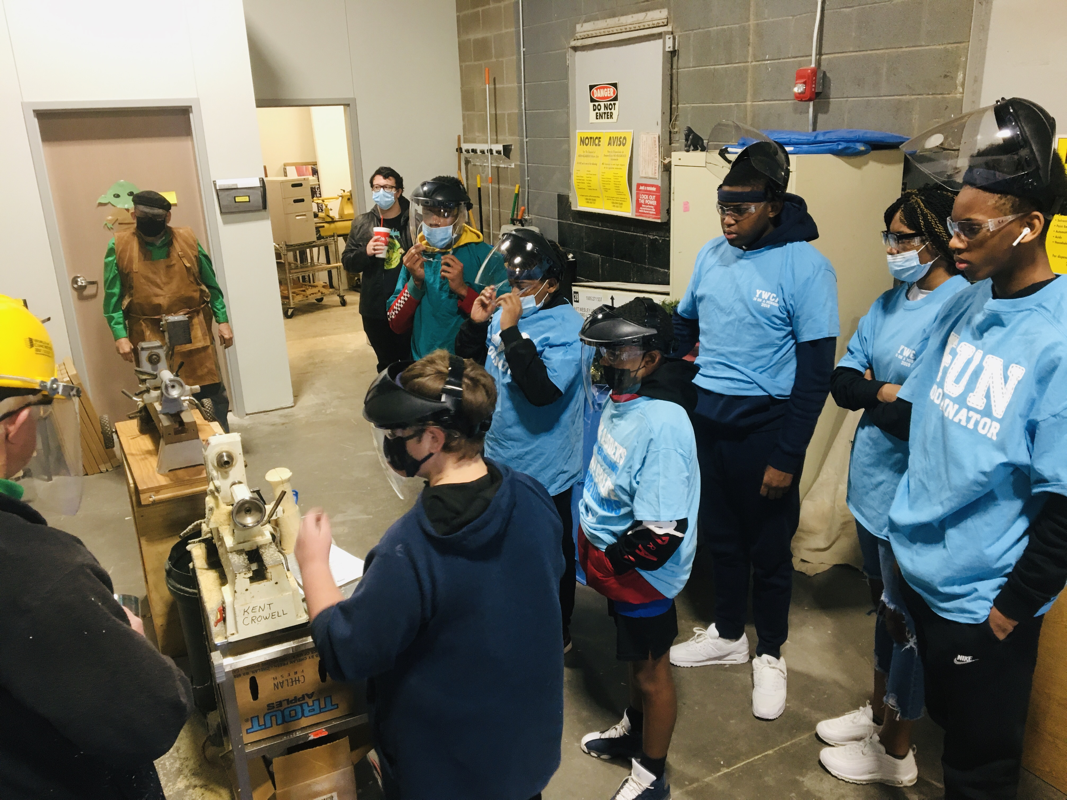
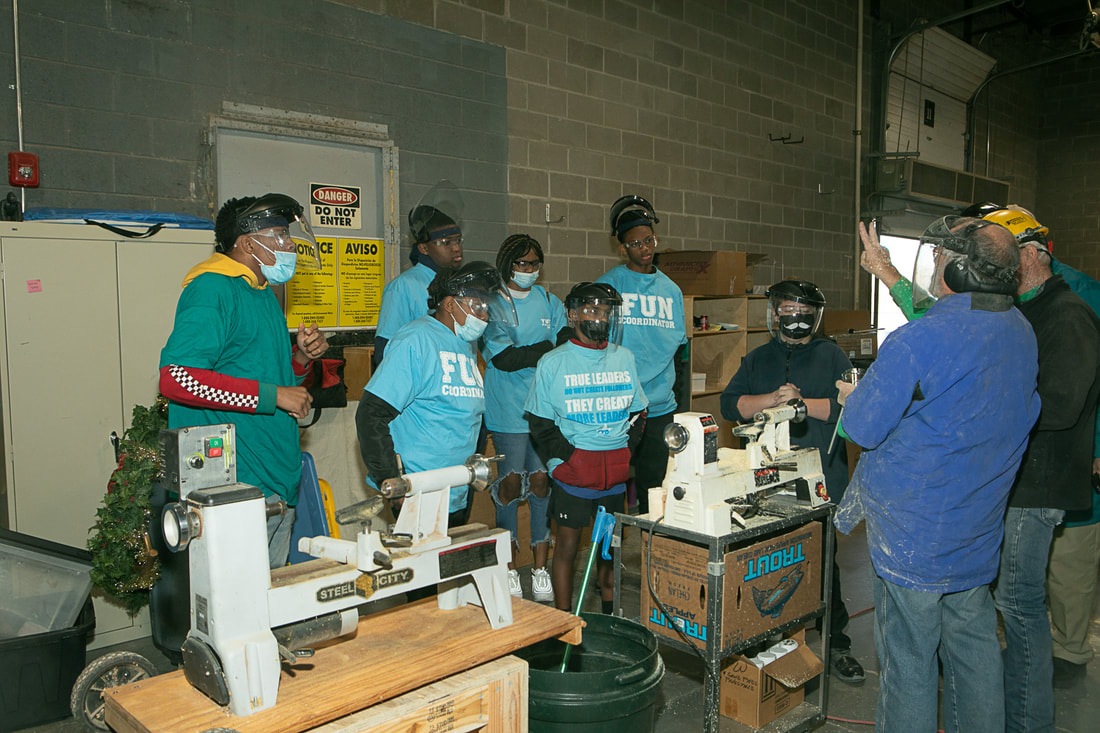
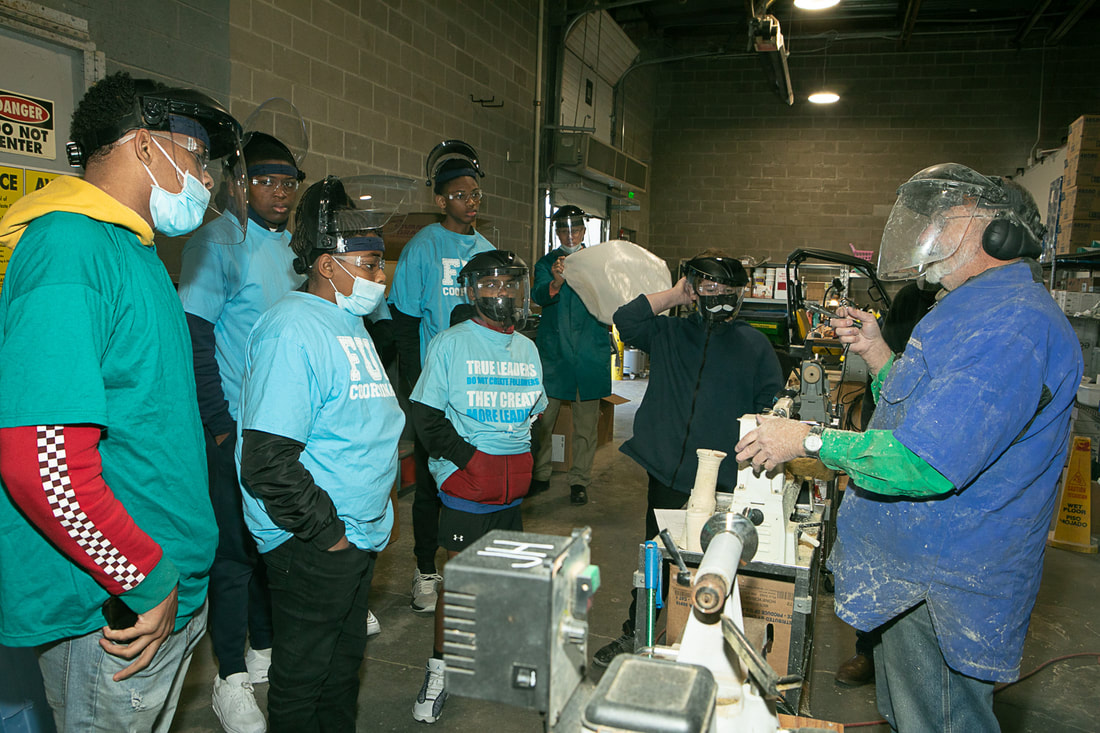
Save these dates - Proposed YWCA Youth Classes Times TBD
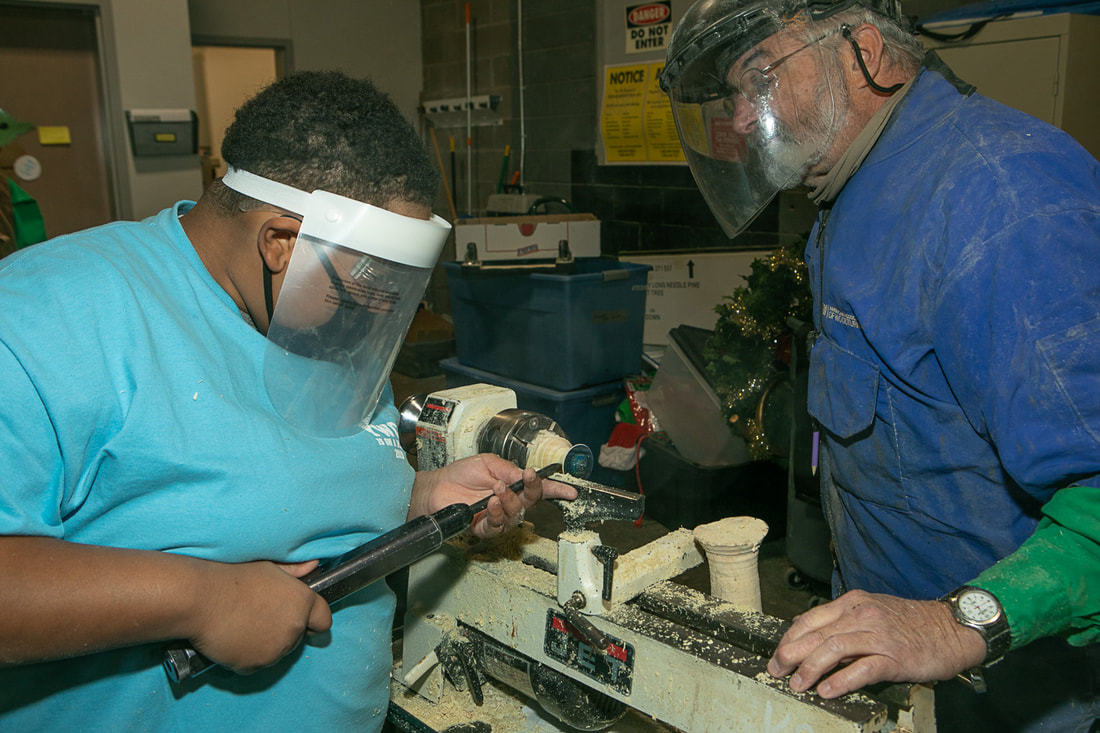
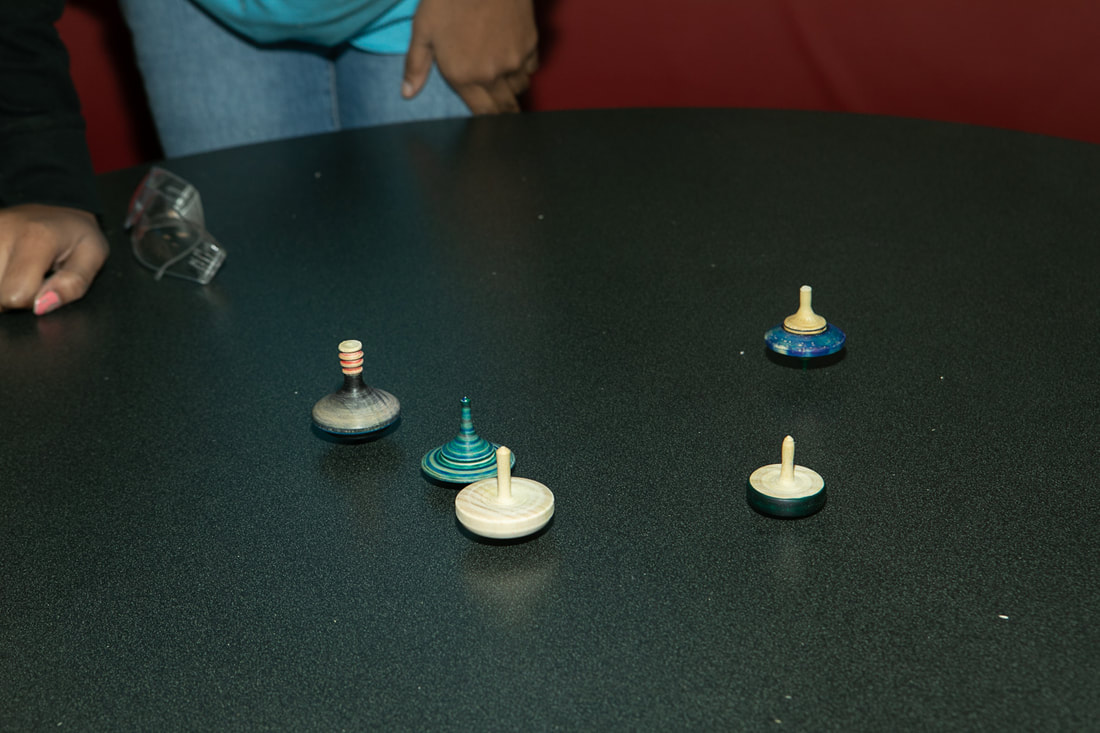
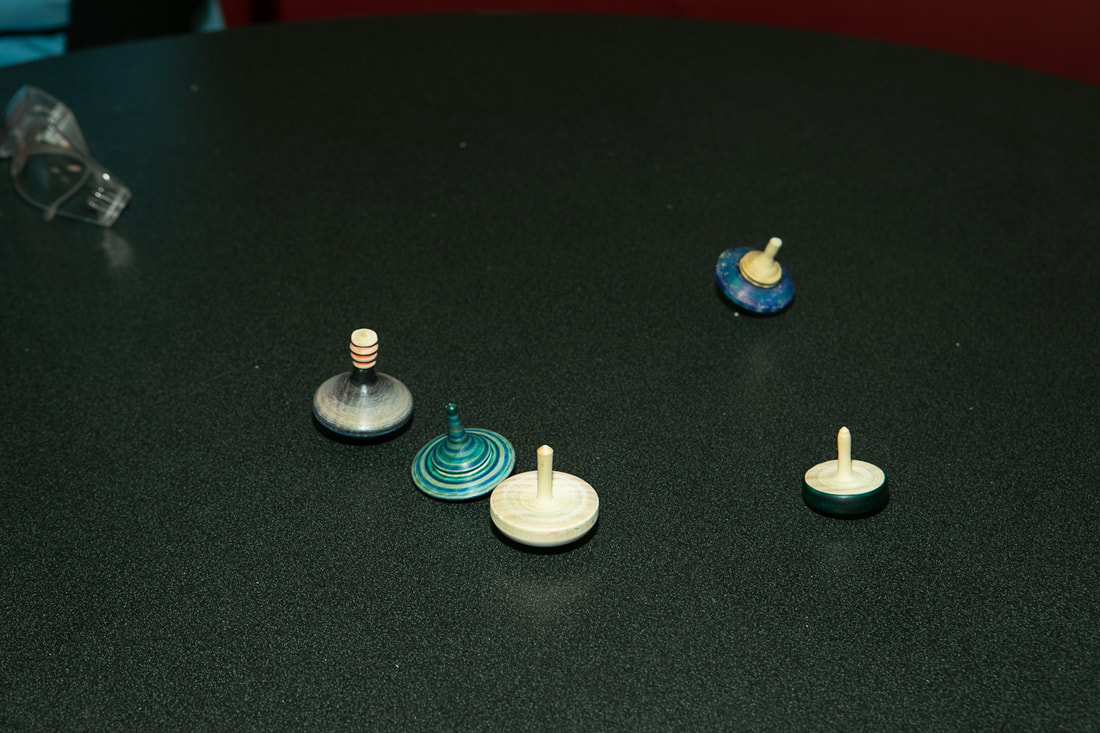
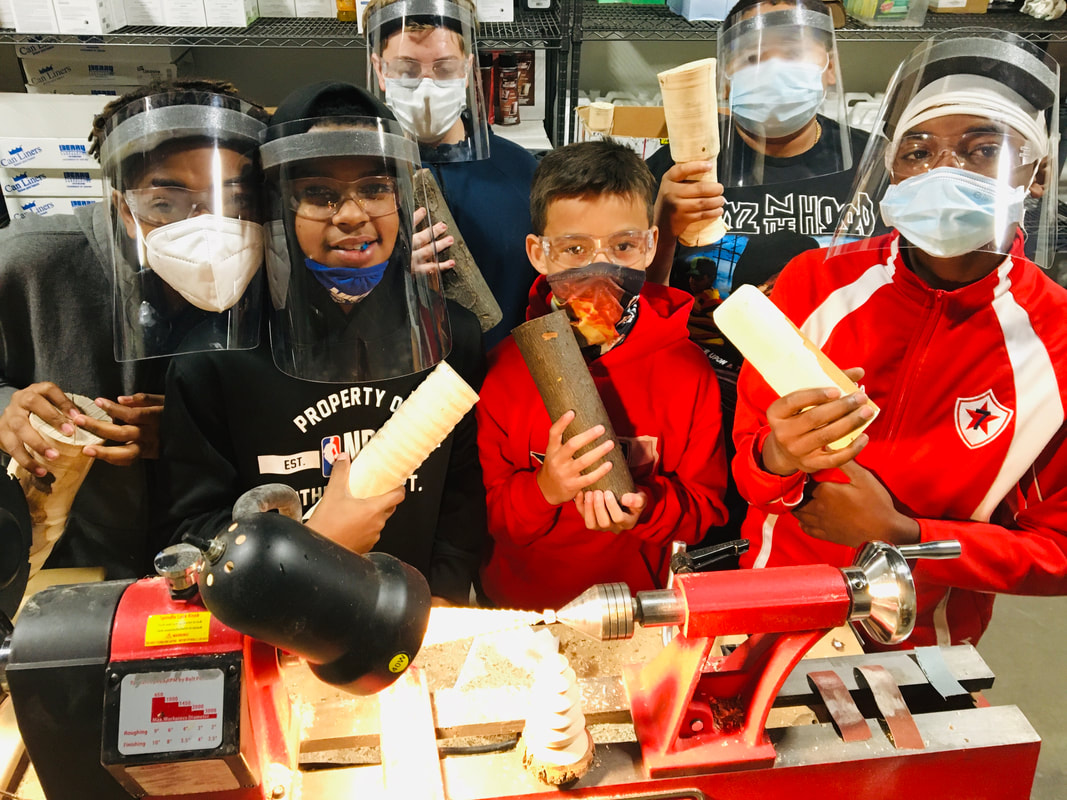
Jan 2, 2021 Finger Tops - 8 students made 8 spin tops.
Jan 10 - 15 New lathes arrive
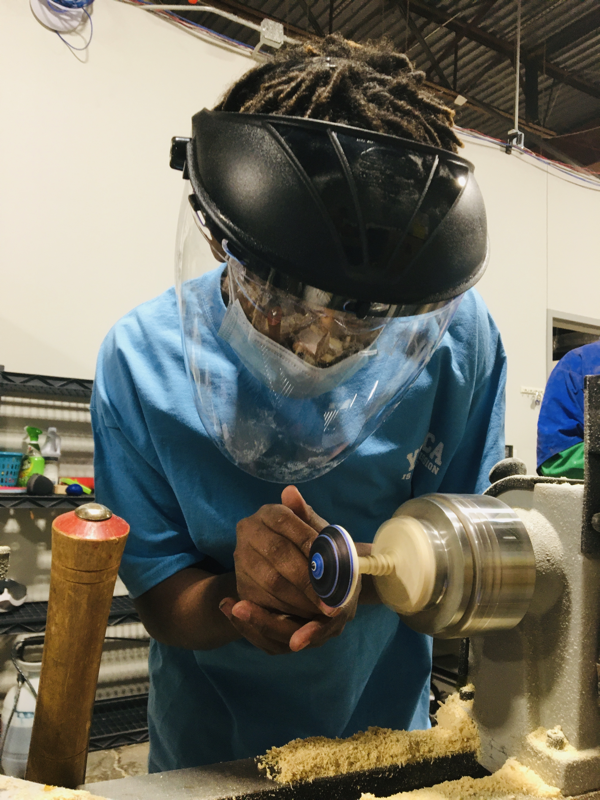
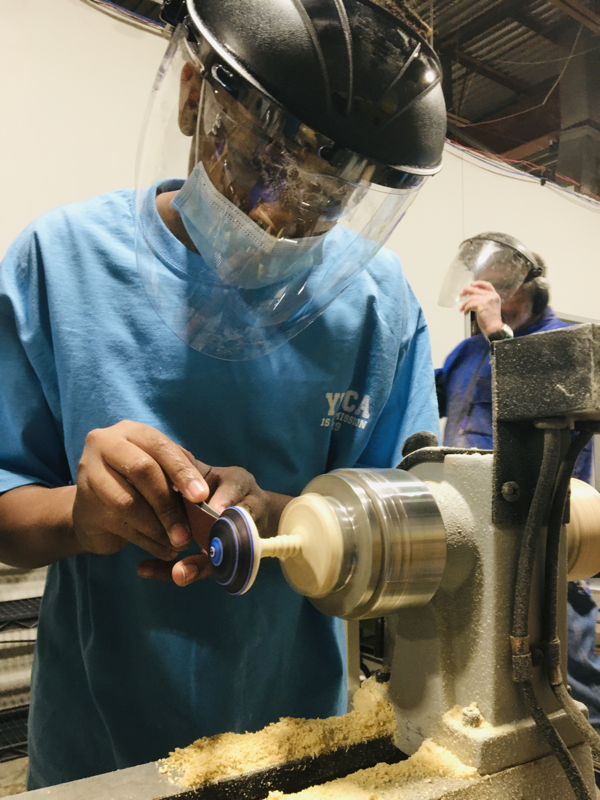
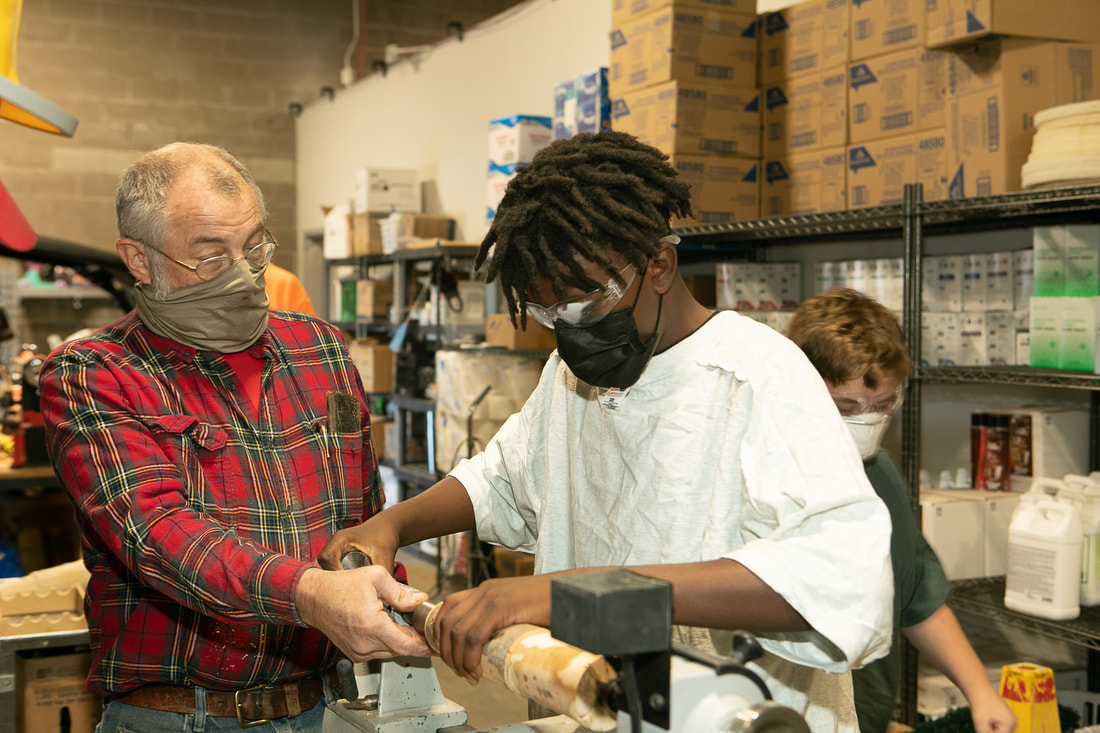
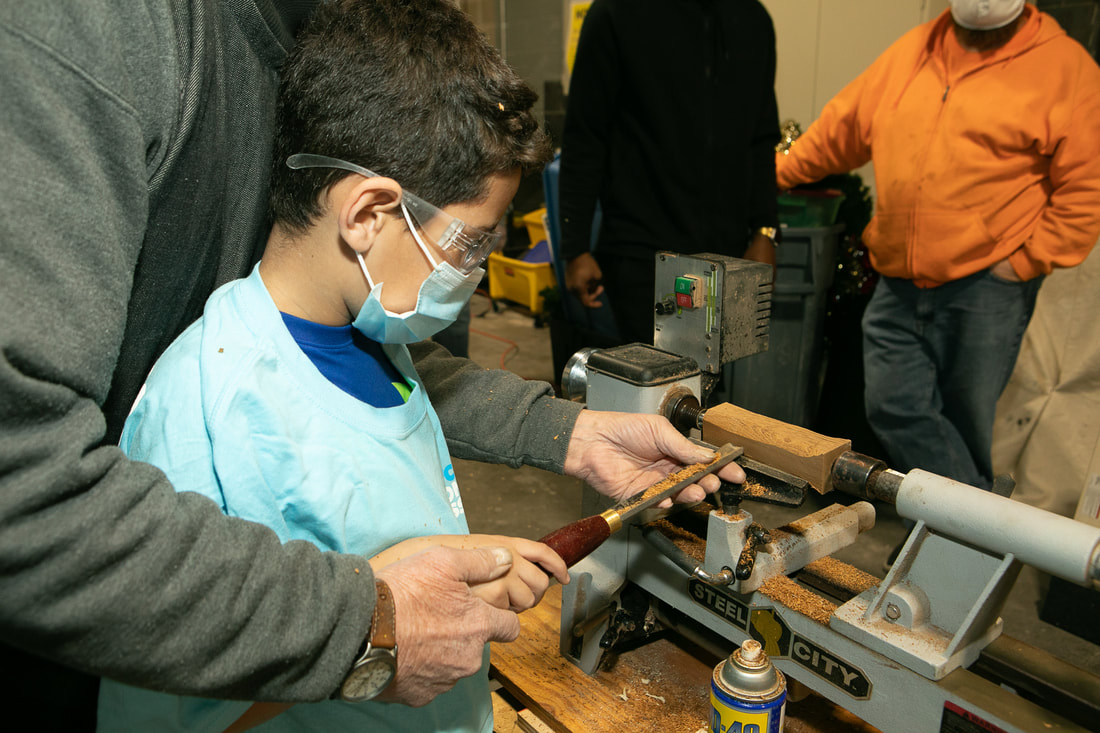
Jan 23, 2021 Slim Line Pens Part 1 Drilling, Gluing, Spindle Practice. Make a Goal Post for Basketball Game
Feb 13, 2021 Slim Line Pens Part 2 Pen Making.
Feb 27, 2021 Wooden Basketball game construction for March Madness
March 27, 2021
April 10, 2021
April 24, 2021
May 8, 2021
Jan 2, 2021 Finger Tops - 8 students made 8 spin tops.
Jan 10 - 15 New lathes arrive
Jan 23, 2021 Slim Line Pens Part 1 Drilling, Gluing, Spindle Practice. Make a Goal Post for Basketball Game
Feb 13, 2021 Slim Line Pens Part 2 Pen Making.
Feb 27, 2021 Wooden Basketball game construction for March Madness
March 27, 2021
April 10, 2021
April 24, 2021
May 8, 2021
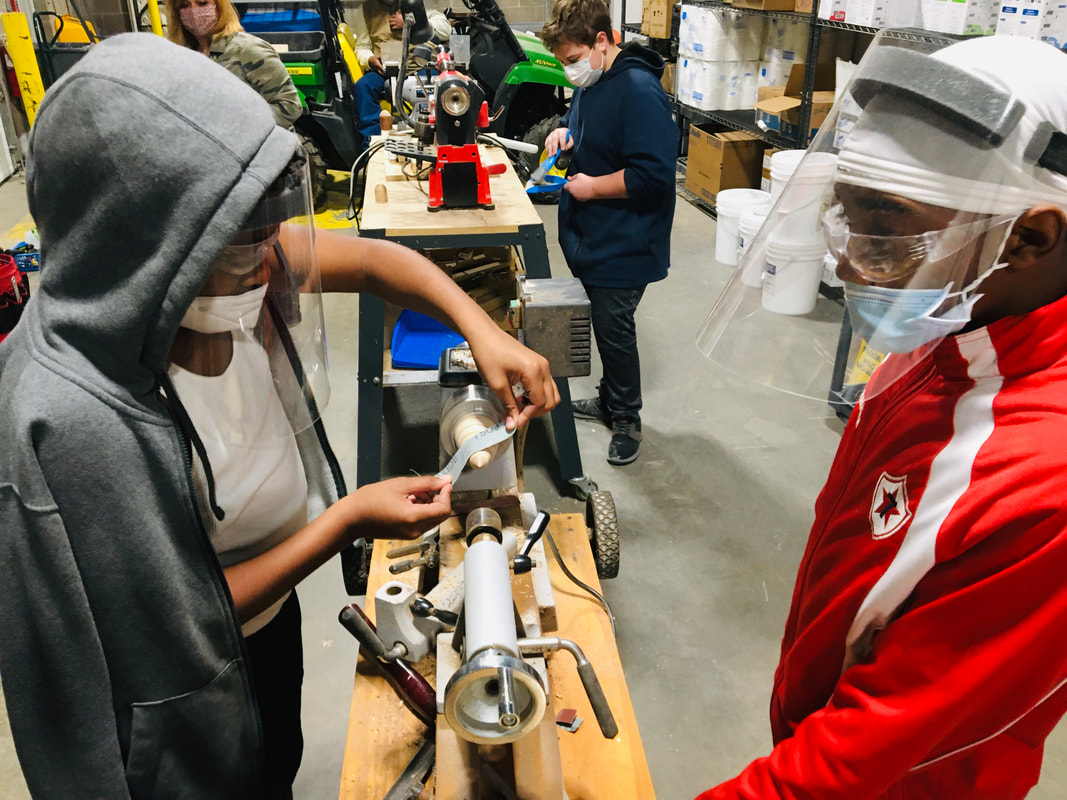
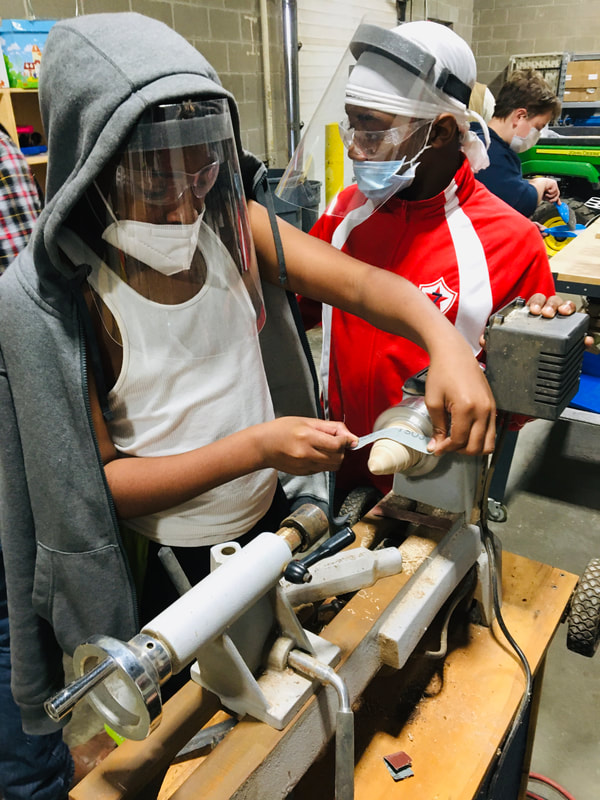
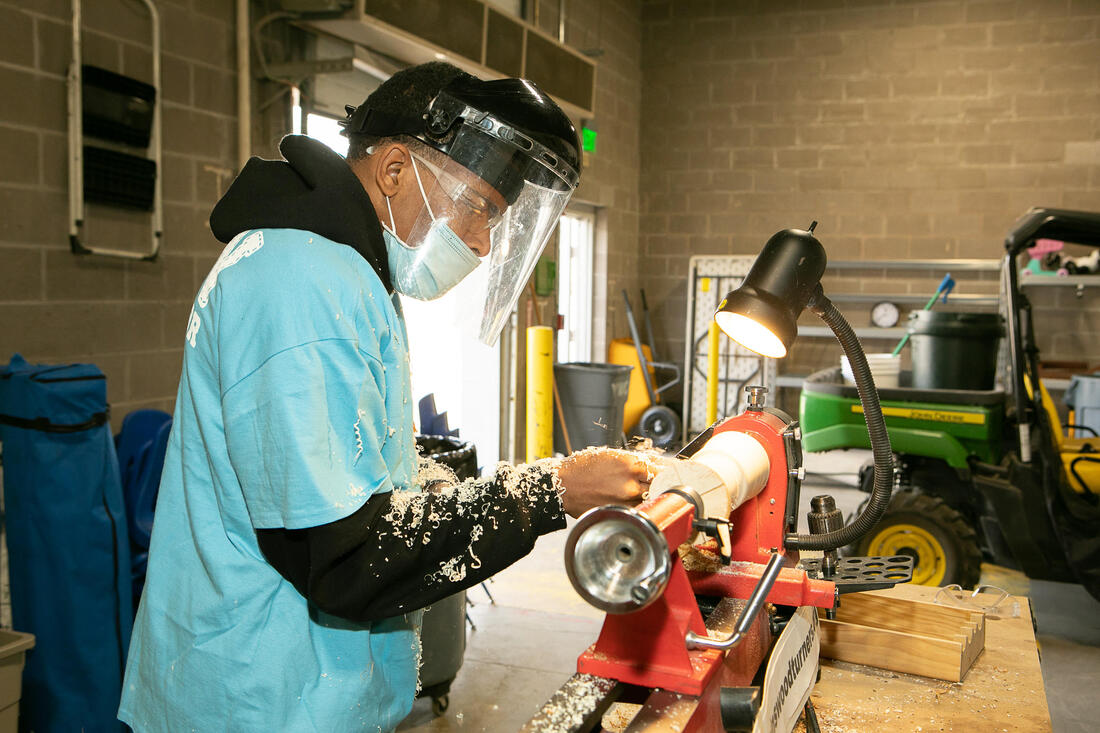
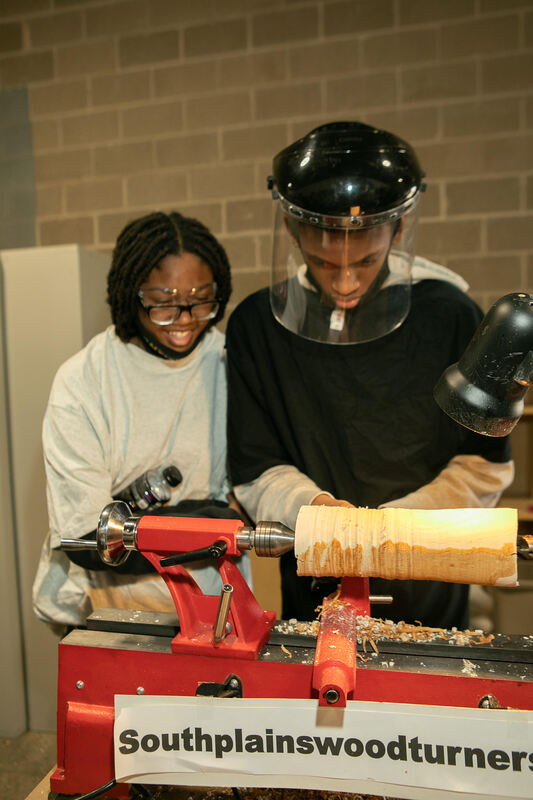
SPW Youth class #7 on 1/23/2021. The tops turned out great. Today we start pens and or key rings.
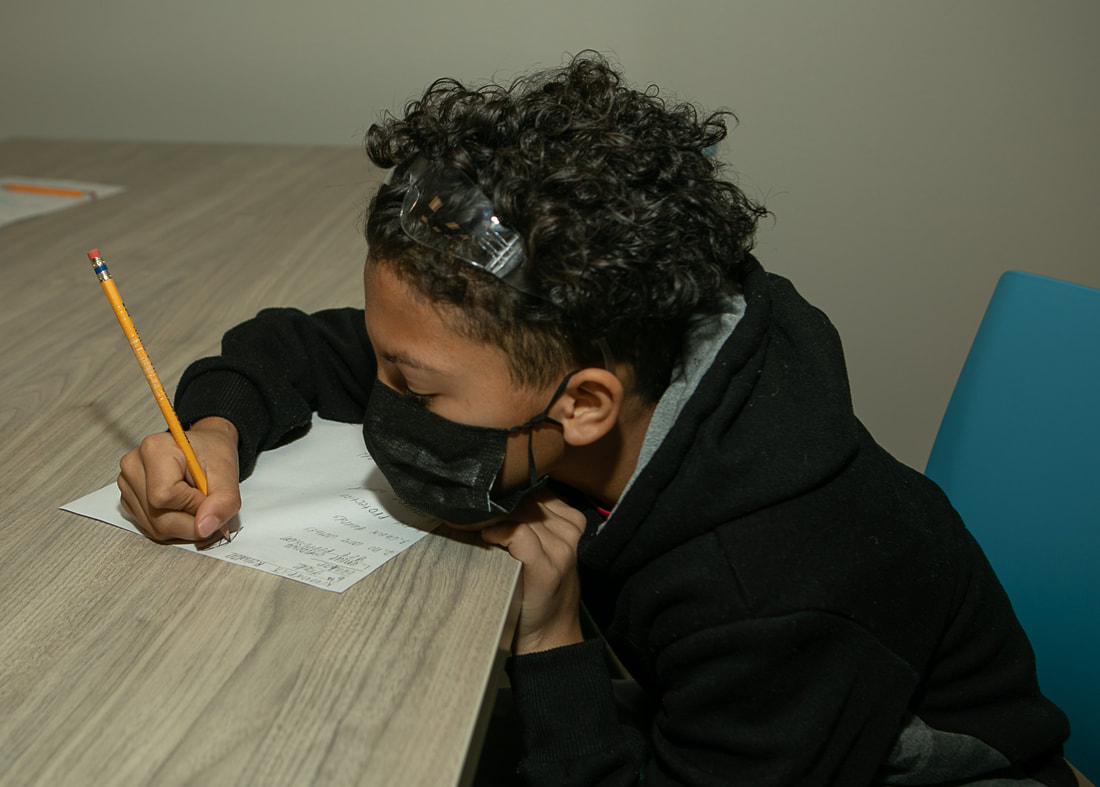
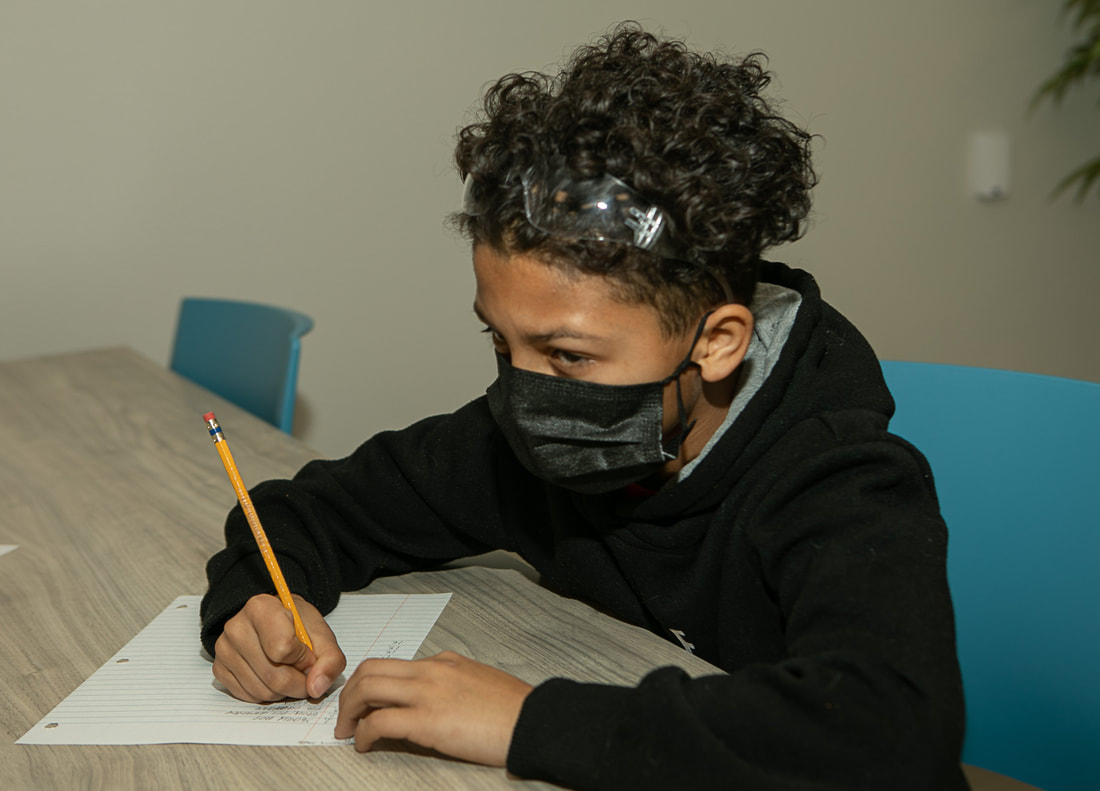
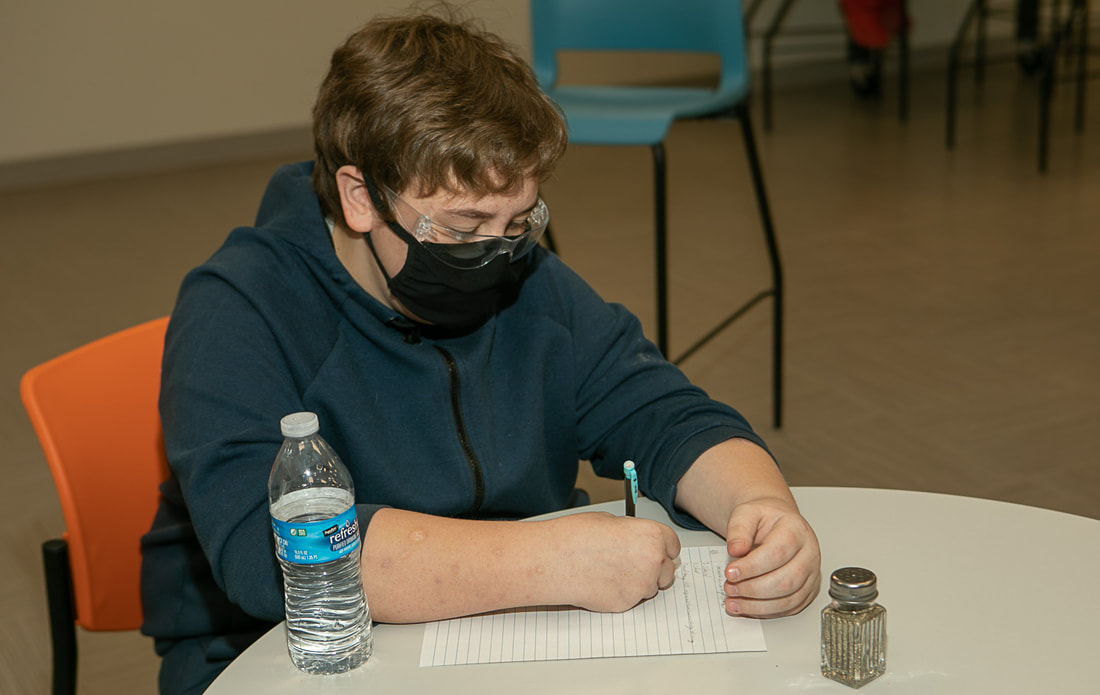
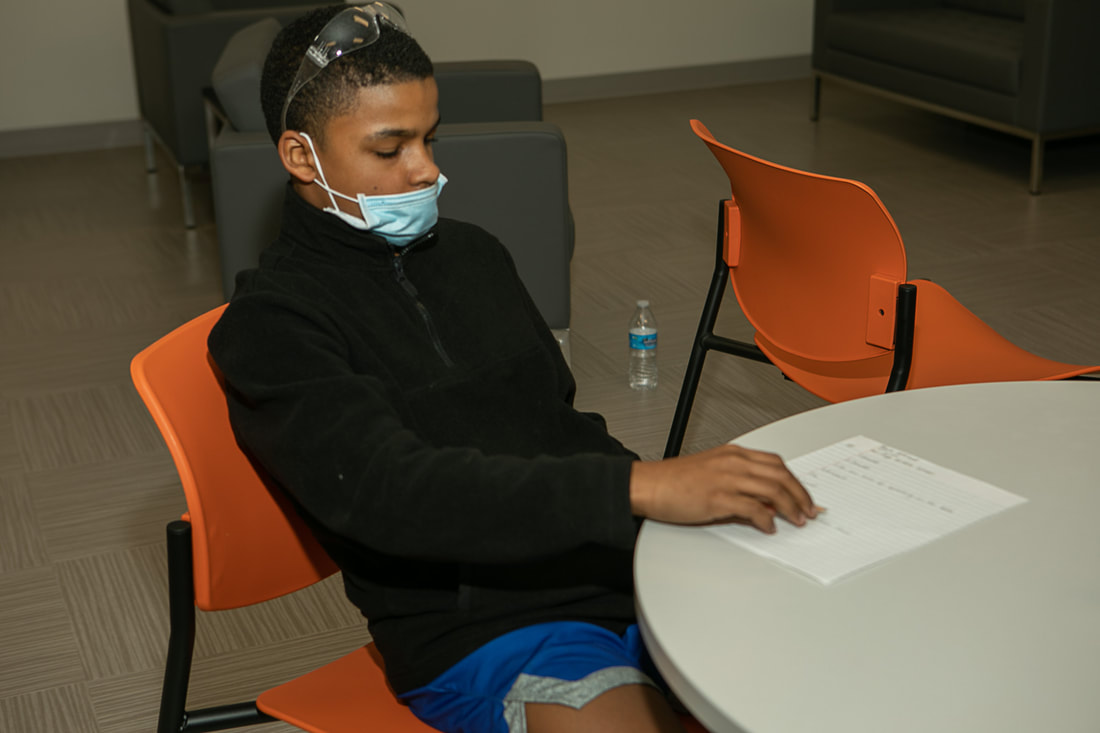
We have a few that need to take the safety test on the wood lathe and pass with a 100. Rules are on first few lessons.
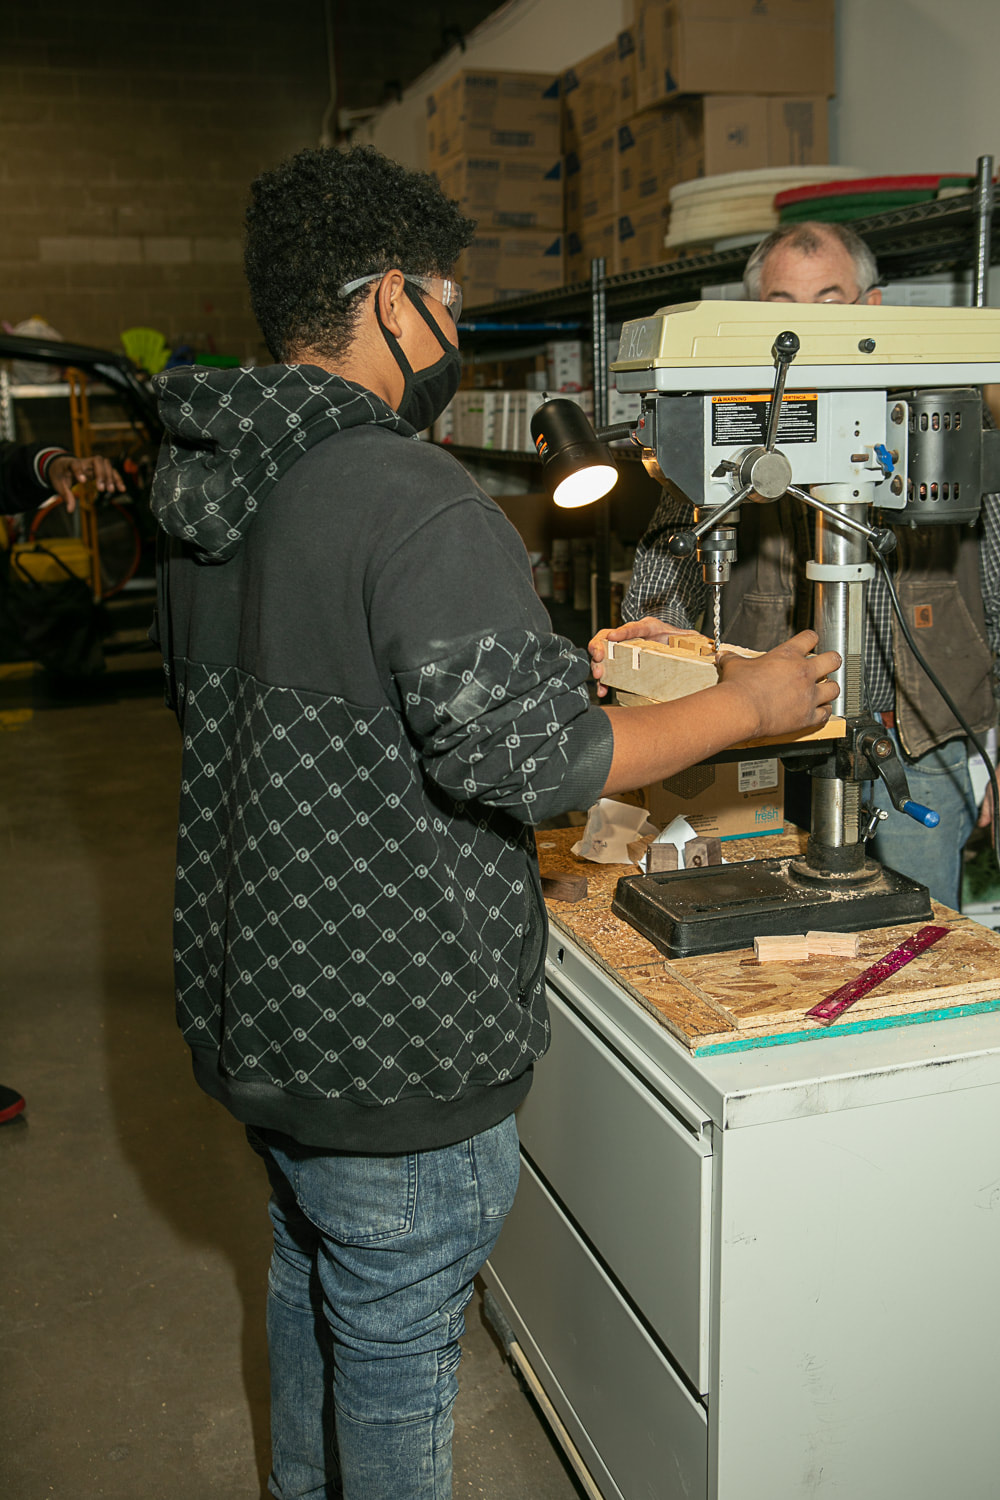
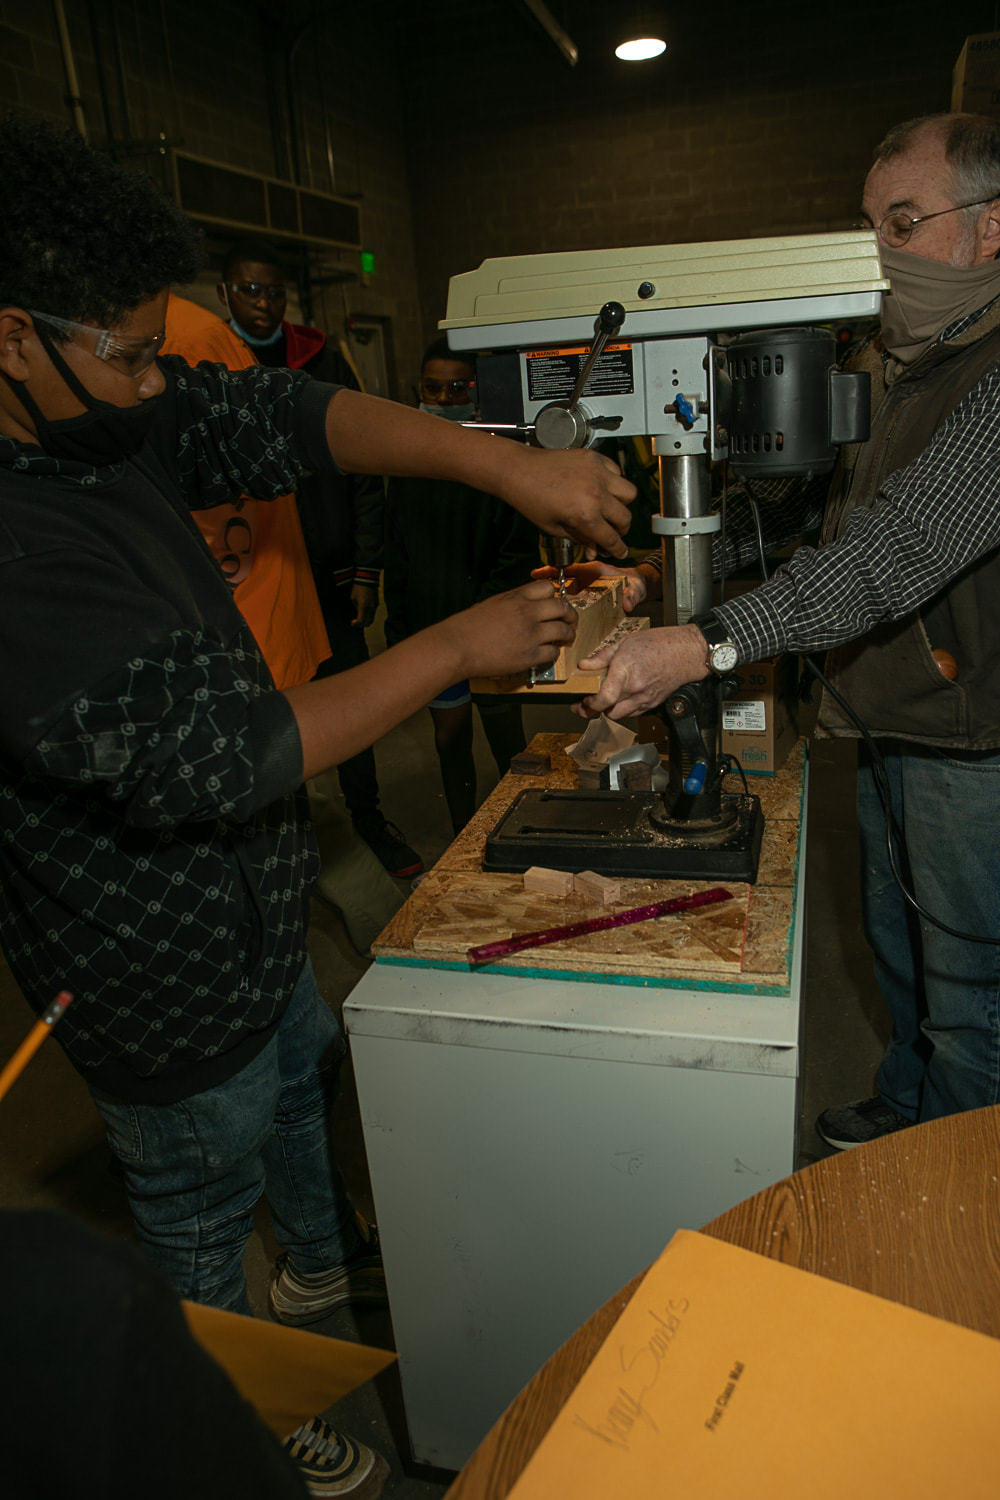
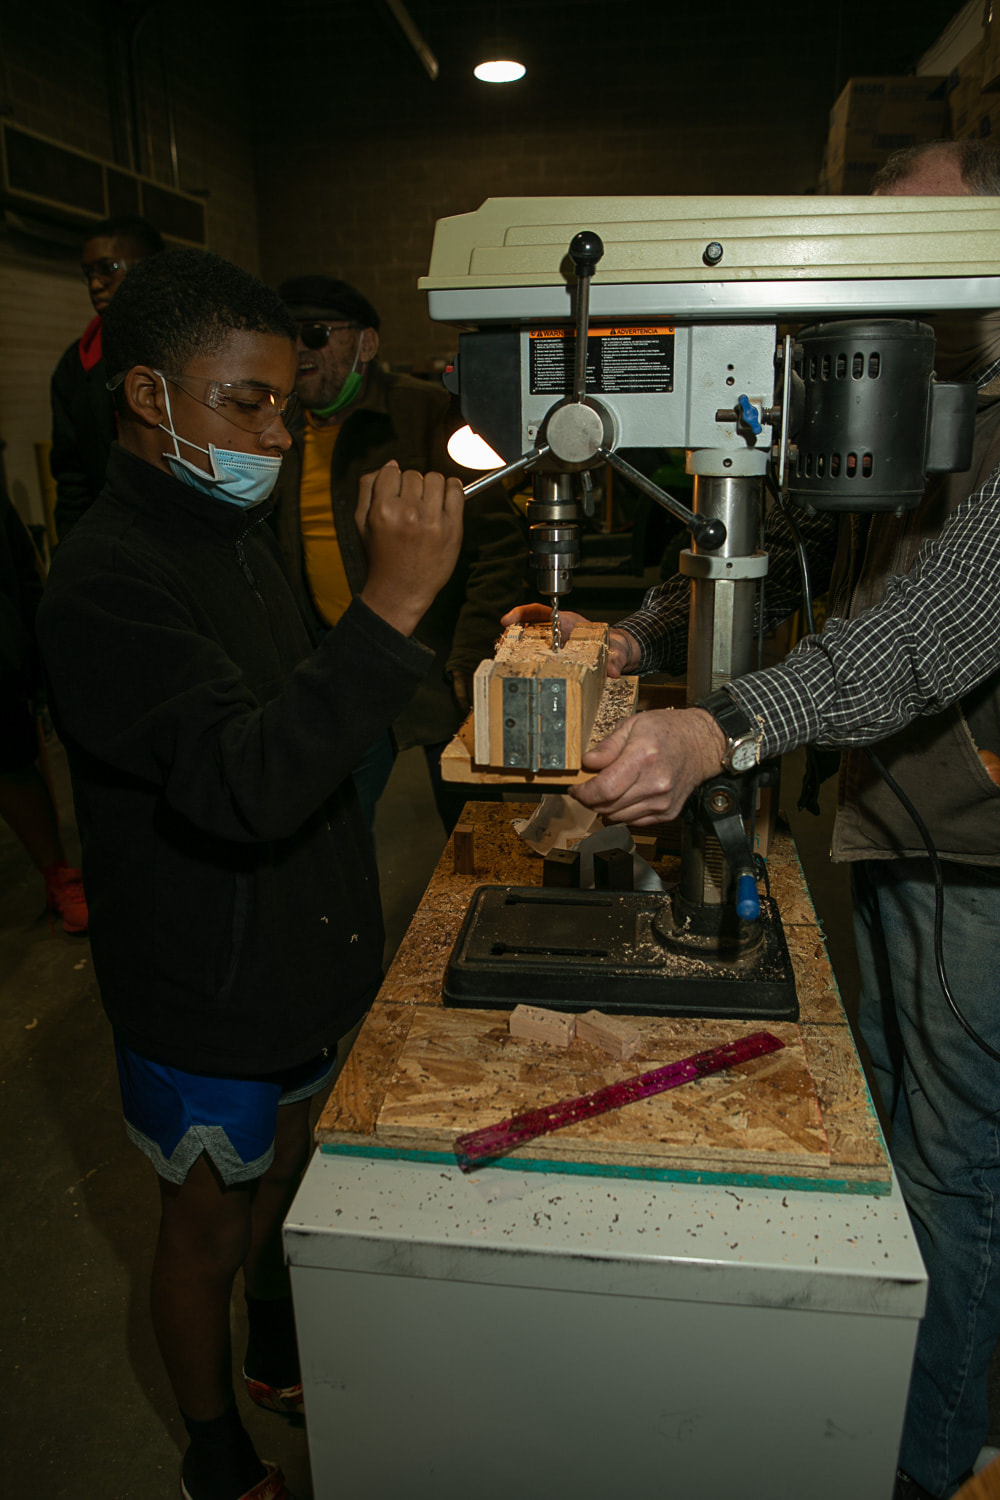
1 All will need to view the info on the Drill Press, including the video and be prepared to take a safety test. Upon Passing.
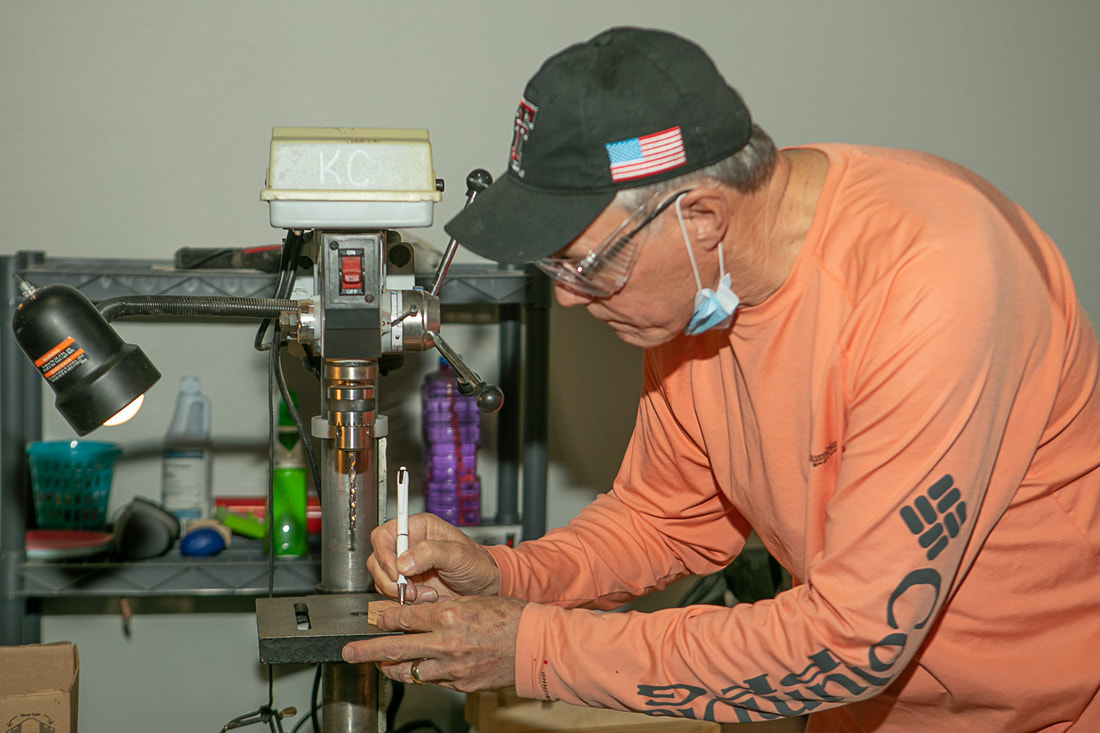
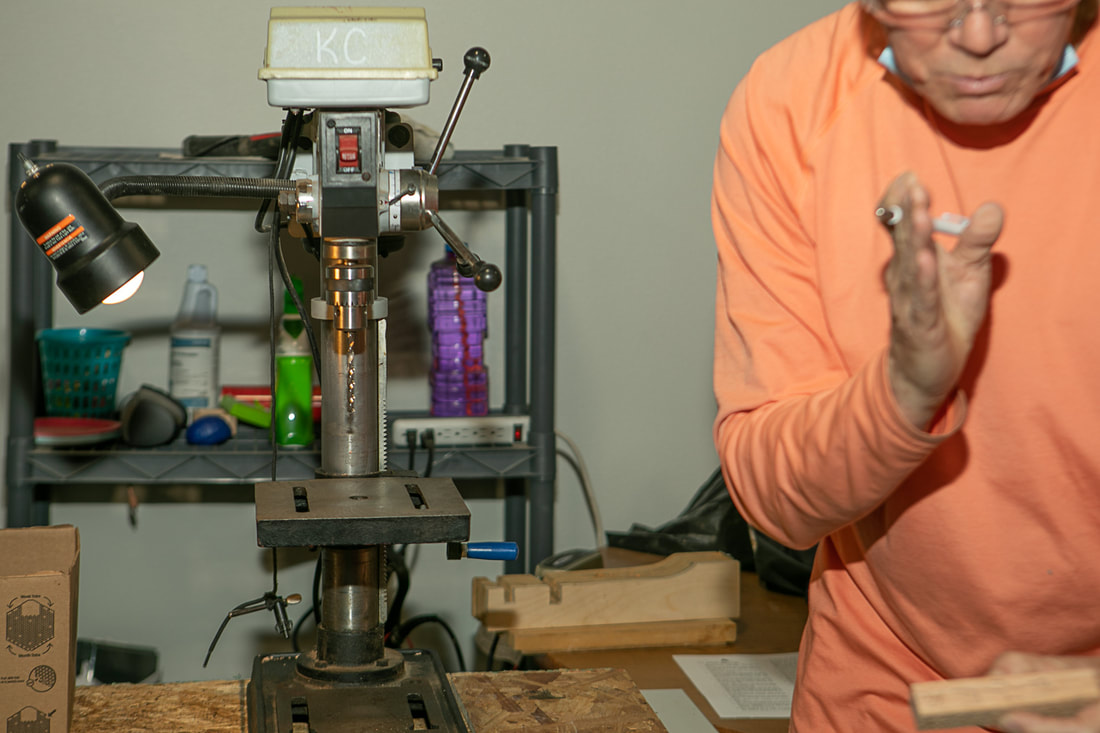
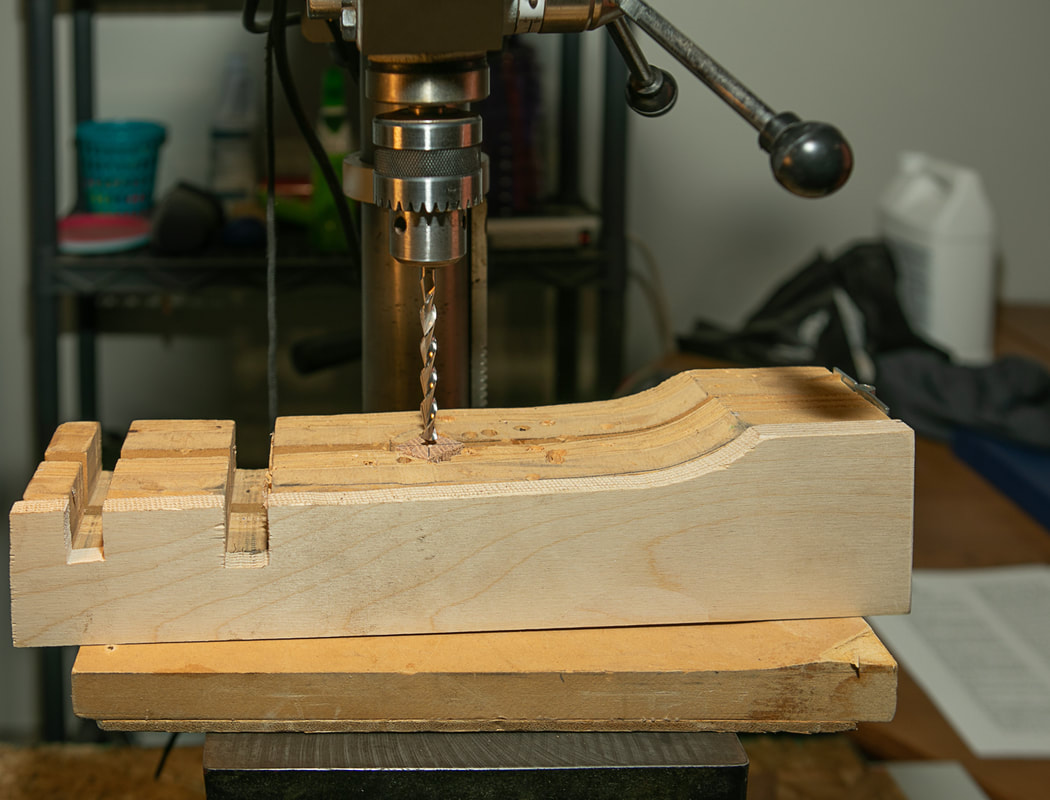
2 Select a set of blanks. ID with FIRST AND LAST names. Find Center, & Drill 7 mm holes in pen blanks.
3 Get 2 brass tubes, Scratch up surface, Glue in brass - polyurethane, super glue, or epoxy. Do not use wood glue or Elmer's.
4 Wrap up, ID outside, and store for next time.
5 Spindle practice. Turn a "goal post from square to round for the basketball game. Google wooden basketball game images to see some samples.
MVPs bring your wood from last time.
MVPs are on time, help with face shields, help with safety glasses, wear a dust mast, do not have phones out during the lesson, do not engage in horseplay, secure loose clothing, listen with eye contact and most of all have fun.
Study up on the drill press parts, operation, and safety for next time. We will begin preparing our pen blanks. Watch this Tech Ed Safety video on the Drill Press before the next meeting.
https://youtu.be/UsTh-Ap1n_Y. Please watch this excellent lesson with 9 Drill Press Rules.
Extra Credit, take 5 minutes and view Hot to make a wood pen (on a lathe).
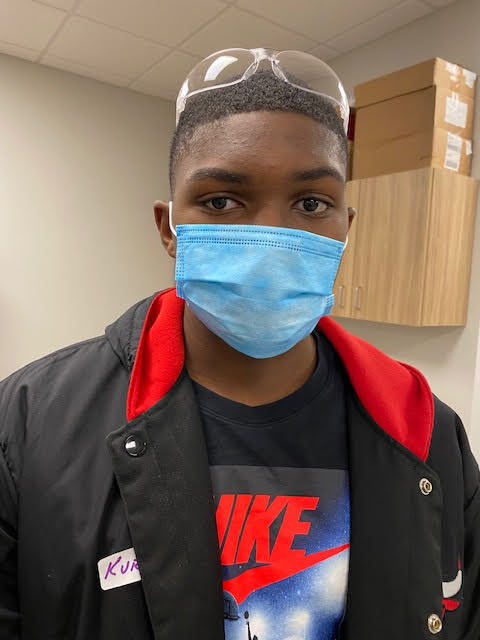
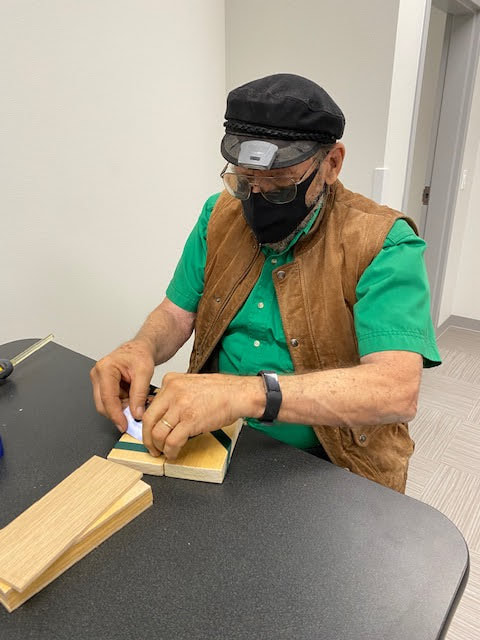
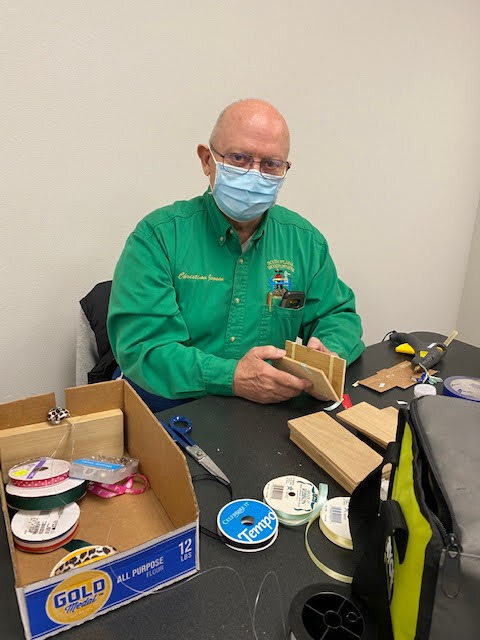
SPW Youth class #6 on 1/2/2021, We rounded up some four jaw chucks and all 8 apprentices were successful in creating small spin tops. Kurtis made the longest spinning top by far. Several youngsters received marble wood pen blanks (thankyou Scot Goen) or Home Depot fire truck kits for serving as MVPs. today. Thanks again to the staff at the Ywca and all the regular mentors who donated time, tools, and materials to make this the best class so far.
We need to give a big shout out to Roy Strickland who send us two new face shields via two of his grandsons. We now are up to 7 good face shields.
MVPs are on time, help with face shields, help with safety glasses, wear a dust mast, do not have phones out during the lesson, do not engage in horseplay, secure loose clothing, listen with eye contact and most of all have fun.
Study up on the drill press parts, operation, and safety for next time. We will begin preparing our pen blanks. Watch this Tech Ed Safety video on the Drill Press before the next meeting.
https://youtu.be/UsTh-Ap1n_Y. Please watch this excellent lesson with 9 Drill Press Rules.
Extra Credit, take 5 minutes and view Hot to make a wood pen (on a lathe).

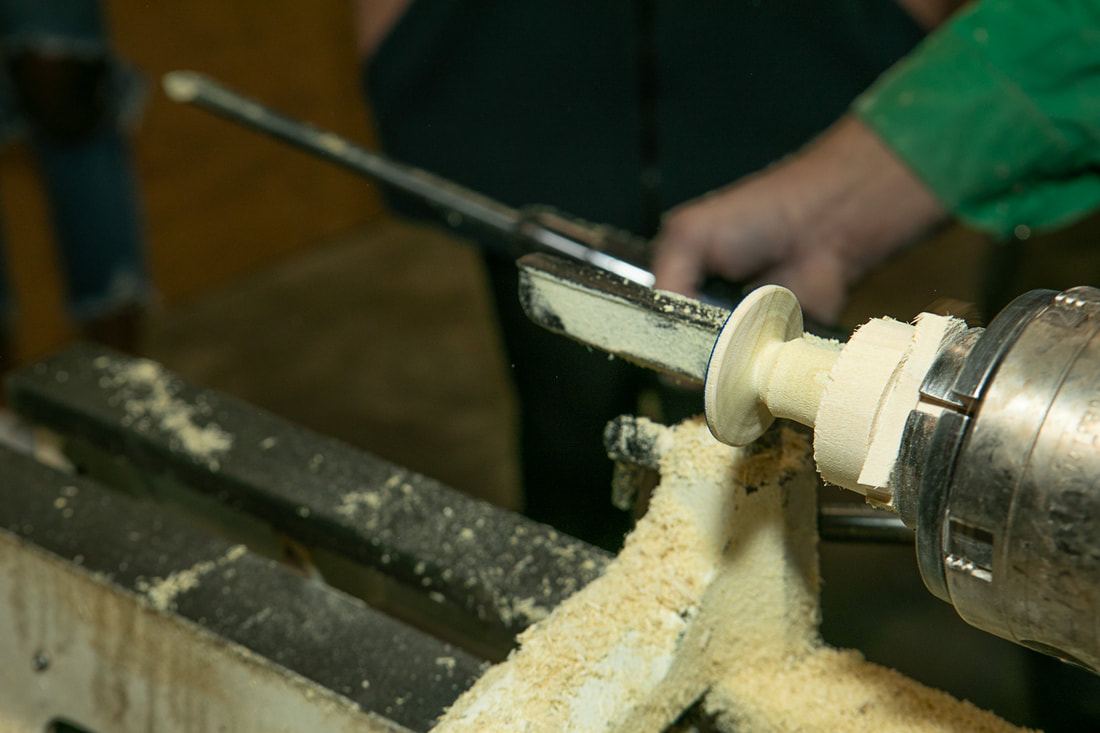
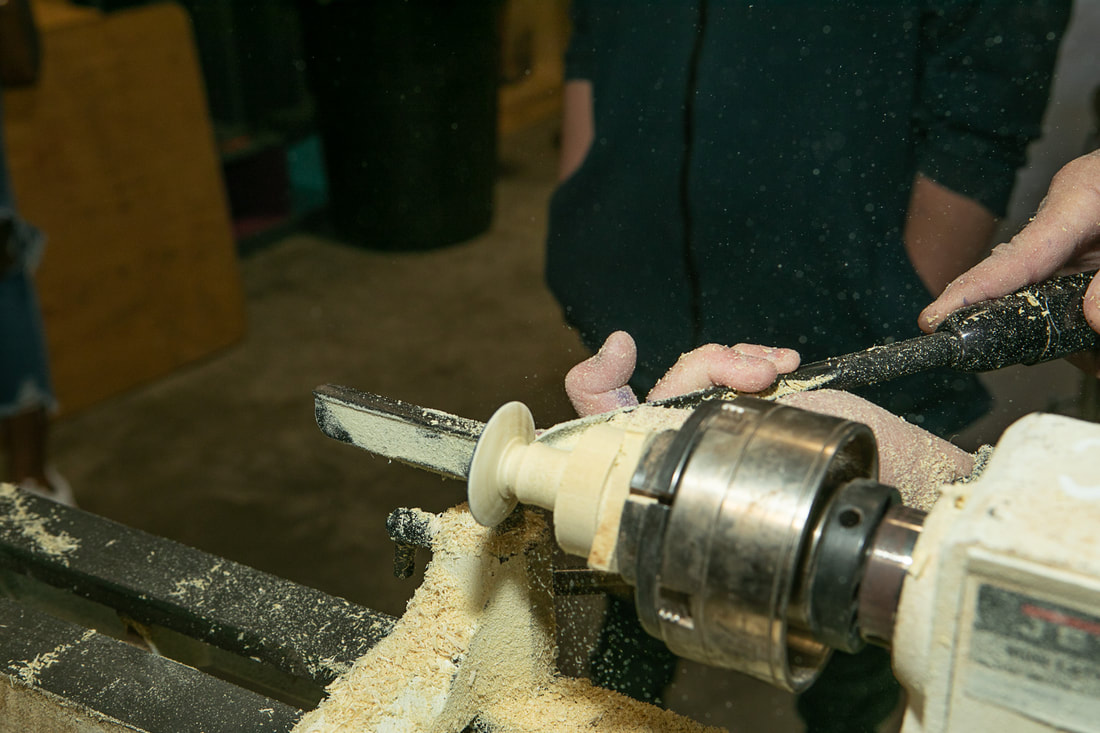
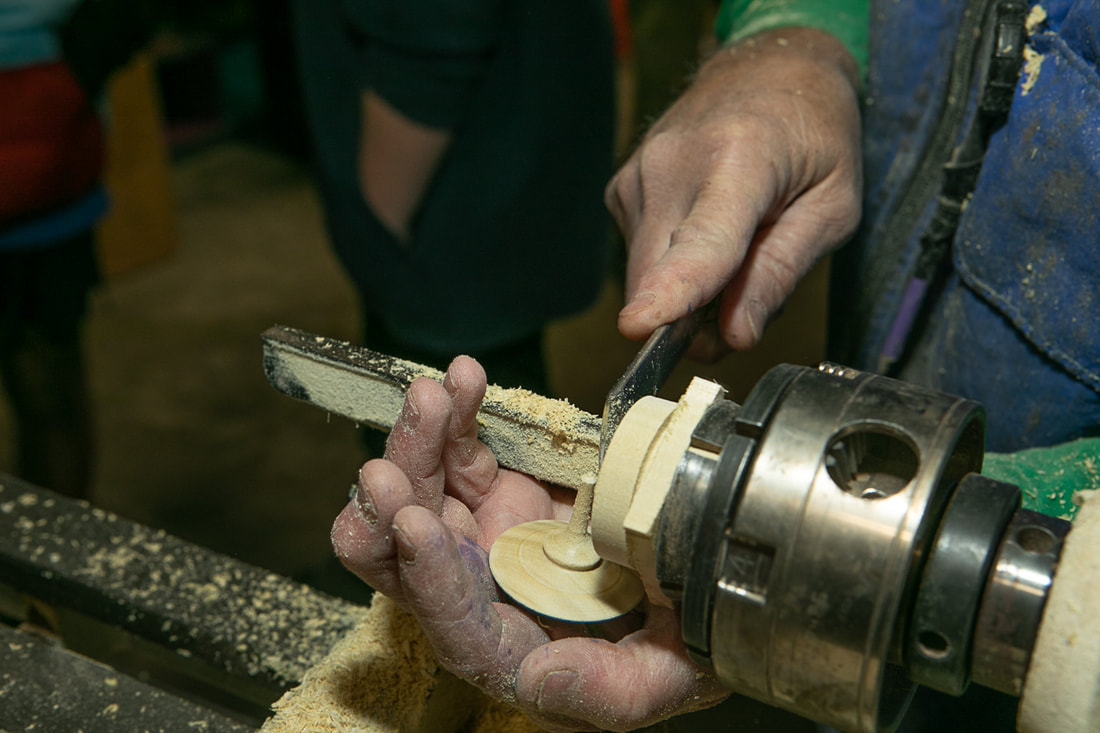

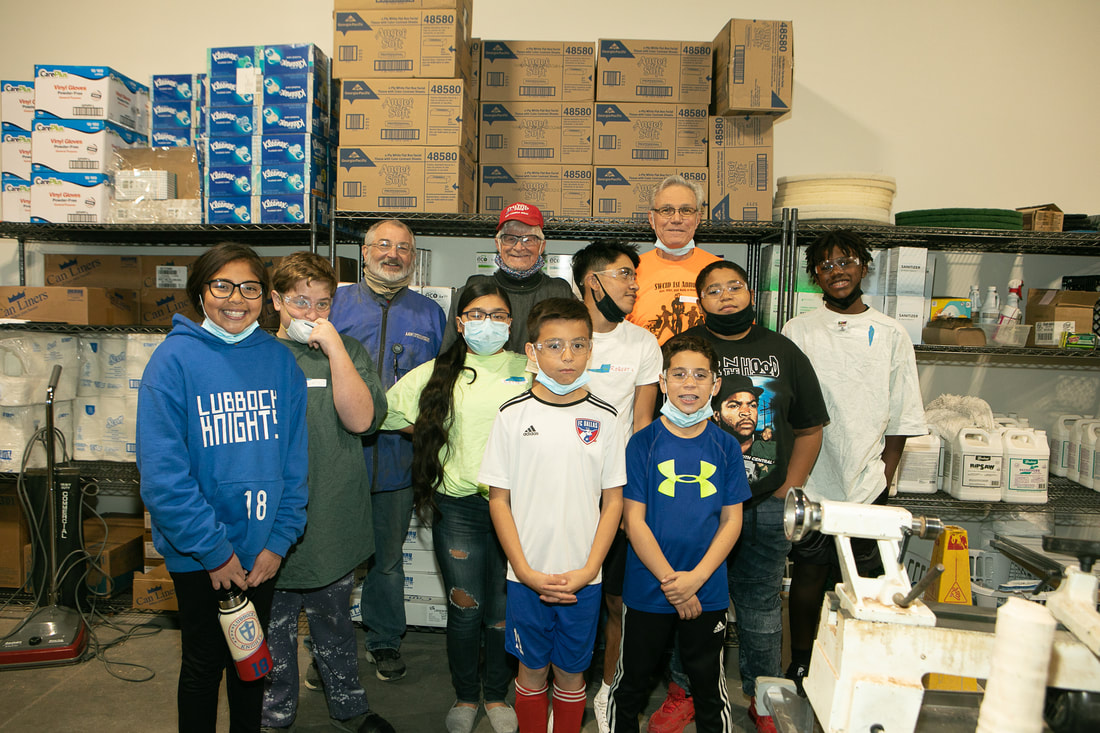
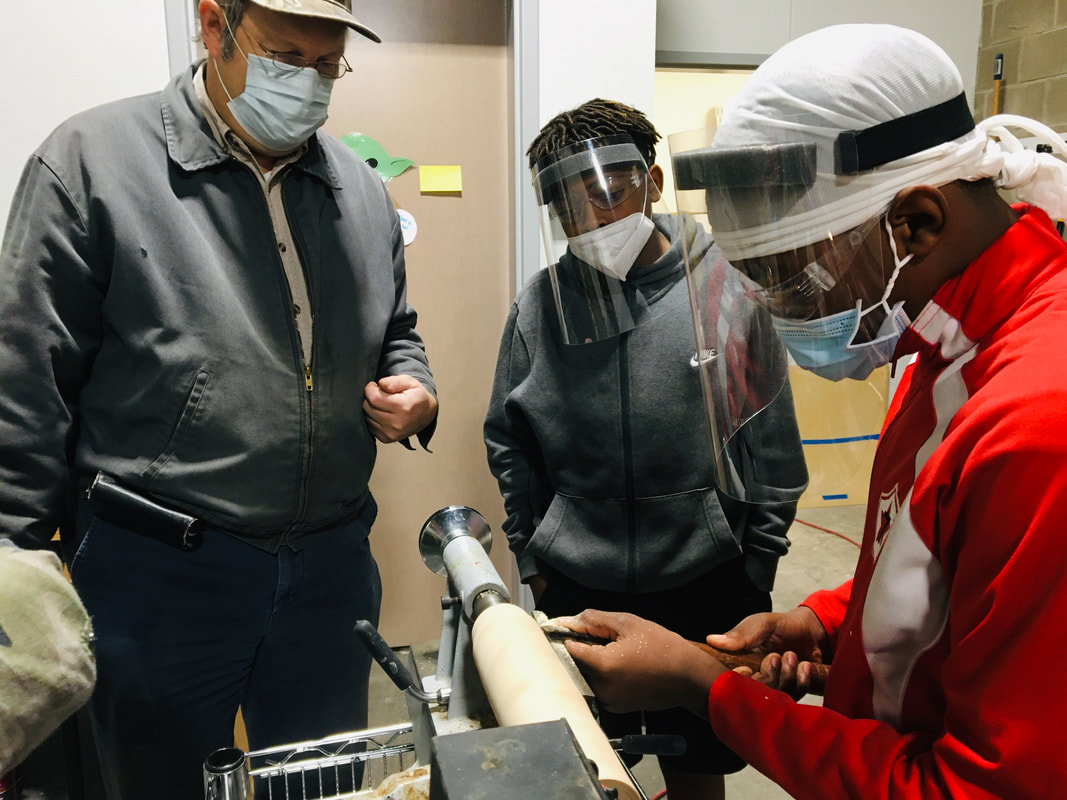
SPW Youth class #5 12/19/2020 More Spindle Practice - Christmas Tree Ornaments - Special Thanks to our mentors, Jim Bob, Ron, and Kent as well as Robert S and wife for taking photos. Finally, thanks go out to the YWCA Team and City Bank for their support. Nine kiddos & Four lathes showed up.
The cookies are all gone. :)


SPW + YWCA Youth Class # 4, 12/5/2020, i
Safety Review, Safety Test, student -teacher made Christmas Tree Ornaments
|
|
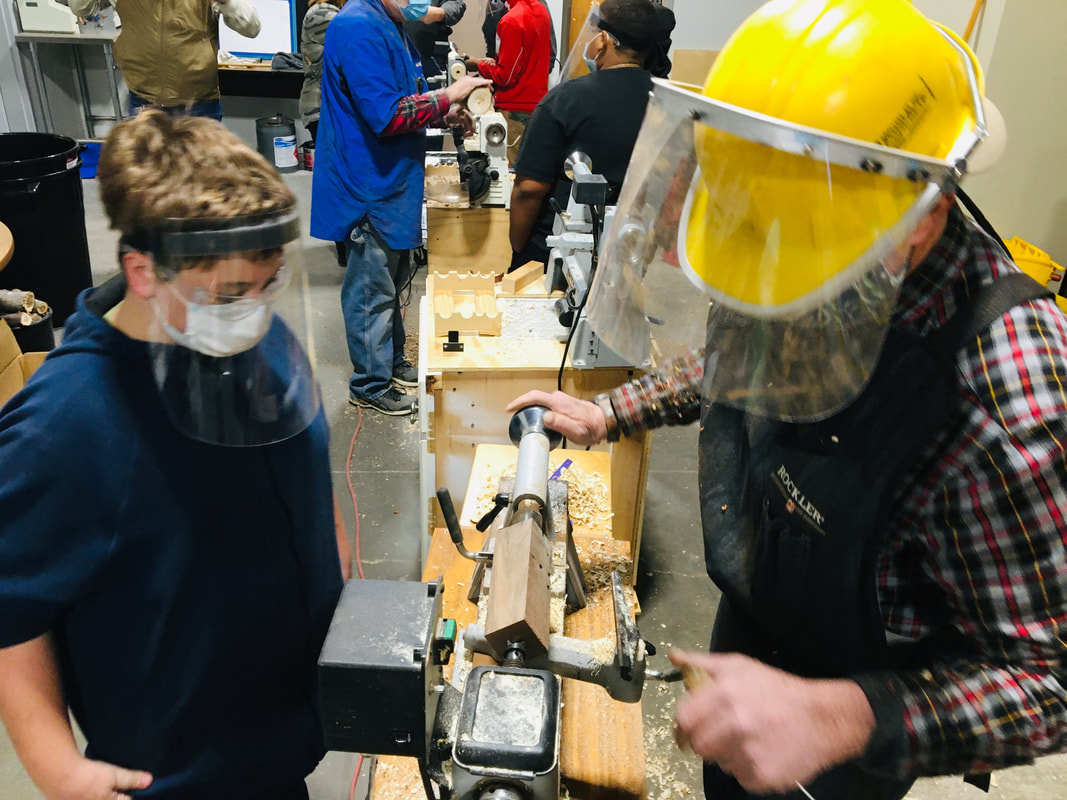
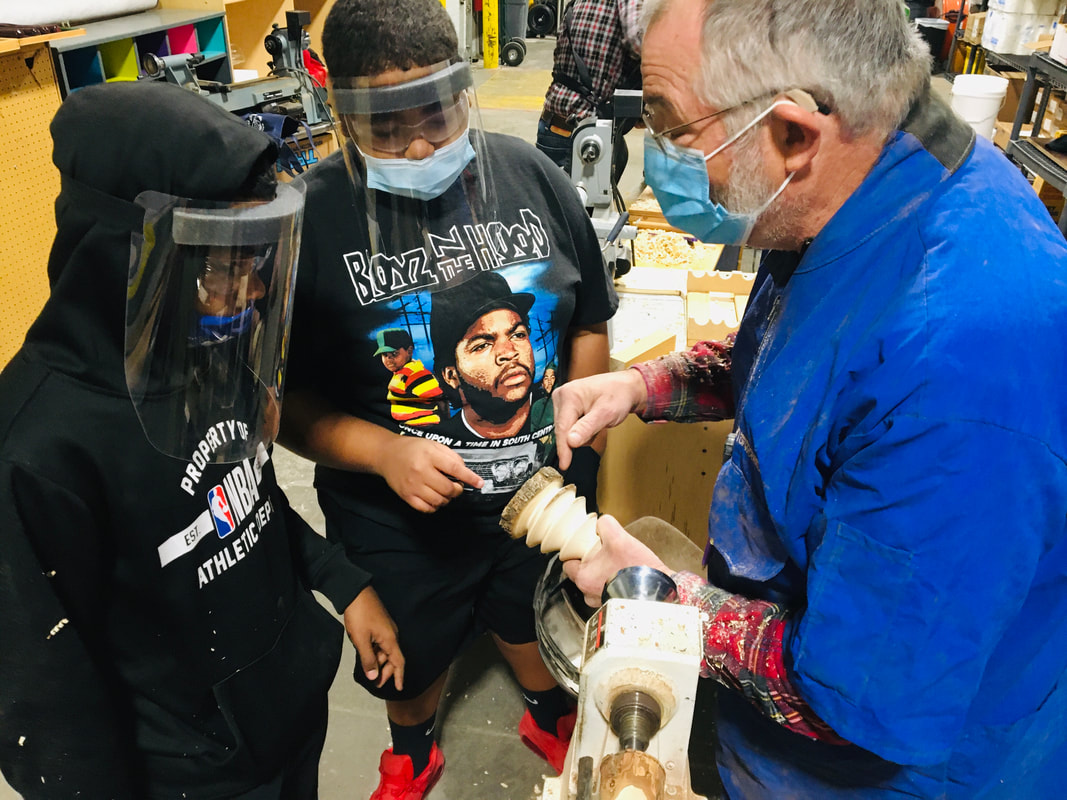


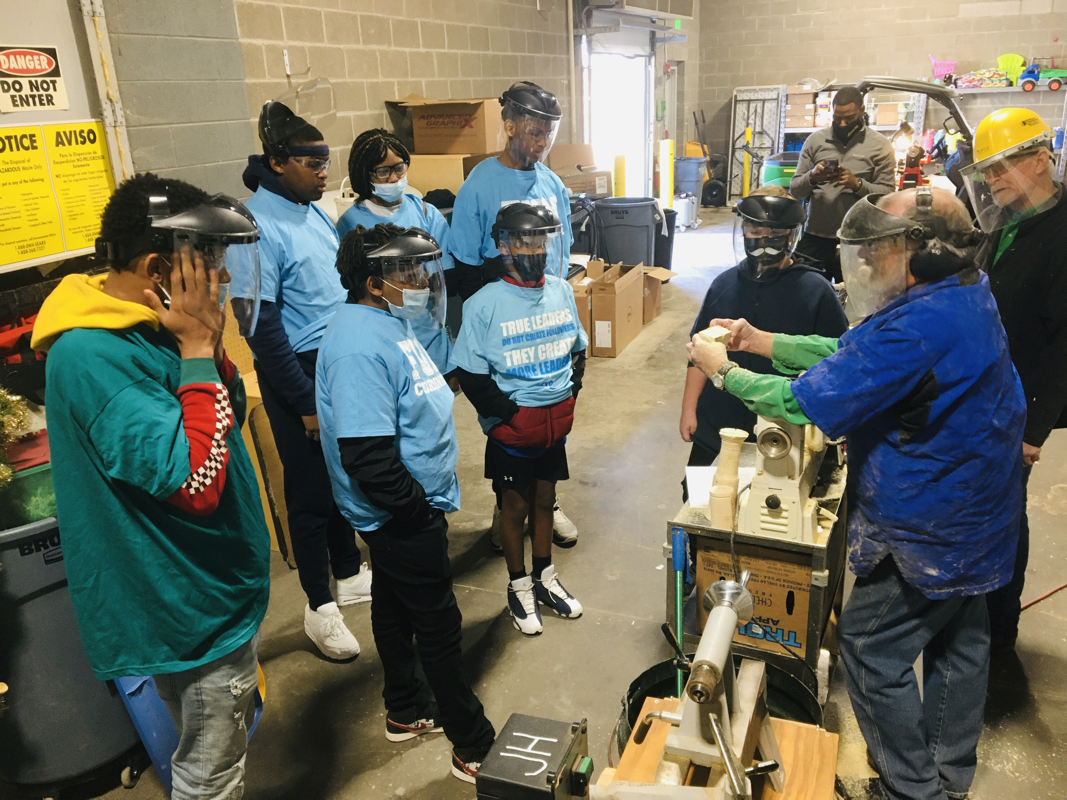
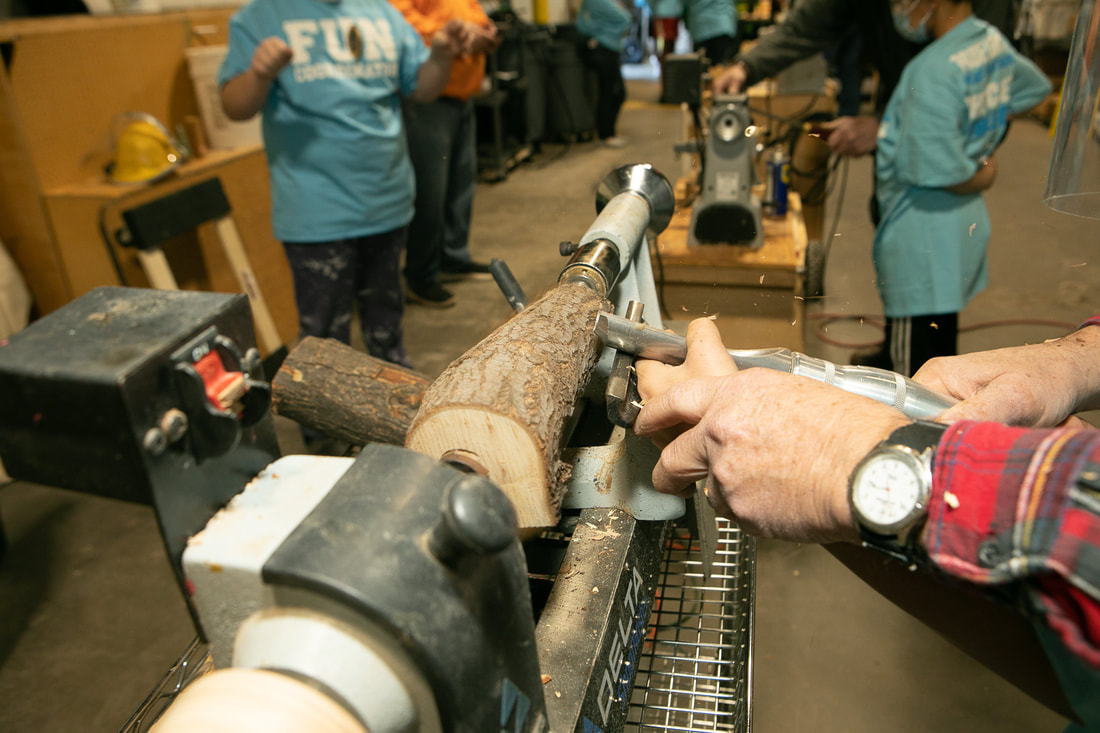
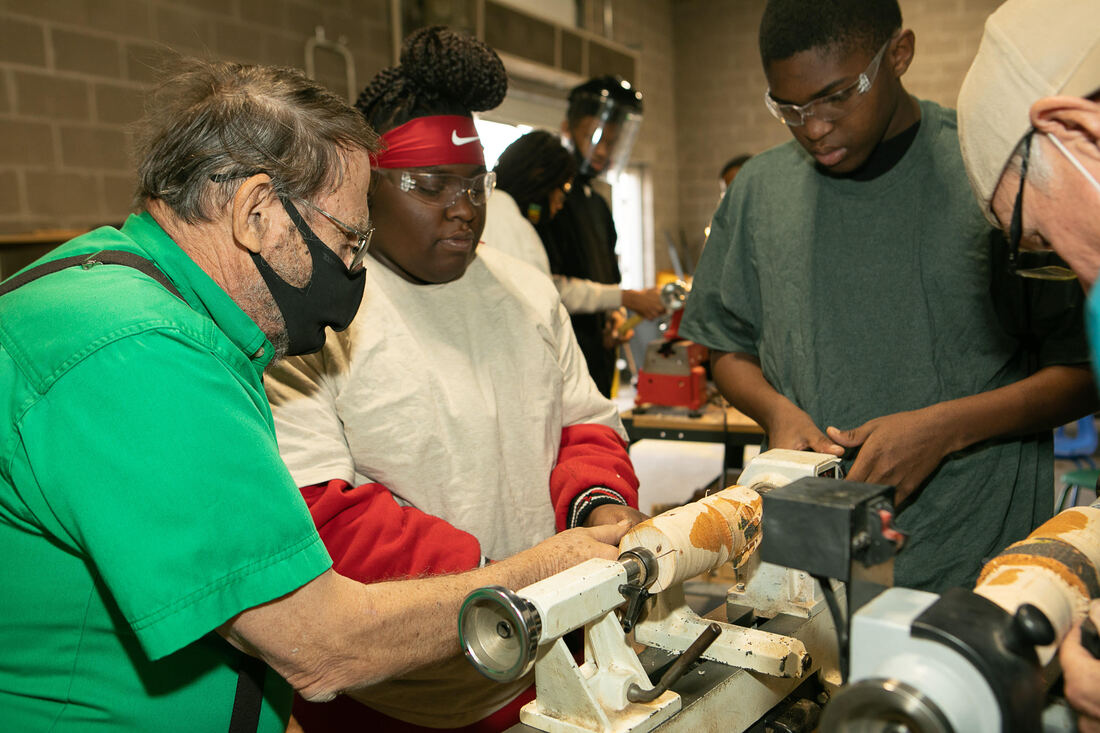
SPW + YWCA Youth Class #3, 11/14/2020, Spindle Practice on Wet Pecan
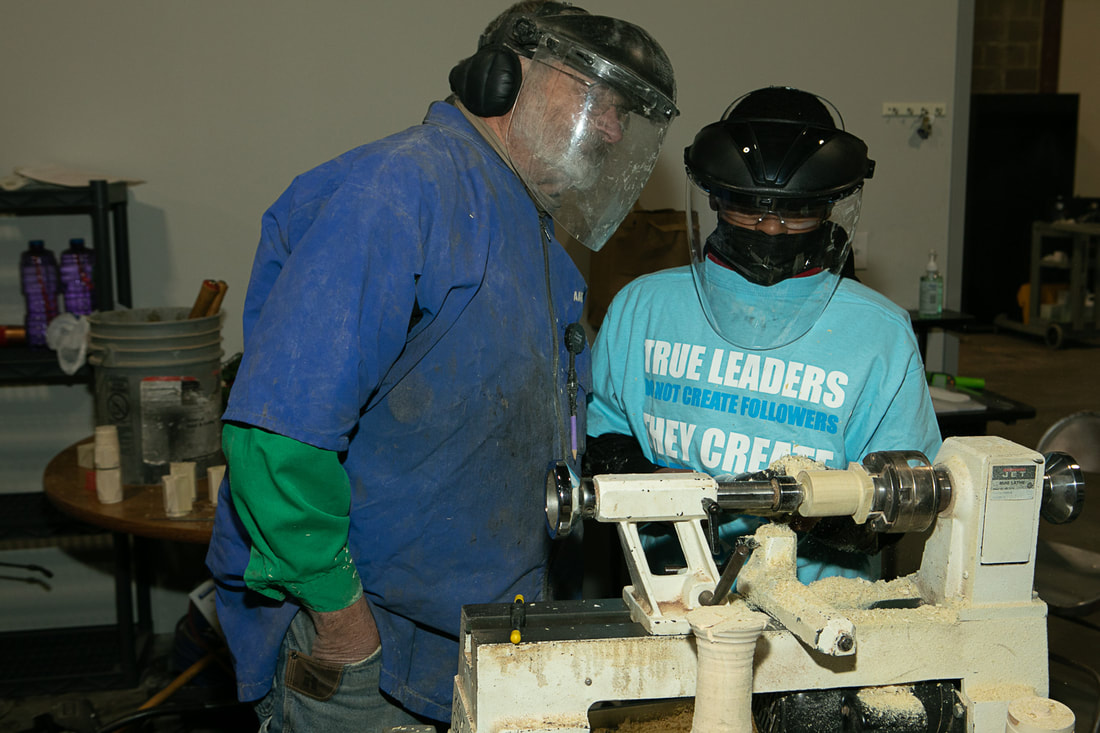
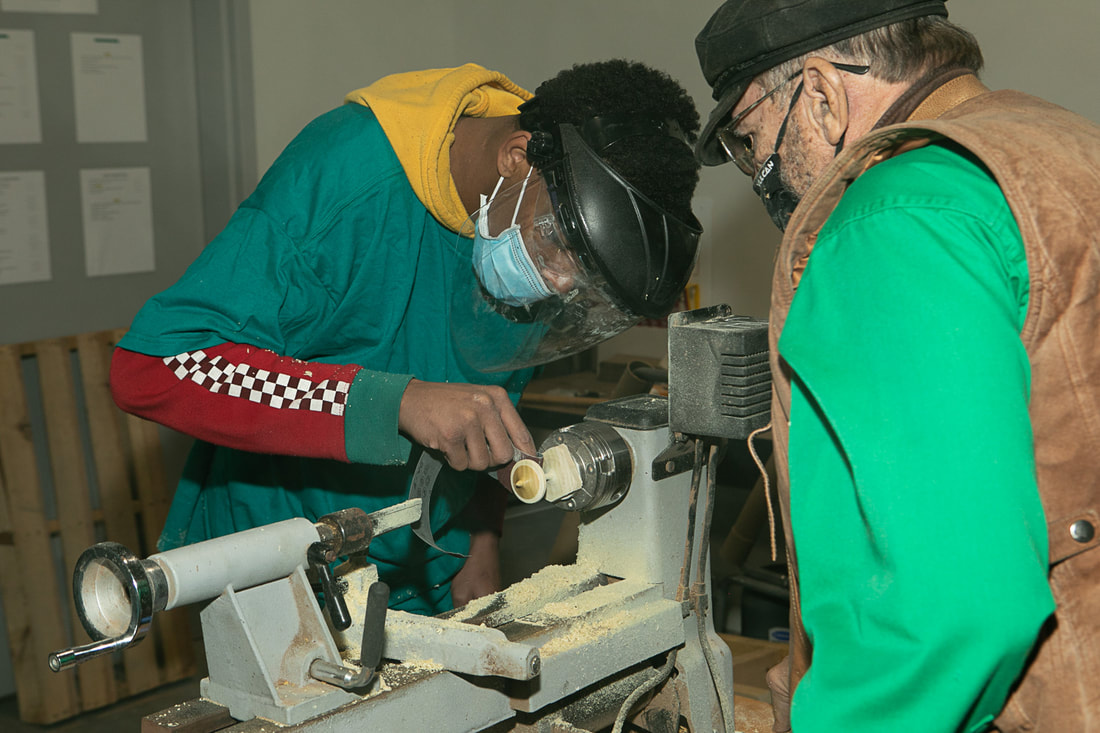
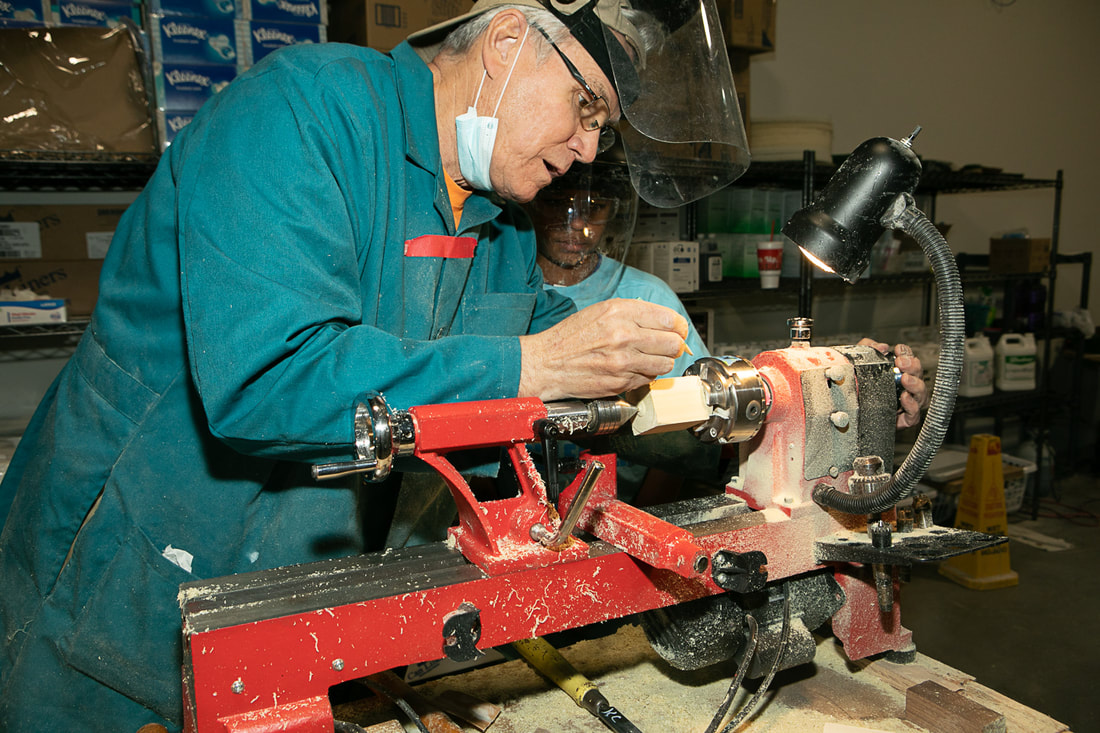
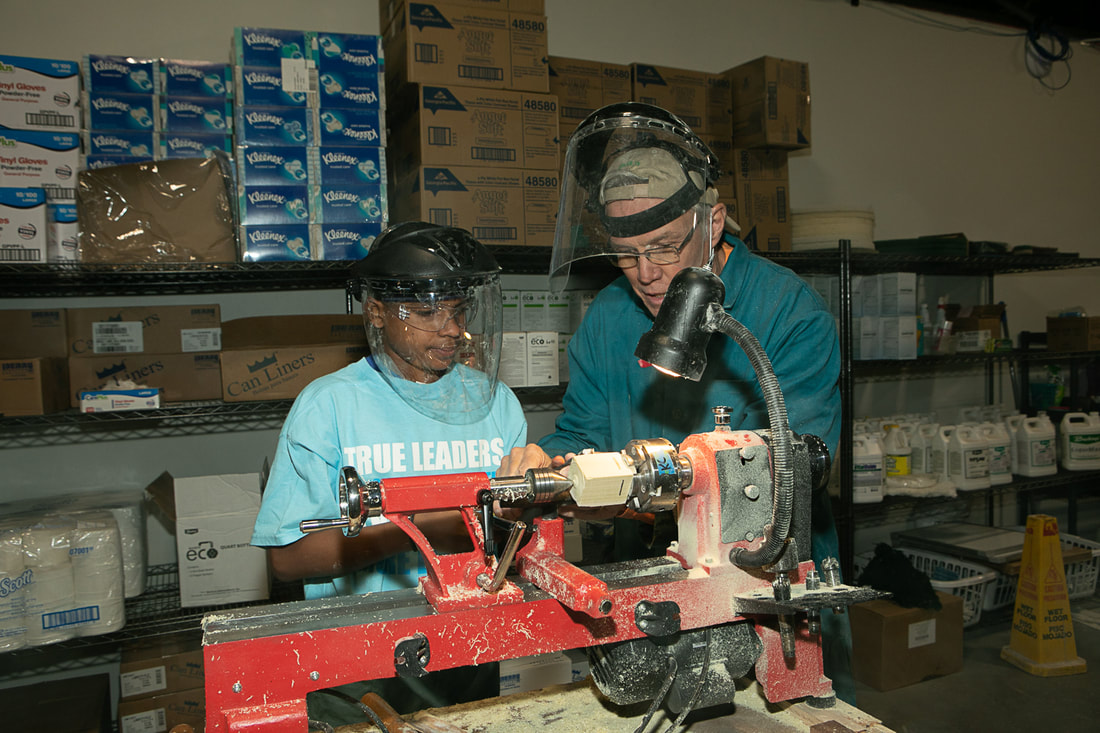
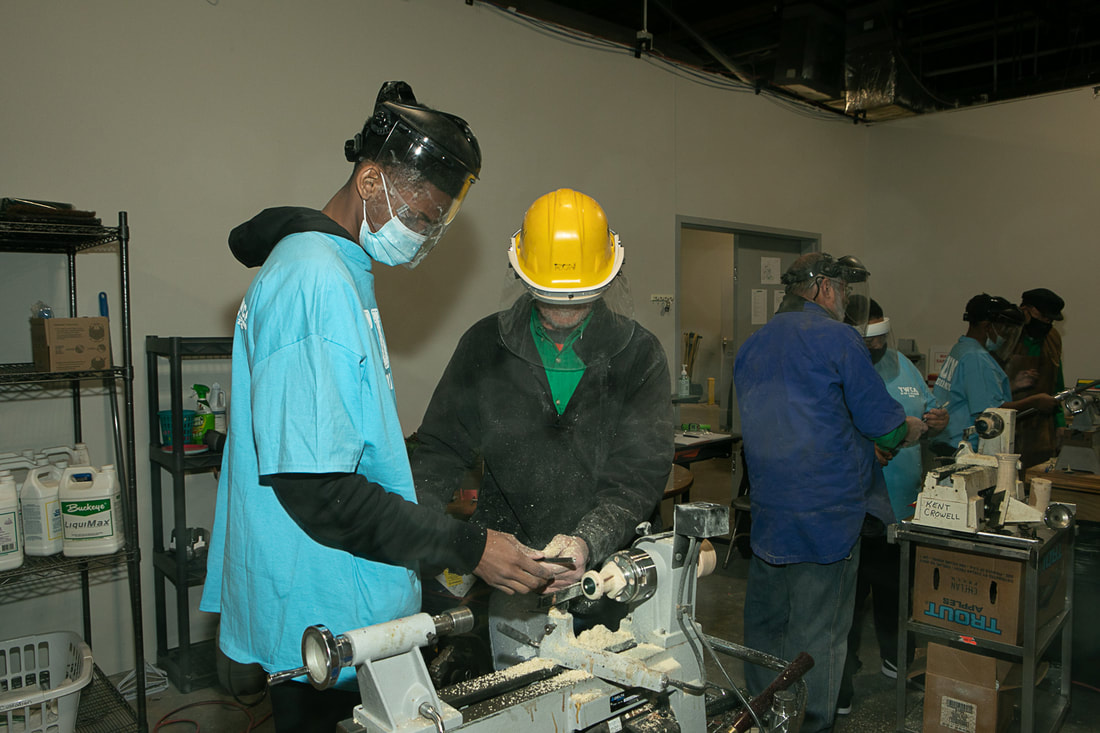
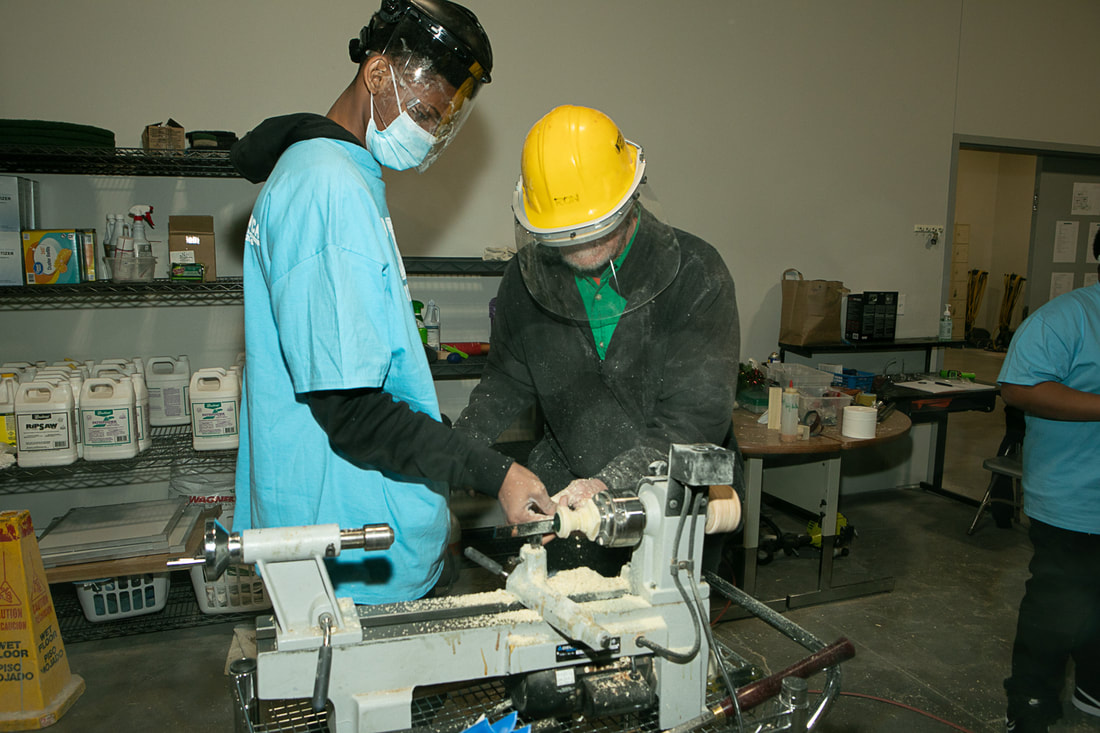
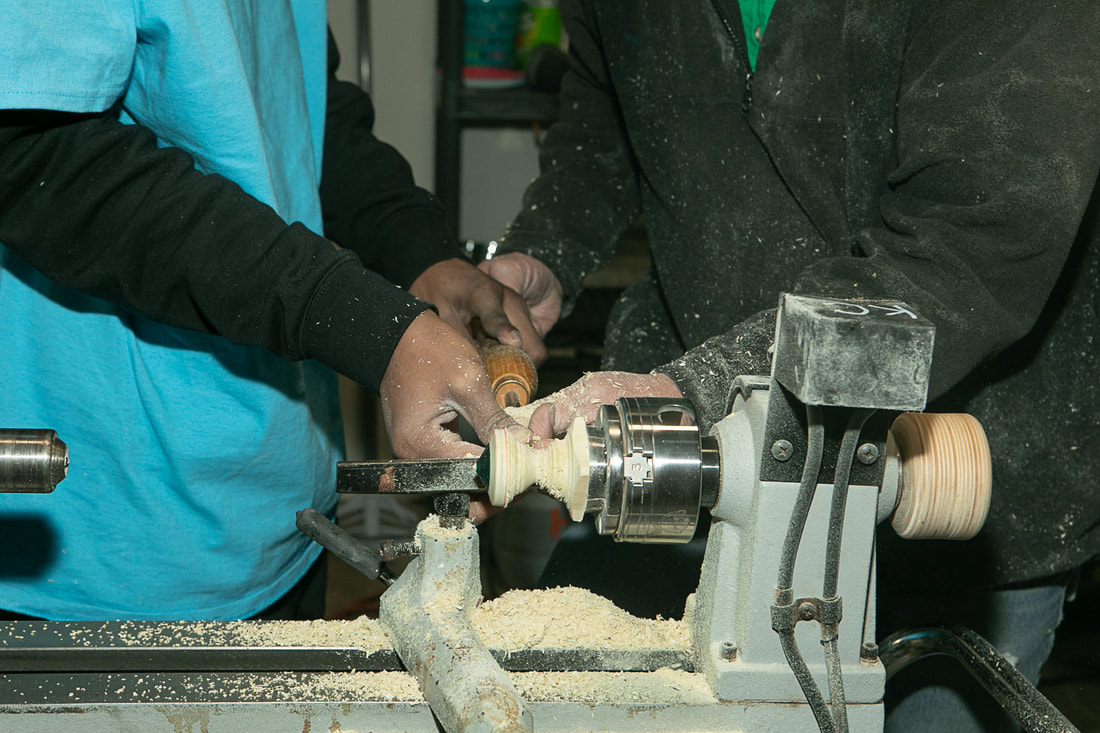
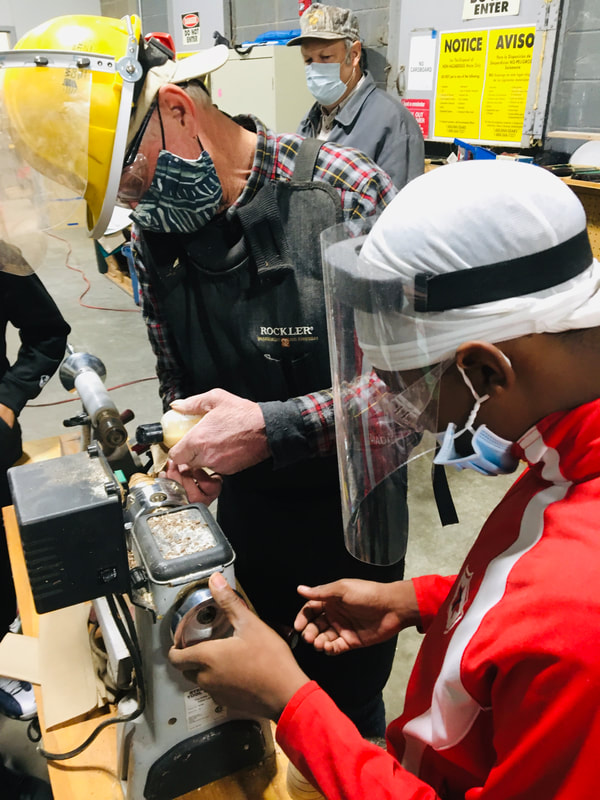
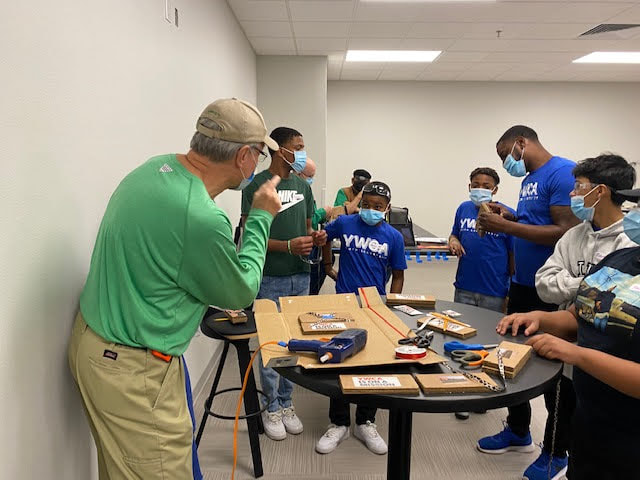
Anchor, Bevel & Cut for beginners was our lesson. Today was the first time for most of the 6 youth to practice woodturning. SPW Mentors included Jim Harris, Robert Suddarth (photography), and Kent Crowell. Also Mr. A. J. McCleod, Director of Youth Programming at YWCA Lubbock was helping supervise as well. Click on any photo to start a slide show. Robert, thanks again for the nice pics of our group.


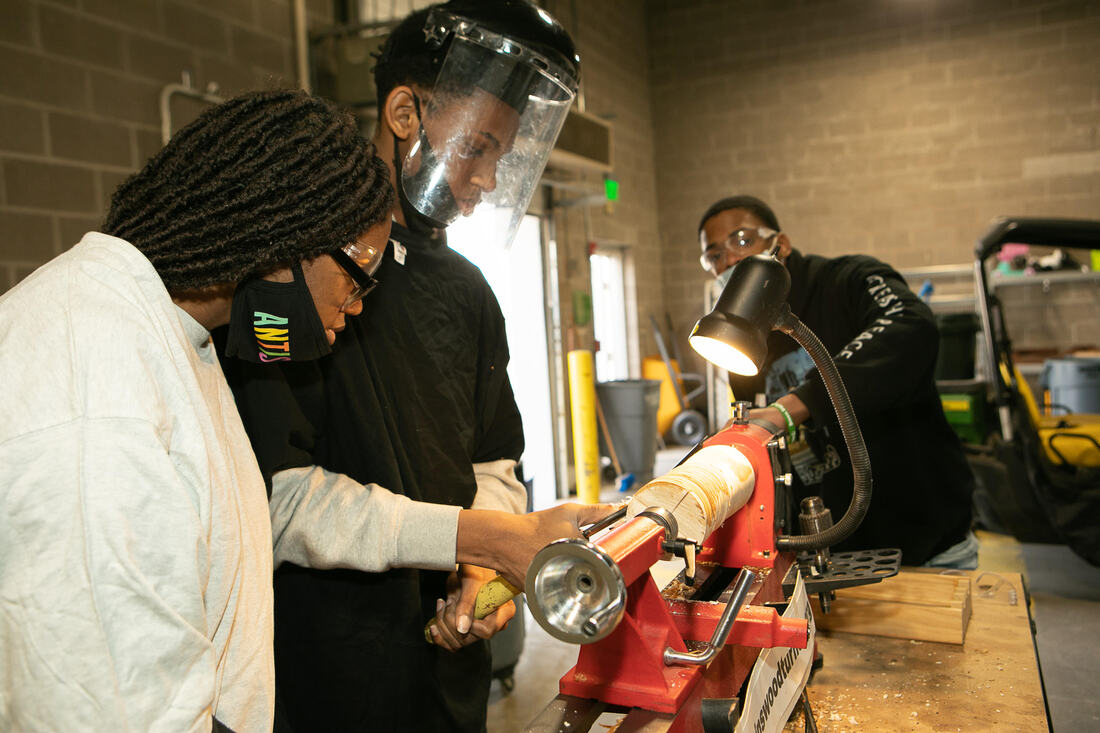
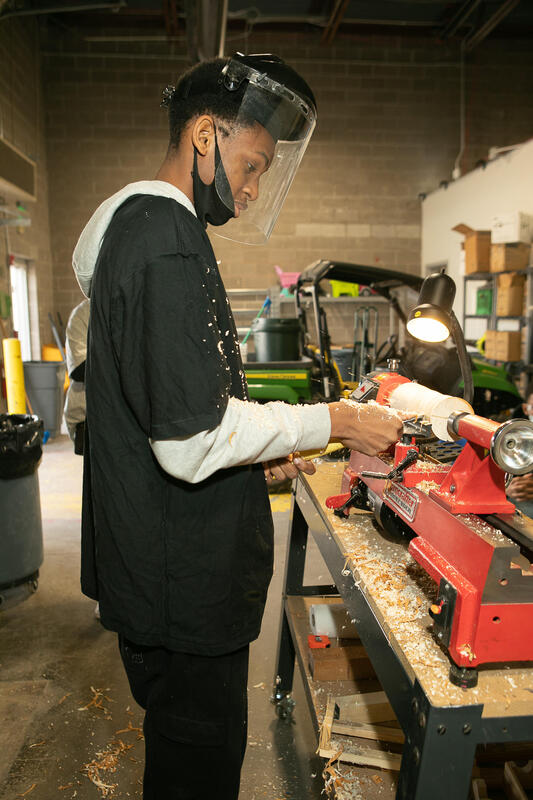

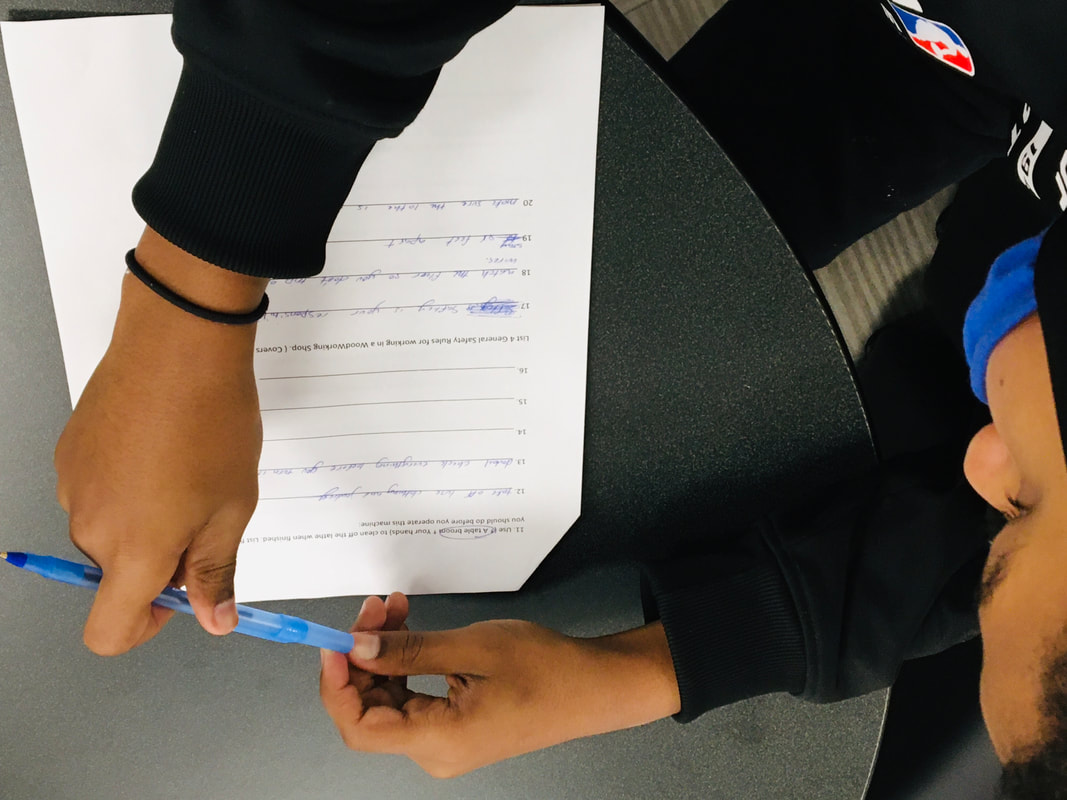
Notes for Nov 14, 2020 Basic Woodturning Safety
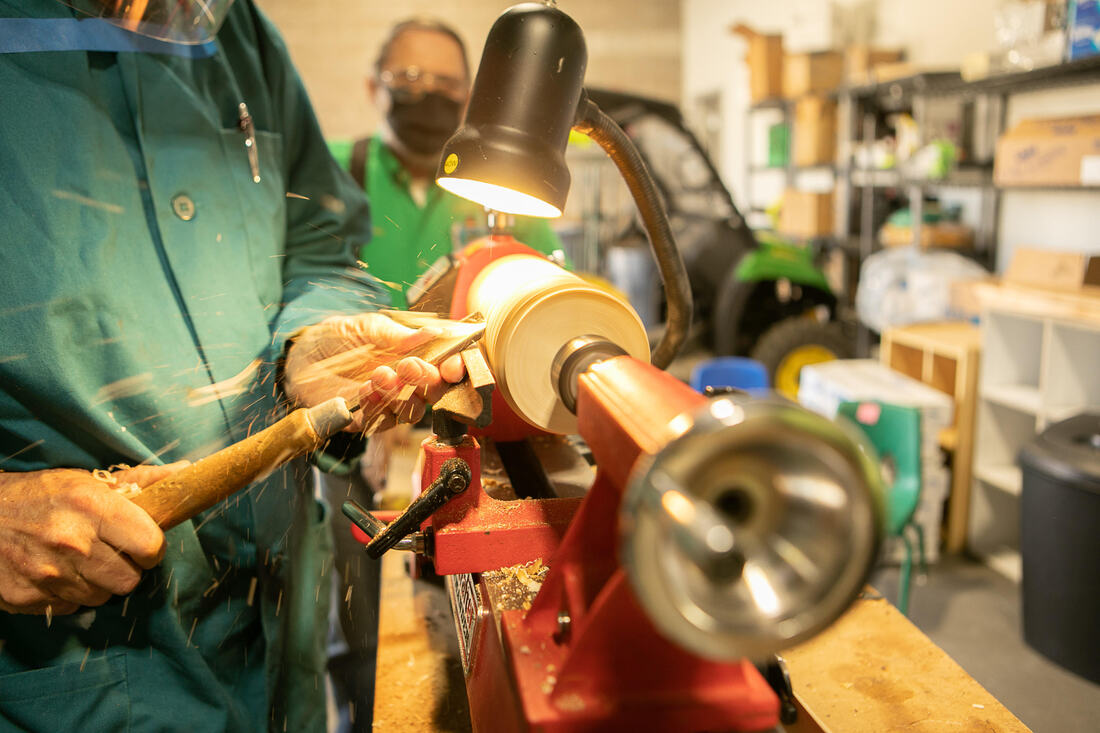
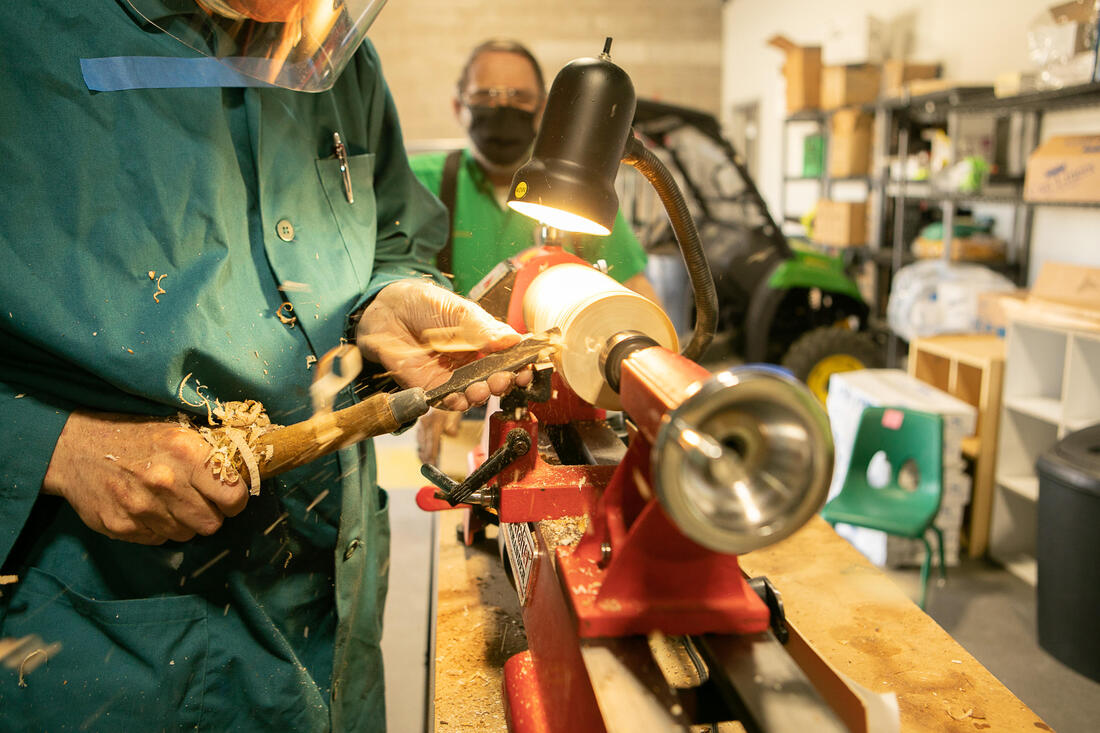
Wood lathe safety rules:
1. Operate only with instructor’s permission and after you have received instruction.
2. Remove jewelry, eliminate loose clothing, and confine long hair.
3. Make sure all guards are in place and operating correctly.
4. Always use proper eye protection.
5. The tool rest must be close to the work when cutting tools are being used.
6. The cutting tools must be kept sharp.
7. Do not feel for smoothness of work while the machine is running.
8. Work must be centered, balanced, and secured.
9. The tool rest must be removed while sanding. 10. Examine set up and turn work by hand before turning on power.
11. Shut off power while cleaning machine.
https://www.cdc.gov/niosh/docs/2004-101/pdfs/safe.pdf P 310
------------------------------------------------------------
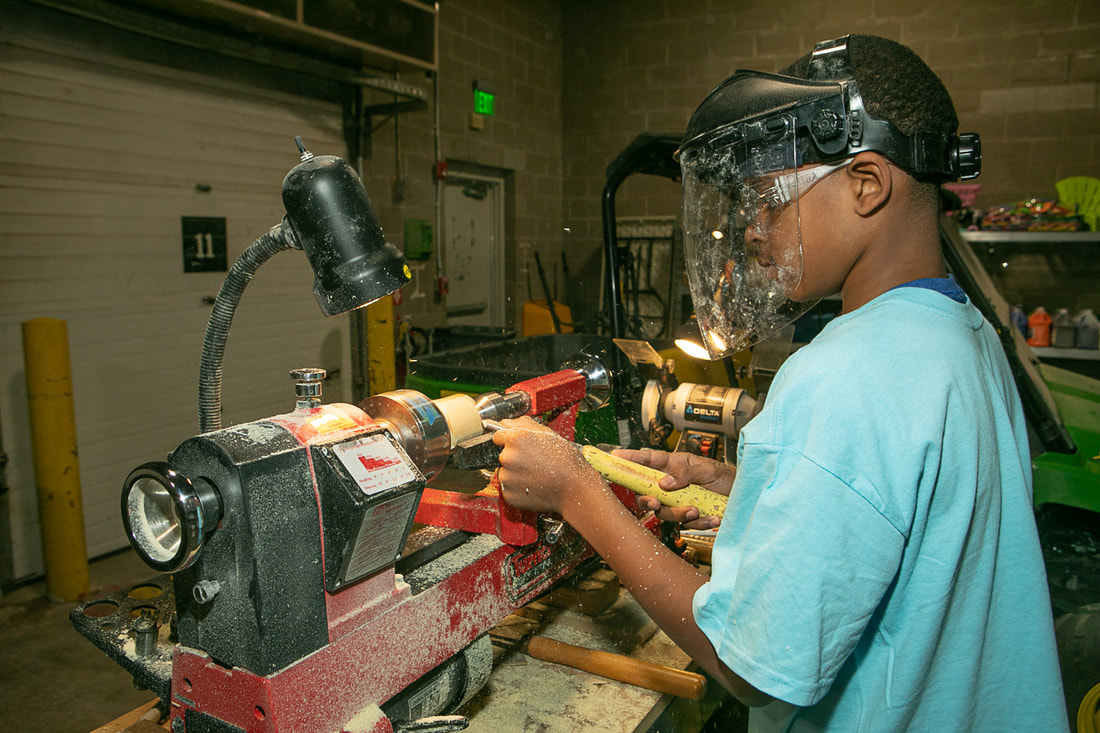
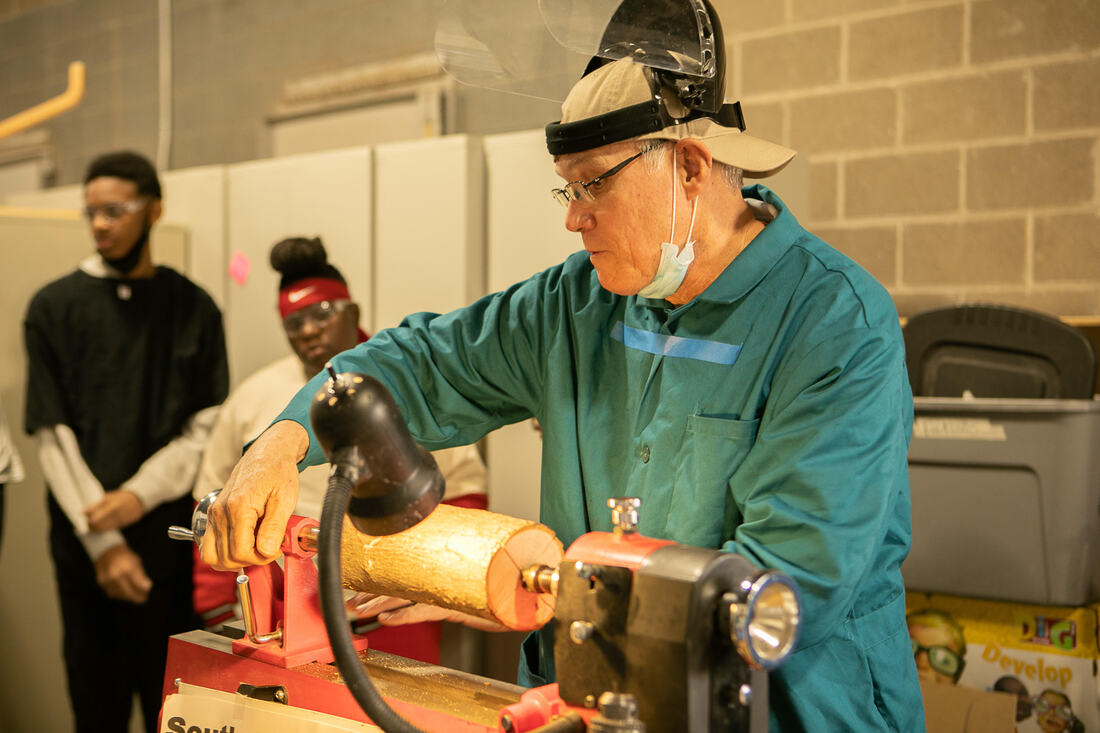
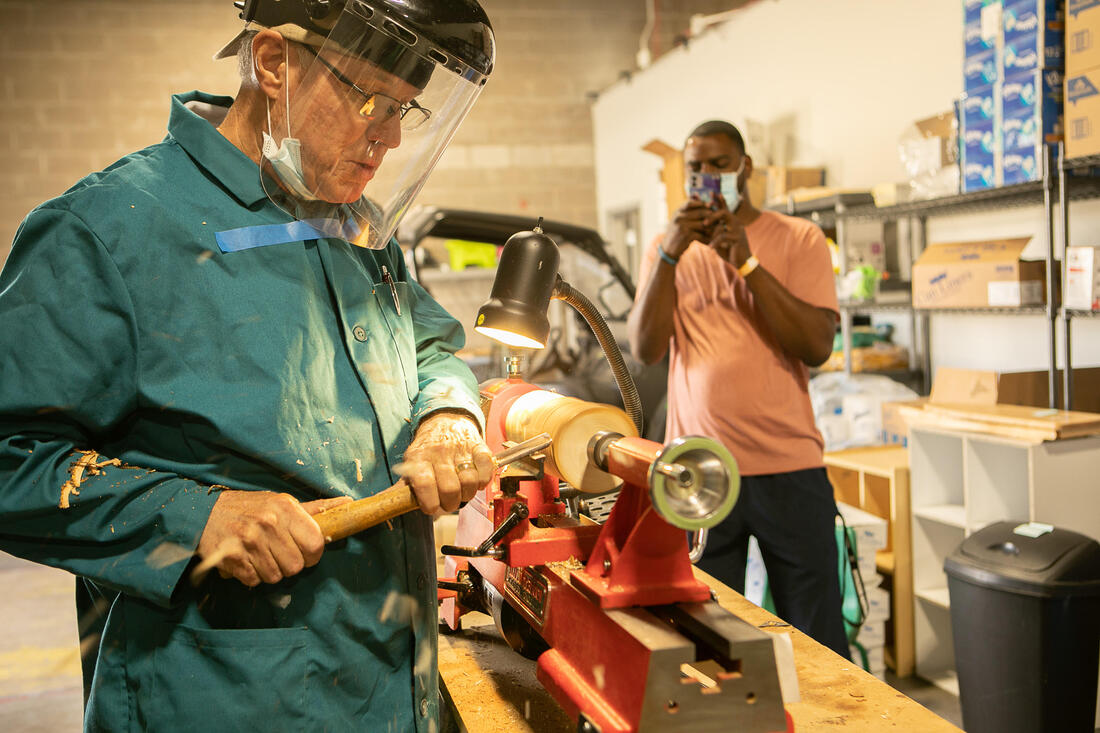
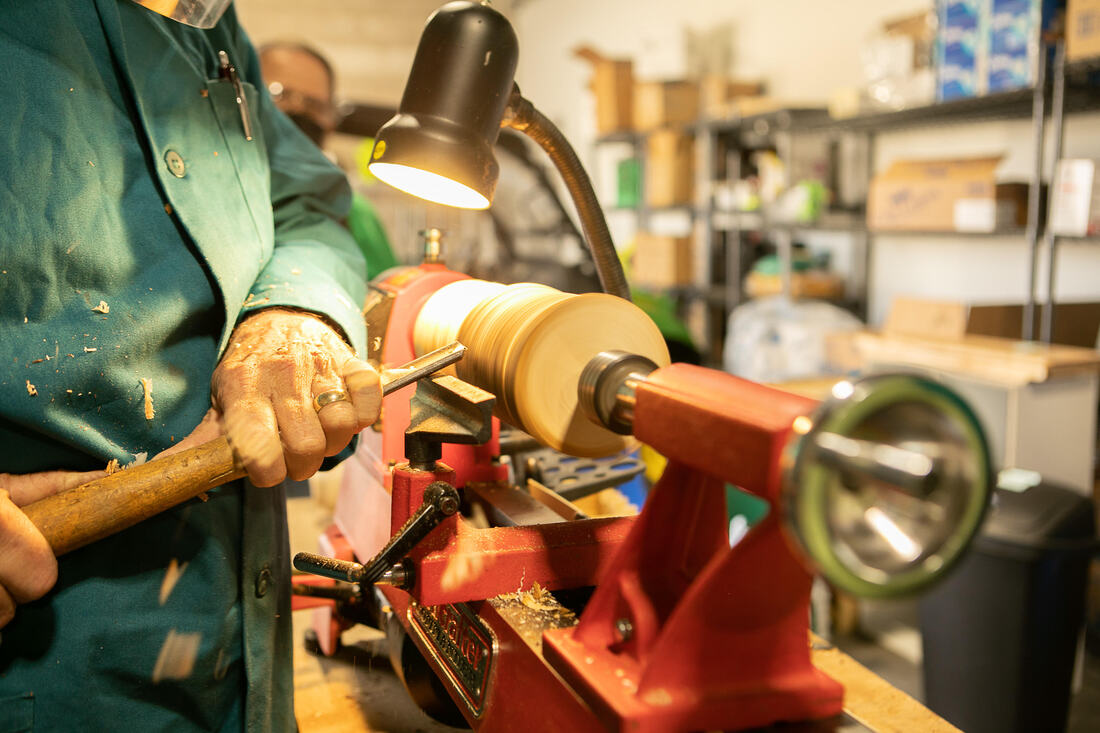
Wood Lathe Notes Requirements: Proper eye protection must be worn—operate only with instructor’s permission and after proper instructions have been received. Wear ANSI Safety Glasses and a Faceshield.
1. When operating this machine you must wear proper eye protection, a face shield, pass ALL tests with 100 percent, and have your teacher’s permission to operate it.
2. Carefully examine all wood for checks, knots, or other defects before putting it on the lathe.
3. Work must be balanced and securely held between centers or mounted on a faceplate.
4. Rotate spindle by hand to check to make sure that you have enough clearance before starting the turning.
5. Tool rest must be set 1/8” away from the work piece and adjusted to the proper height for the tool being used.
6. Be sure the lathe is running at the proper speed for the operation.
7. You should use caution and common sense to prevent turning tools from catching in the stock.
8. Select and use the correct tool for the cut you plan to make.
9. Even when wearing a face shield, you should also make sure that the safety shield is properly in place.
10. Remove tool rest and base before sanding or polishing.
11. Use a table broom brush to clean off the lathe when finished.
https://www.cdc.gov/niosh/docs/2004-101/pdfs/safe.pdf p.307
-----------------------------------------------------------------
AAW Wood Lathe Safety
www.woodturner.org/common/Uploaded%20files/Safety/20200730Safey%20When%20Instructing.pdf
Safety When Instructing on the Lathe It is of utmost importance to teach through example, proper respect for equipment and an attitude of safety.
After discussing safety concerns with the group, be sure to reinforce safety principles as you provide individual instruction. It is good practice to start each lesson with a safety reminder.
1. Always wear a full face shield when the lathe is running.
2. Tie back long hair, do not wear gloves, and do not wear loose clothing and objects that can catch on rotating parts or accessories.
3. Always check the speed of the lathe before turning it on. Use slower speeds for larger diameters or rough pieces, and higher speeds for smaller diameters. Always start at a slower speed until the work piece is balanced. If the lathe is shaking or vibrating, lower the speed. If the workpiece vibrates, always stop the machine to check for the reason. Demonstrate safety by always starting at a slower speed, gradually speeding up as the piece can safely be turned at higher a speed.
4. Check that all locking devices on the tail stock and tool rest assembly (rest and base) are tight before operating the lathe.
5. Position the tool rest close to work. Check tool rest position often and as wood is removed, adjust as needed.
6. Always turn the lathe OFF before adjusting the tool rest or tool rest base.
7. Rotate the workpiece by h
and before turning the lathe on to make sure it clears the tool rest and bed . Be certain that the workpiece turns freely and is firmly mounted.
8. Be aware of the red zone or firing zone. This is the area directly behind and in front of the rotating surface of the workpiece - the areas most likely for a piece to travel if it comes off the lathe. Step out of this zone when switching the lathe on. When observing others turning, stay out of this area.
9. Always contact the tool to the tool rest before contacting the wood. Hold turning tools securely on the tool rest, holding the tool in a controlled and comfortable manner.
10. Remove the tool rest before sanding or polishing operations.
11. Never leave the lathe running unattended. Don’t leave that lathe until it comes to a complete stop.
12.Always wear a dust mask or respirator when sanding.
13.Always wear hearing protections when performing noisy operations. 14.Always wear shoes or boots to protect your feet from falling objects.
1. Operate only with instructor’s permission and after you have received instruction.
2. Remove jewelry, eliminate loose clothing, and confine long hair.
3. Make sure all guards are in place and operating correctly.
4. Always use proper eye protection.
5. The tool rest must be close to the work when cutting tools are being used.
6. The cutting tools must be kept sharp.
7. Do not feel for smoothness of work while the machine is running.
8. Work must be centered, balanced, and secured.
9. The tool rest must be removed while sanding. 10. Examine set up and turn work by hand before turning on power.
11. Shut off power while cleaning machine.
https://www.cdc.gov/niosh/docs/2004-101/pdfs/safe.pdf P 310
------------------------------------------------------------
Wood Lathe Notes Requirements: Proper eye protection must be worn—operate only with instructor’s permission and after proper instructions have been received. Wear ANSI Safety Glasses and a Faceshield.
1. When operating this machine you must wear proper eye protection, a face shield, pass ALL tests with 100 percent, and have your teacher’s permission to operate it.
2. Carefully examine all wood for checks, knots, or other defects before putting it on the lathe.
3. Work must be balanced and securely held between centers or mounted on a faceplate.
4. Rotate spindle by hand to check to make sure that you have enough clearance before starting the turning.
5. Tool rest must be set 1/8” away from the work piece and adjusted to the proper height for the tool being used.
6. Be sure the lathe is running at the proper speed for the operation.
7. You should use caution and common sense to prevent turning tools from catching in the stock.
8. Select and use the correct tool for the cut you plan to make.
9. Even when wearing a face shield, you should also make sure that the safety shield is properly in place.
10. Remove tool rest and base before sanding or polishing.
11. Use a table broom brush to clean off the lathe when finished.
https://www.cdc.gov/niosh/docs/2004-101/pdfs/safe.pdf p.307
-----------------------------------------------------------------
AAW Wood Lathe Safety
www.woodturner.org/common/Uploaded%20files/Safety/20200730Safey%20When%20Instructing.pdf
Safety When Instructing on the Lathe It is of utmost importance to teach through example, proper respect for equipment and an attitude of safety.
After discussing safety concerns with the group, be sure to reinforce safety principles as you provide individual instruction. It is good practice to start each lesson with a safety reminder.
1. Always wear a full face shield when the lathe is running.
2. Tie back long hair, do not wear gloves, and do not wear loose clothing and objects that can catch on rotating parts or accessories.
3. Always check the speed of the lathe before turning it on. Use slower speeds for larger diameters or rough pieces, and higher speeds for smaller diameters. Always start at a slower speed until the work piece is balanced. If the lathe is shaking or vibrating, lower the speed. If the workpiece vibrates, always stop the machine to check for the reason. Demonstrate safety by always starting at a slower speed, gradually speeding up as the piece can safely be turned at higher a speed.
4. Check that all locking devices on the tail stock and tool rest assembly (rest and base) are tight before operating the lathe.
5. Position the tool rest close to work. Check tool rest position often and as wood is removed, adjust as needed.
6. Always turn the lathe OFF before adjusting the tool rest or tool rest base.
7. Rotate the workpiece by h
and before turning the lathe on to make sure it clears the tool rest and bed . Be certain that the workpiece turns freely and is firmly mounted.
8. Be aware of the red zone or firing zone. This is the area directly behind and in front of the rotating surface of the workpiece - the areas most likely for a piece to travel if it comes off the lathe. Step out of this zone when switching the lathe on. When observing others turning, stay out of this area.
9. Always contact the tool to the tool rest before contacting the wood. Hold turning tools securely on the tool rest, holding the tool in a controlled and comfortable manner.
10. Remove the tool rest before sanding or polishing operations.
11. Never leave the lathe running unattended. Don’t leave that lathe until it comes to a complete stop.
12.Always wear a dust mask or respirator when sanding.
13.Always wear hearing protections when performing noisy operations. 14.Always wear shoes or boots to protect your feet from falling objects.
1 Spindle Turning Safety for the Wood Lathe by the Wyoming Woodturner 13 minutes video
https://www.youtube.com/watch?v=zWFmsHDQIKs
2 Safety is Your Responsibility by the Wyoming Woodturner 15 minutes video https://youtu.be/eFvphMpJ5l4?list=PLL5-IWEcq6B8rxuh3CMnp5k_VY2YAzIhW
2 Woodturning- Your Responsibilities AAW - 3 pages
www.woodturner.org/common/Uploaded%20files/Safety/20200730Safety%20is%20Your%20Responsibility%20replacement%20Final.pdf
4 Wood Lathe Safety Test
https://www.proprofs.com/quiz-school/story.php?title=wood-lathe-safety-test_1
5 Getting started with a PSI Mini Lathe https://youtu.be/ZsqQjJu4v3I
6 Safety - What NOT to do. 20 Safety Fails https://youtu.be/N5VGasCy_
7 Drive Centers for your lathe. Mike Peace youtu.be/mg50KDNCj2Q
8 The Woodturners Catalog www.woodturnerscatalog.com
PP 2 Woodturning Safety 101 Rules1 - 19, p3 Spindle gouge, p7 SRG, p8 D E F G , p39 Jet Mini Lathe 1015, p43 Band Saw, Drill Press, p60 4 prong spur center, p126 Apprentice Twist Pen Kit
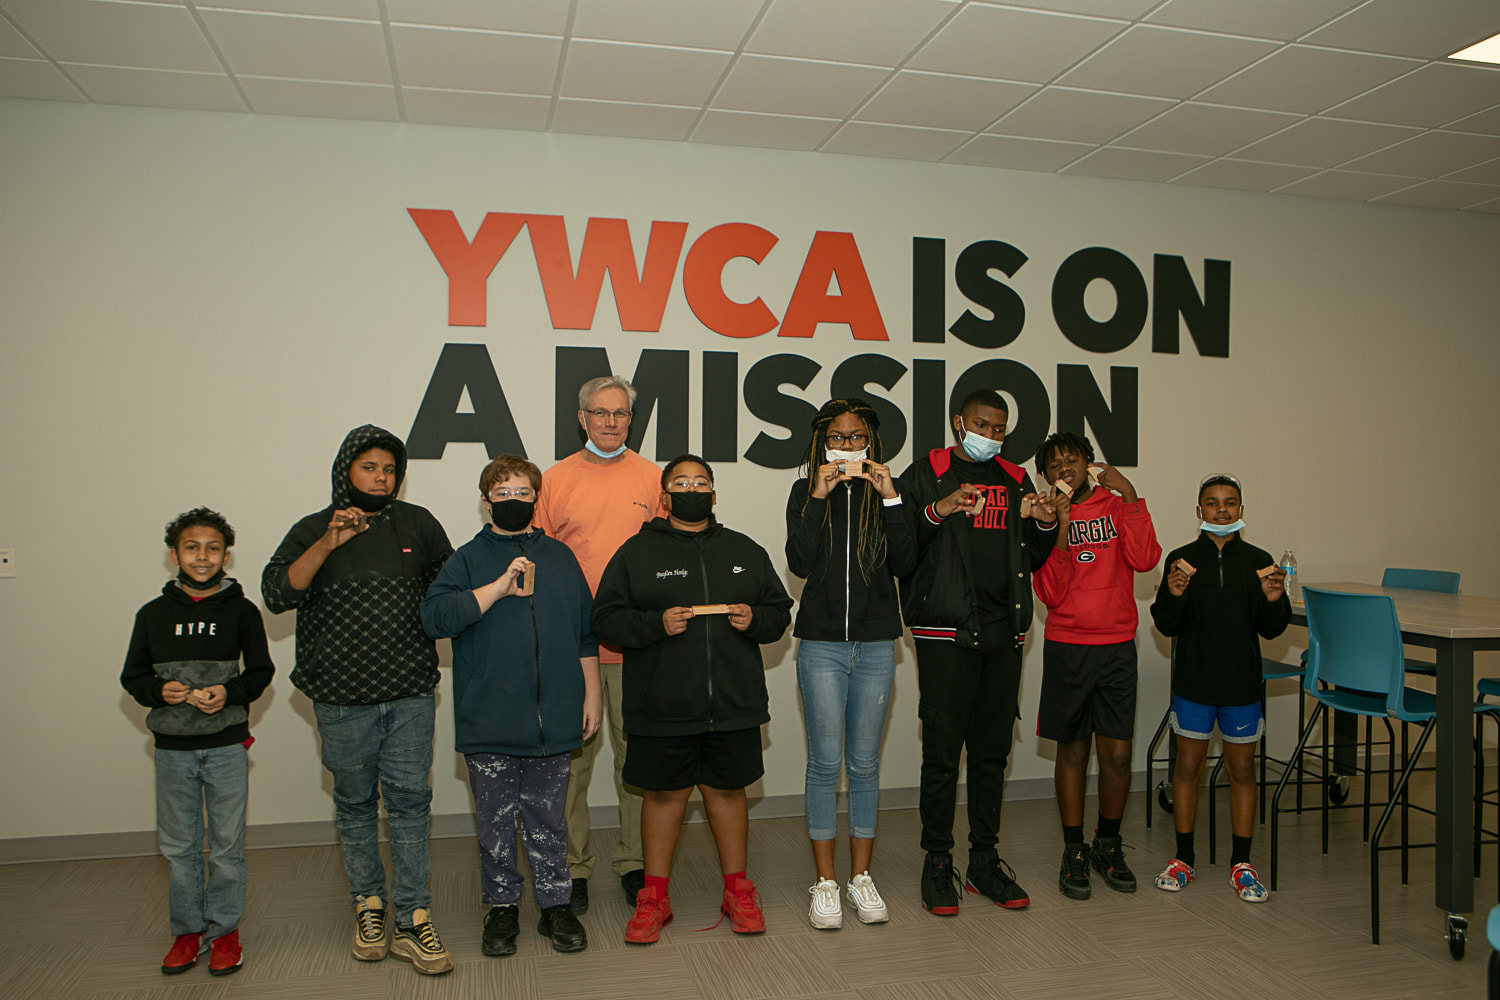
SPW + YWCA Youth Class #2 10/31/2020 Jacobs Ladder money Changer Game
Our lathes and equipment were not in the process of getting ready so we started off our 1st hands-on activity with a fun project with no power tools. We worked on some ideas for the Veterans Day Parade but it was cancelled for this year.


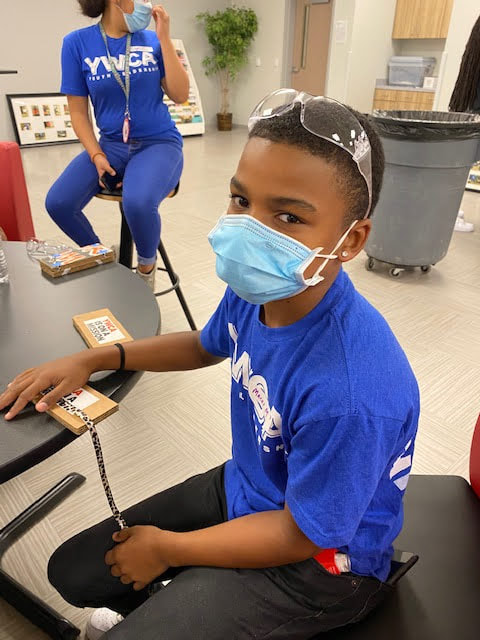
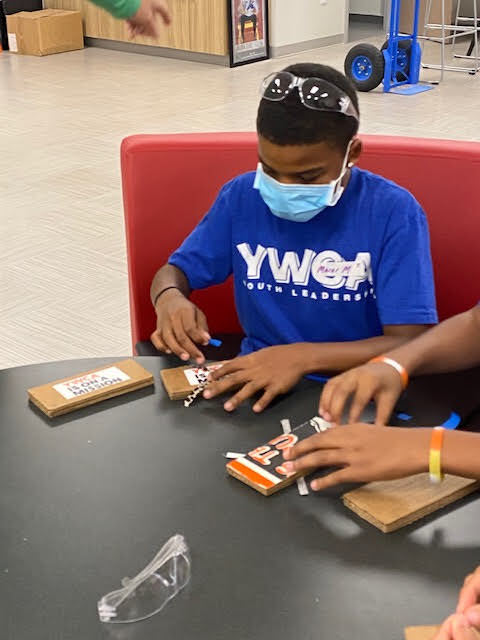
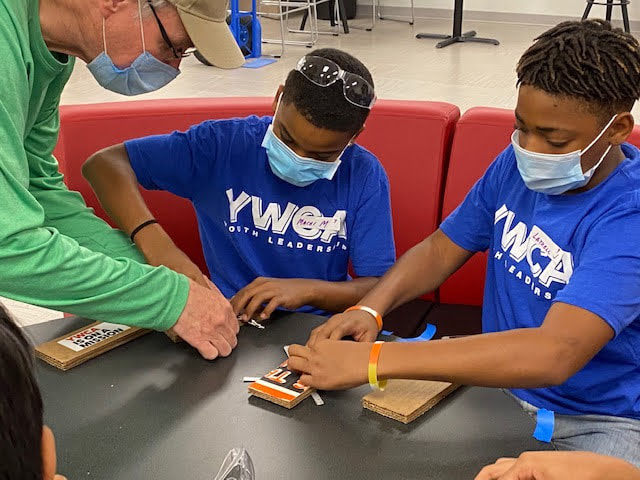
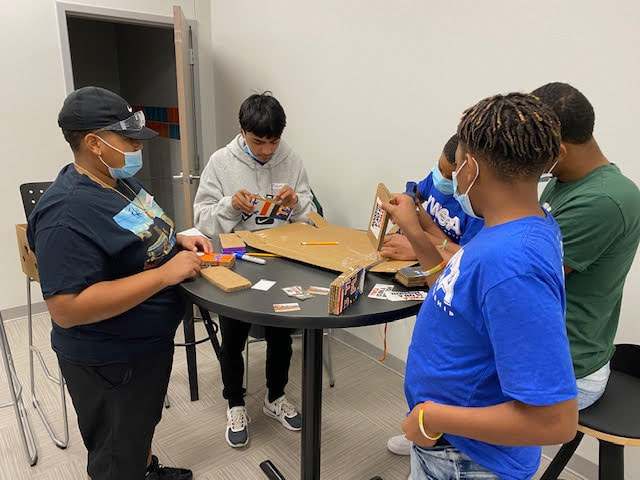
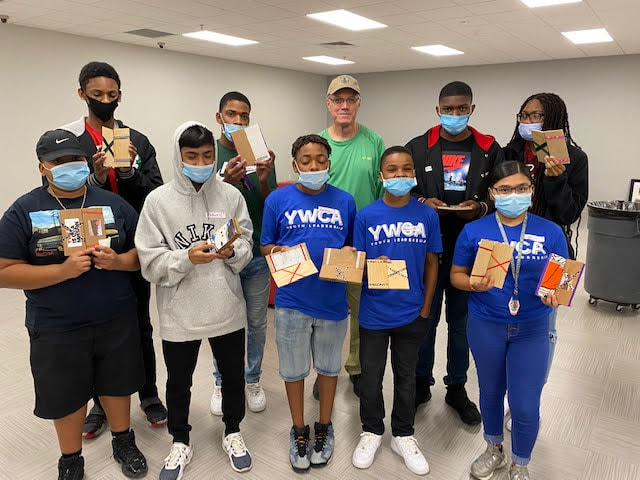
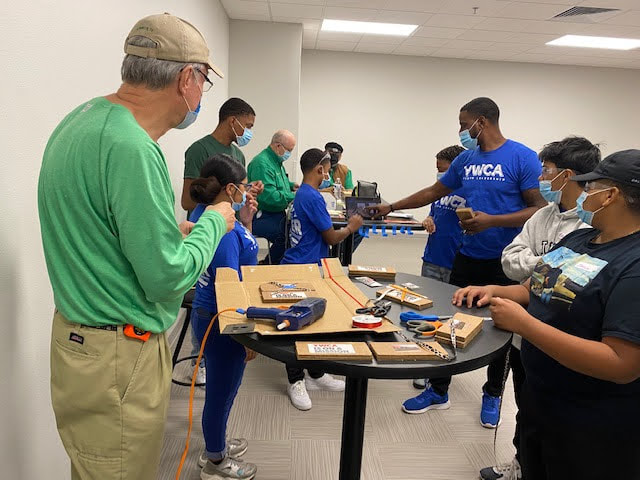


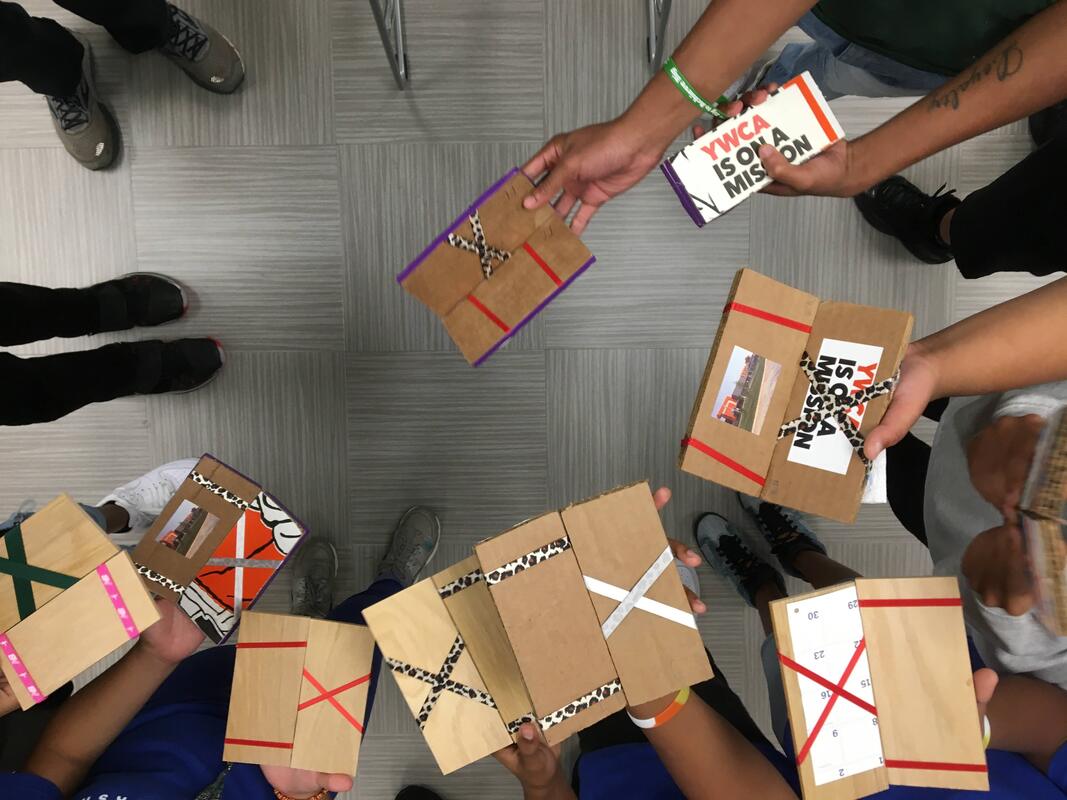
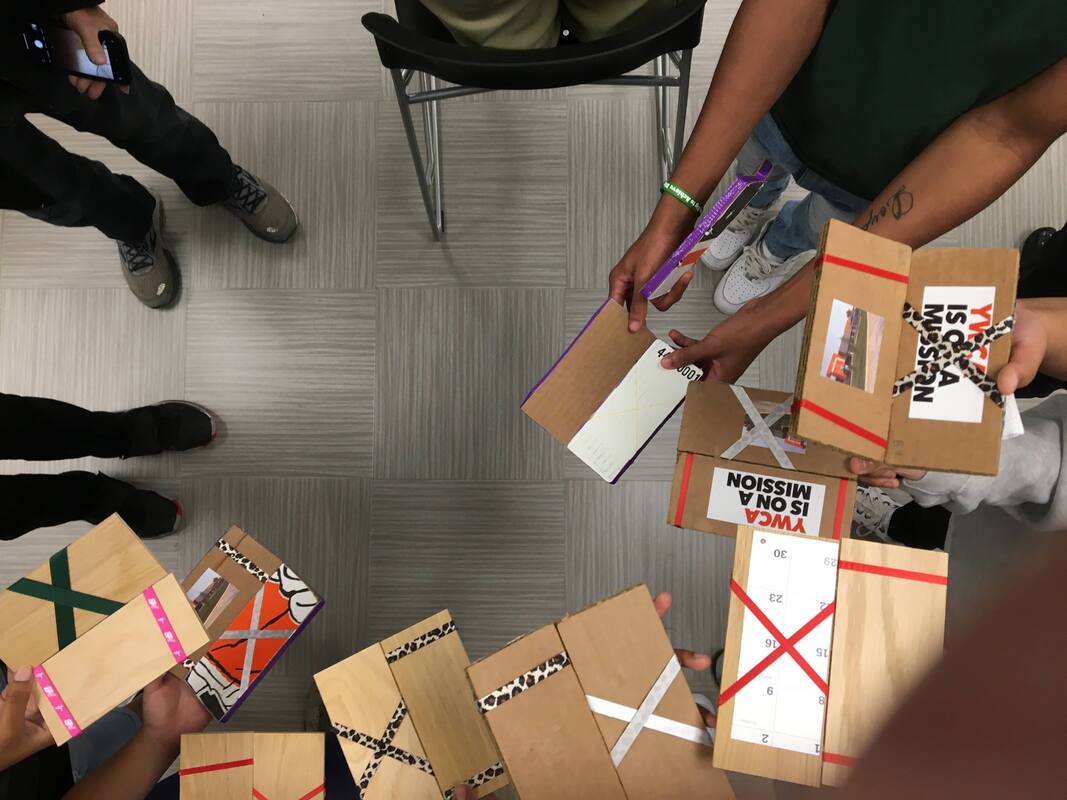


Make a money changer— Jacob’s Ladder game on Saturday 10/31 at the YWCA Lubbock.
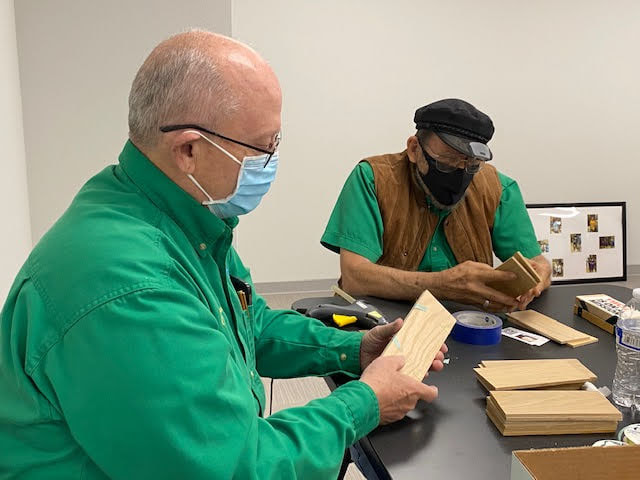
Volunteer Opportunity for mentors.

We are planning a 2 hour class on Sat 10/31 from 9 -11AM to make some money changer games. I have everything cut out but could use a few more pine rectangles .75” x 3” x 7”. I will have a few samples made to copy.
This clip shows the process for making a gift card for birthdays etc.https://youtu.be/lhVsx-Giac0
Something to build a little confidence. Very low cost. If you are sitting around Tuesday, make a sample to teach with on Saturday.
Start with a pair of rectangles 3” x 7” to hold a dollar bill.
Style 1 Pumpkin box triple thick cardboard, fabric tape, hot melt glue, & duct tape, clamp, masking tape squares, ruler, pencil, scissors. Duct tape was used to cover the ugly edge left from the hot melt glue.
Style 2 Pine rectangles, fabric tape or fishing line, staple gun or thumb tacks, tack hammer, hand vice , masking tape squares, ruler, pencil, scissors, sandpaper block, In case of mistakes, thumb tacks can be repositioned.
Style 3 Cereal Box rectangles, fabric tape or fishing line; hot melt glue, tape, or staples;
Style 4 Corrugated Plastic 10 mm Rectangles, fabric tape, hot melt glue,
Scissors, masking tape squares. (Not shown)
Click to set custom HTML
AAW's Turning To The Future Offers Information And Resources Designed Specifically To Help Teachers, Schools, Instructors, And Other Educators, Develop Programs To Teach Woodturning Skills For Students Ages 10 To 25.AW Turning To The Future Video
Safety Guidebook for WoodturnersSafe, effective use of a wood lathe requires study and knowledge of procedures. To avoid injury and make your turning experience as satisfying as possible, the AAW has prepared this complimentary booklet to help you understand and use safe practices.
View/Download
Safety for WoodturnersA 64-page printed book. Build strong skills at the lathe while helping you learn best woodturning practices.
View/Download for Members
Purchase Book

